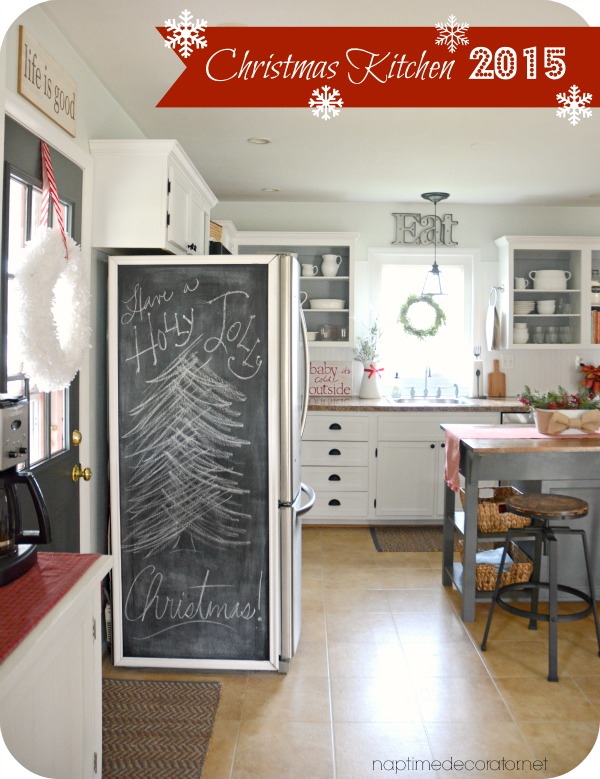
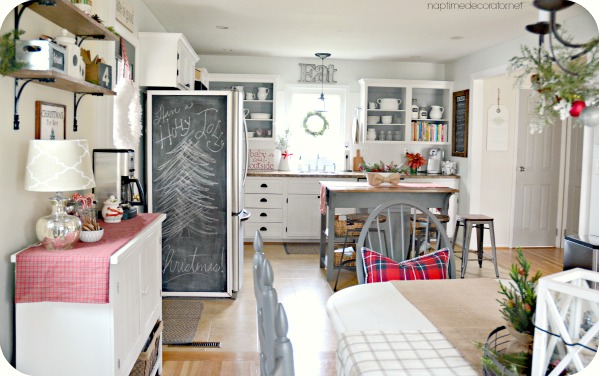
Thank you all for your kind comments about our Christmas Family Room and Dining Room! You’re just the best. The last stop on this holiday tour is our kitchen.
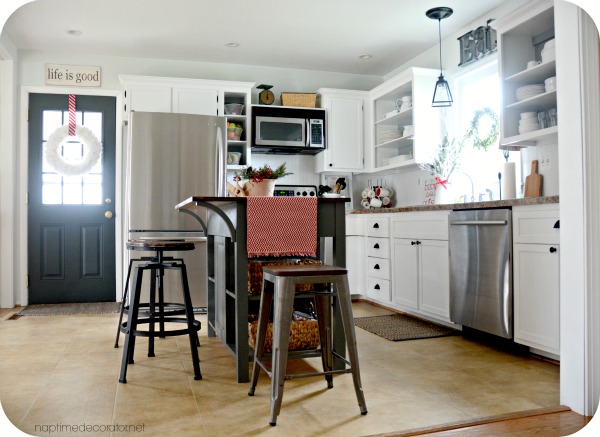
The kitchen has gone through a couple changes over the year – first, the island, which got a HUGE facelift and went from something I didn’t care for to something that still makes me smile, months later.
Then came the cabinet makeover – I’m still so happy about that one. I added trim to them – ALL BY MYSELF (still obnoxious about that, in case you were wondering).
So naturally, I was ready to do something a little different this year!
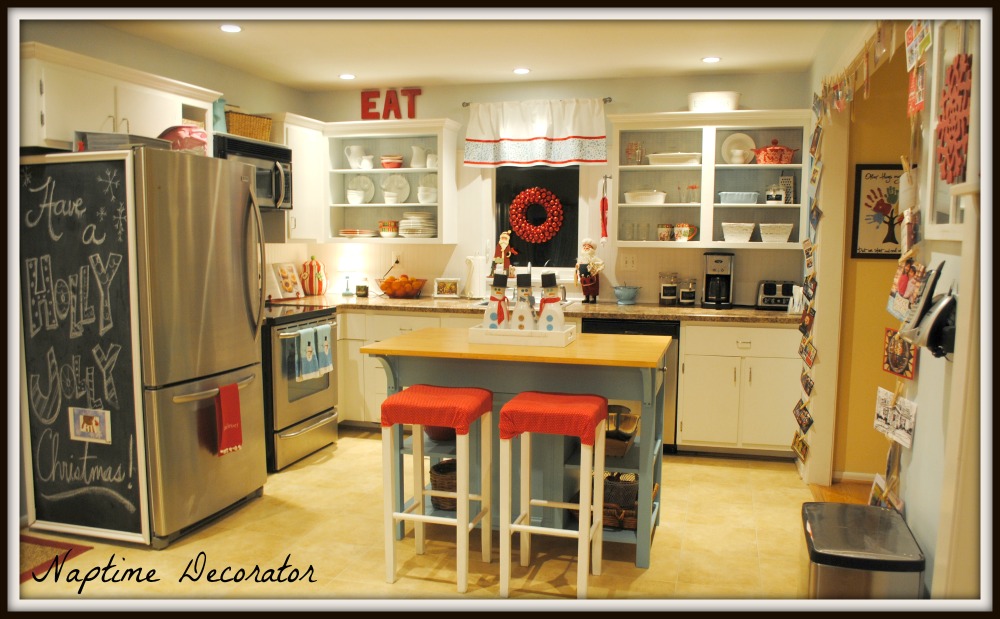
In the past, the Christmas was more bright, with vibrant reds and aquas, like this one from 2012…
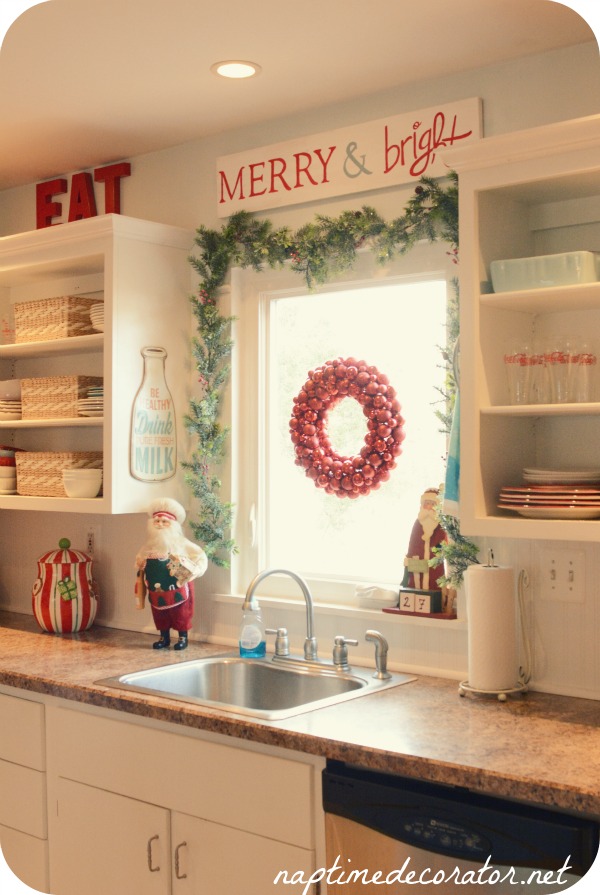
…and last year, I started adding more greens to it and toning it down a bit…
But this year, with my home making its way to a more rustic vibe, I swapped out the bold colors for more natural elements. I don’t really go crazy in here, but even just a few touches can make a kitchen feel Christmasy.
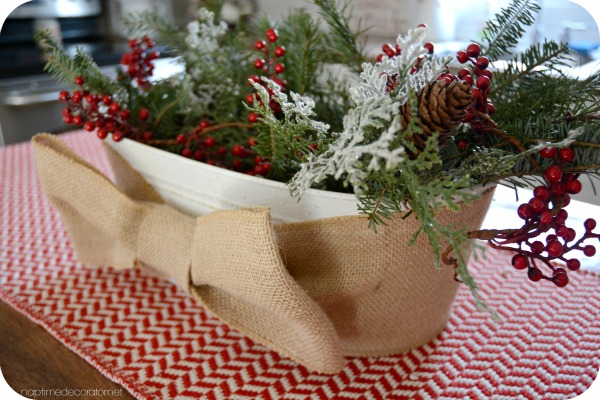
I took an old container and stuck greens and berries and stuff and wrapped it with a burlap bow. That, along with a runner I used to put on the dining room table, and my island was done.
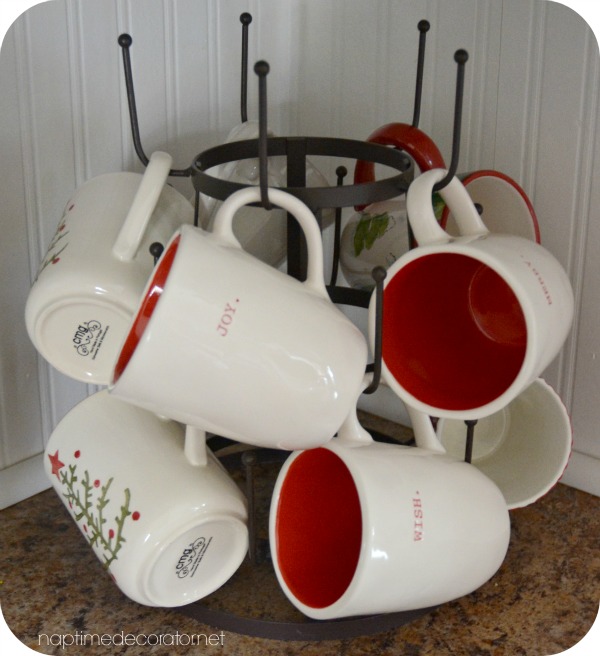
I swapped out my regular mugs for Christmas ones…
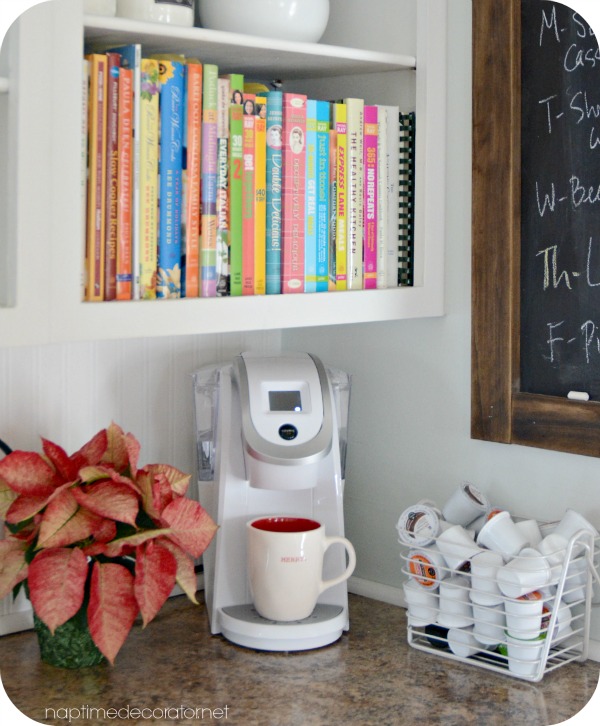
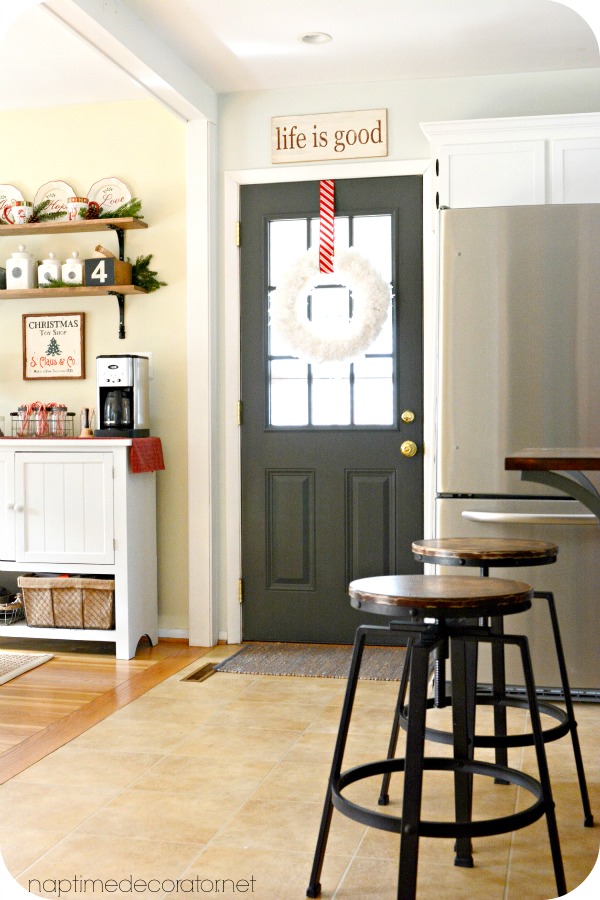
And speaking of mugs – I’m so excited about this, I have to share – Santa came early and brought me a Keurig!!!! This has changed my life. Seriously. We still have our regular one on the DIY Coffee Bar, and use that every morning when we want several cups, but this one has been awesome for those middle-of-the-day pick me ups, and when we just want a cup of decaf at night. (And the kids are LOVING the hot cocoa pods!)
Oh! That photo reminds me, the chalkboard menu got an update this year too!
And in case you’re wondering, that poinsettia is strategically placed to hide the black cord;). Guess I’ll just have to pick up fresh flowers on a regular basis after Christmas is over. Twist my arm.
Ok, moving on…
Another easy way to bring holiday cheer to your kitchen is right in your backyard (ok, maybe not, but your closest tree shop!)
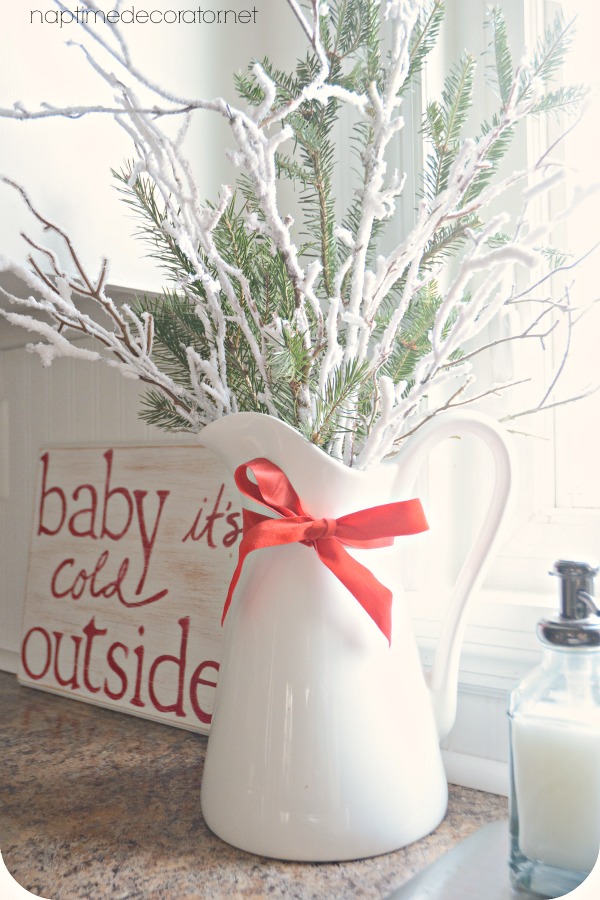
Take a pitcher, wrap a ribbon around it, and stick branches and greens inside. Done.
(You might recognize that baby it’s cold outside sign from a few years back. That post was lost when my old site was hacked, so I can’t link it up unfortunately:( Boo.)
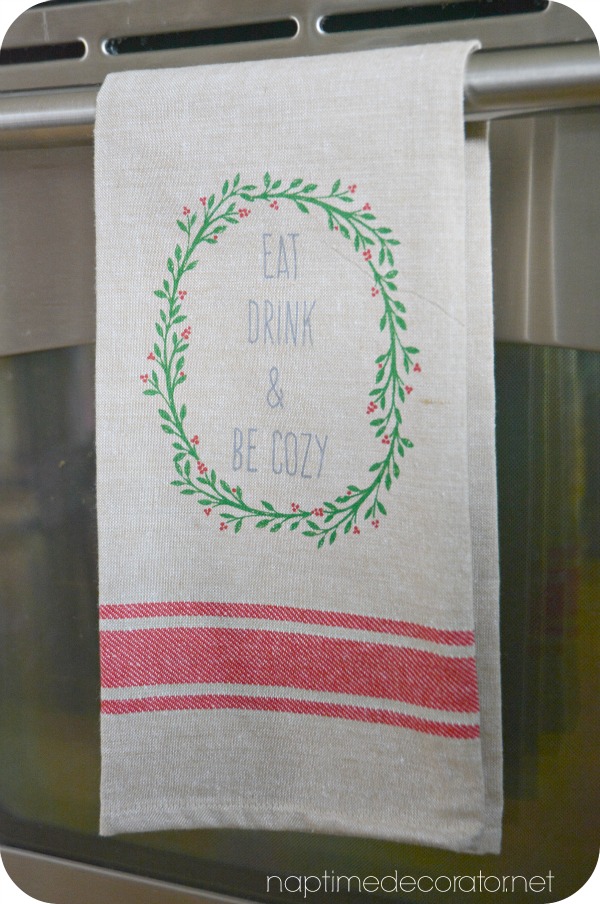
A simple tea towel (or two) can also make things festive for just a couple bucks…(this one is from Homegoods)
And you know me and my chalkboards…I do love ’em! Our chalkboard fridge is always a fun way to decorate…
Almost forgot…a cozy white fuzzy (and thrifty!) wreath with festive ribbon was the cherry on top in this room:)
So you can see, just a few simple swaps can really bring on the Christmas cheer! You really don’t need to break the bank when it comes to decorating, I whole-heartedly believe that.
Stay tuned for one more thrifty, fun Christmas project (involves displaying Christmas cards)…And happy decorating!
 Hi there! I’m Liz, a former teacher-turned-stay-at-home mom to three kids, with a passion to create a warm and inviting home on a budget. This blog all started when I’d put the babies down for a nap, and squeeze in a project during those precious couple of hours! My hope is that you visit this page and feel inspired to do a little “naptime decorating” of your own. Thank you so much for stopping by!
Your kitchen is equally beautiful as your other rooms!!! I love all your Christmas touches. I enjoyed looking back at your kitchen at Christmas from past years. I must say, I remember all the ones you shared.
Happy Weekend…
Sherri
You are so sweet, Sherri! Thank you so much:)
I love your kitchen, and especially your Christmas Kitchen! May I ask where you got your milk sign over your sink? It’s exactly what I’ve been looking for to go over my sink and the colors are perfect! Thanks!
Thank you! It’s from Hobby Lobby.