First off, I apologize if you were stopping over here expecting a Favorite Things Friday post. But I finally took pics of the new (er, old) fancy cabinets and I figured, it’s been forever since I’ve done a regular post, so let’s just go for it this week. I’m been posting some little peeks on Instagram and Facebook and it’s time we talk about it!
You guyssssss. THIS PROJECT. I can’t even tell you how much I am loving these “new” cabinets. I put “new” in quotation marks because they are SO NOT NEW, but they sure do have a new look about them! These are the same 1960s cabinets that were here when we bought this house. We removed the soffits when we moved it, painted, painted again, then added crown molding, then added some trim to the fronts to give them a Shaker style look, and new half moon drawer pulls. And that helped…BUT…I decided to get even fancier, my friends! I ripped off the crown molding, and well, let’s just take a quick look at the stages before I show you what they look like now!
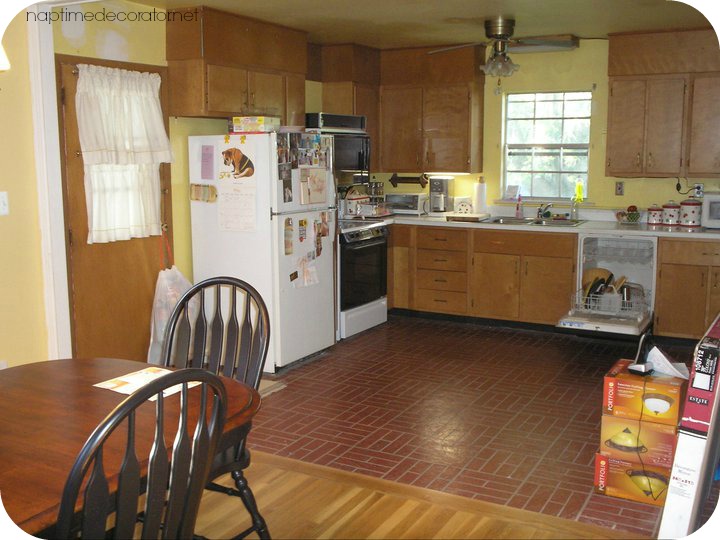
When we moved in:
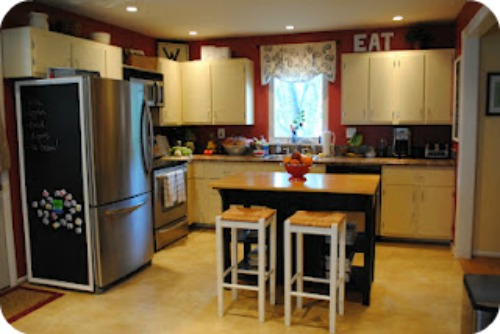
and then my gold and red phase (excuse the ancient blurry photo?!):
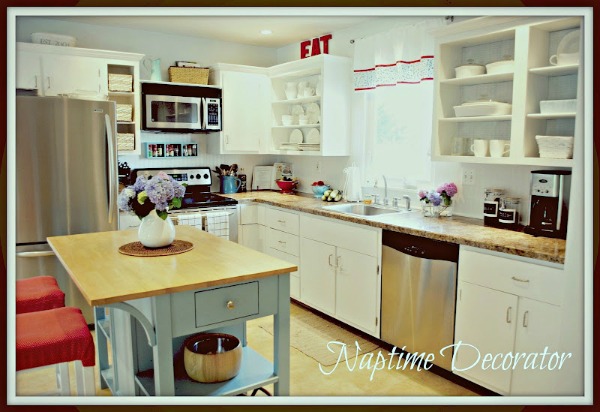
and then my bright color phase:
and then my more subdued phase:
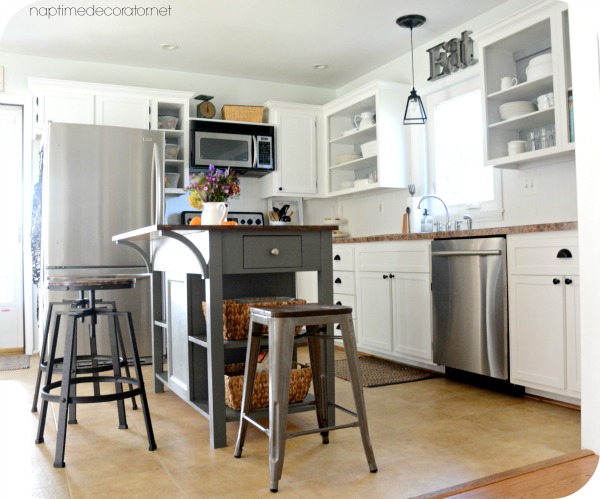
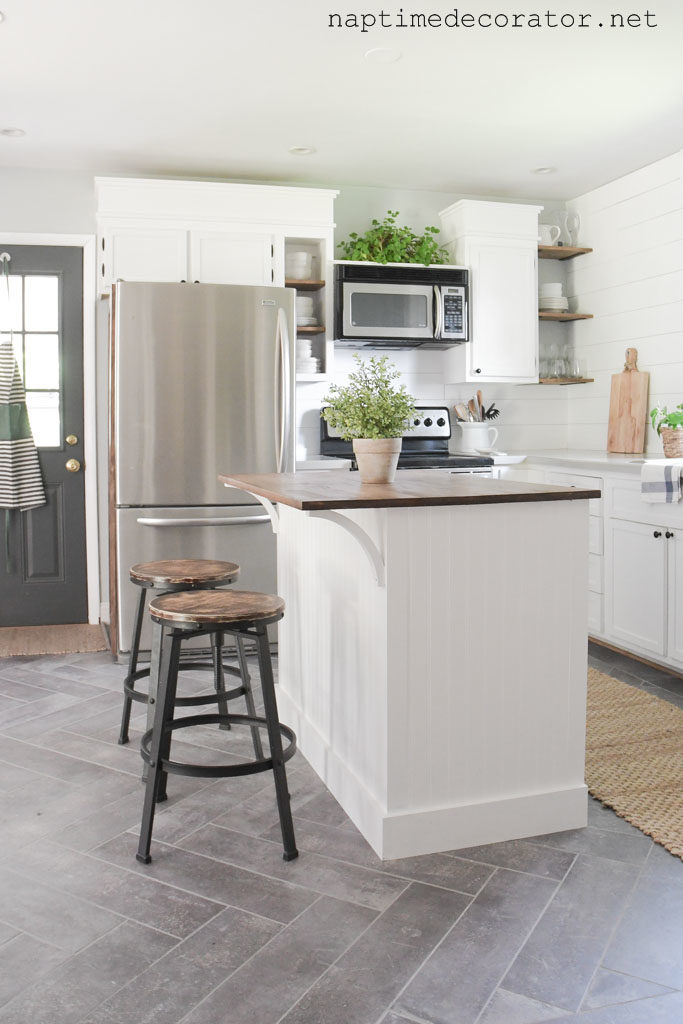
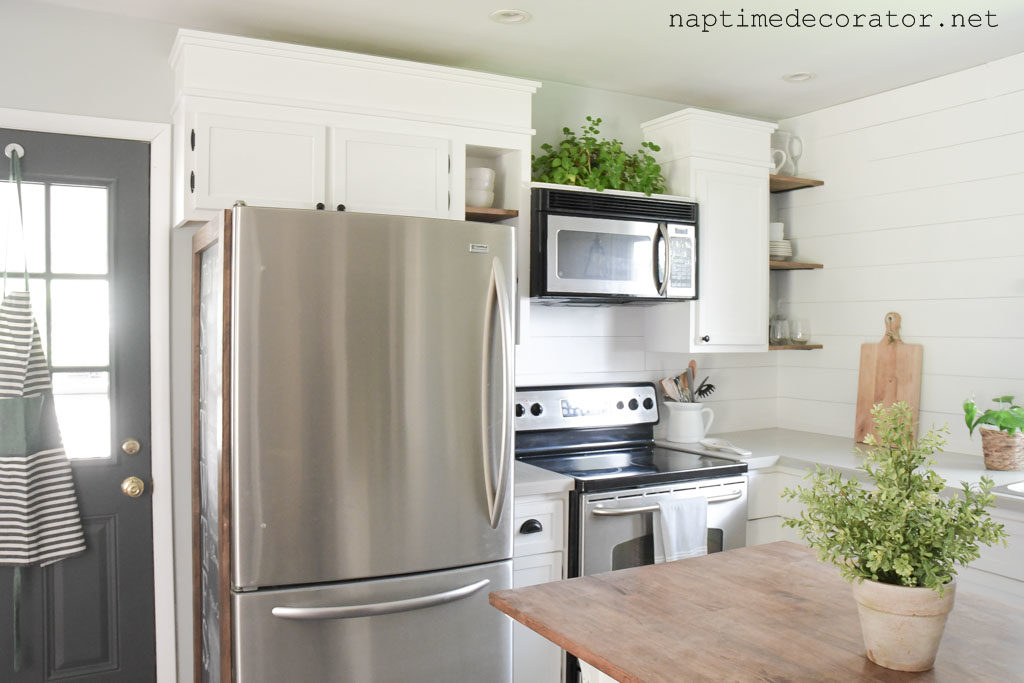
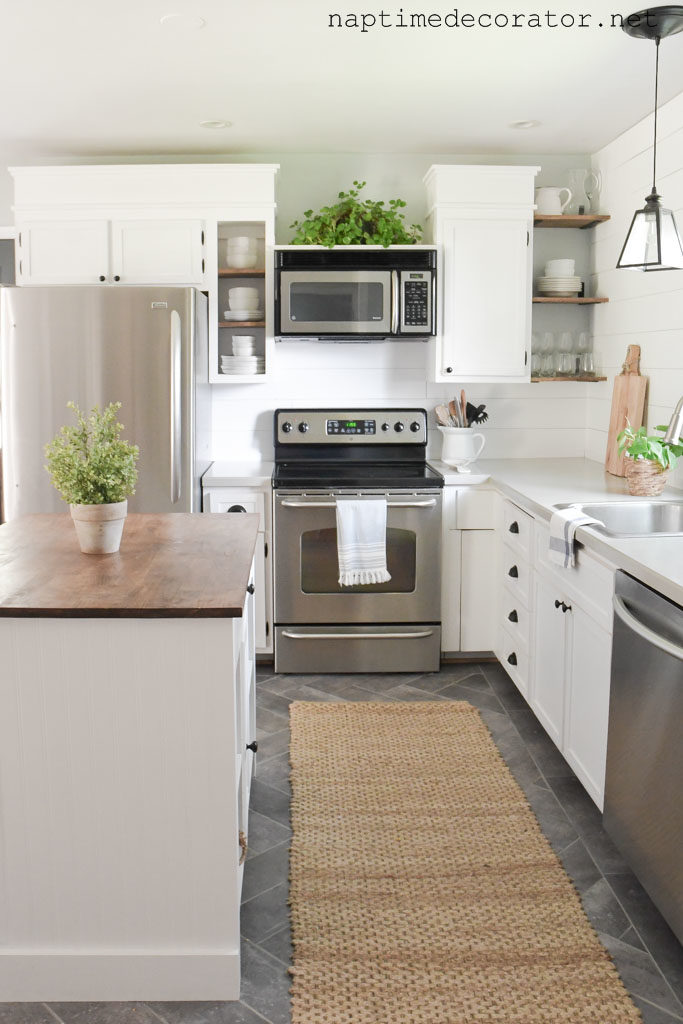
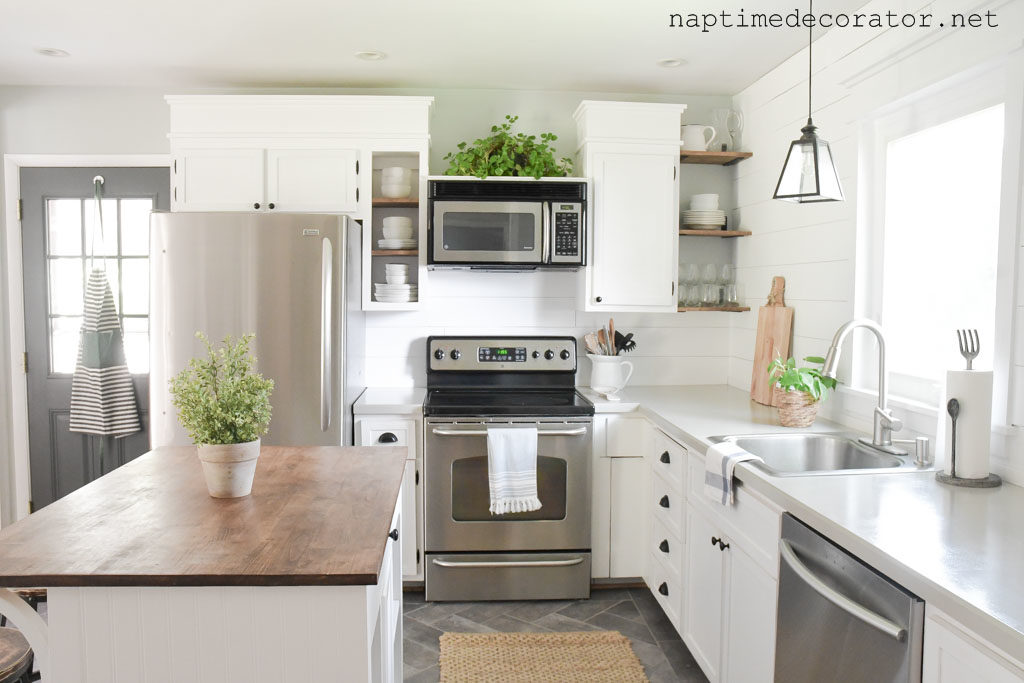
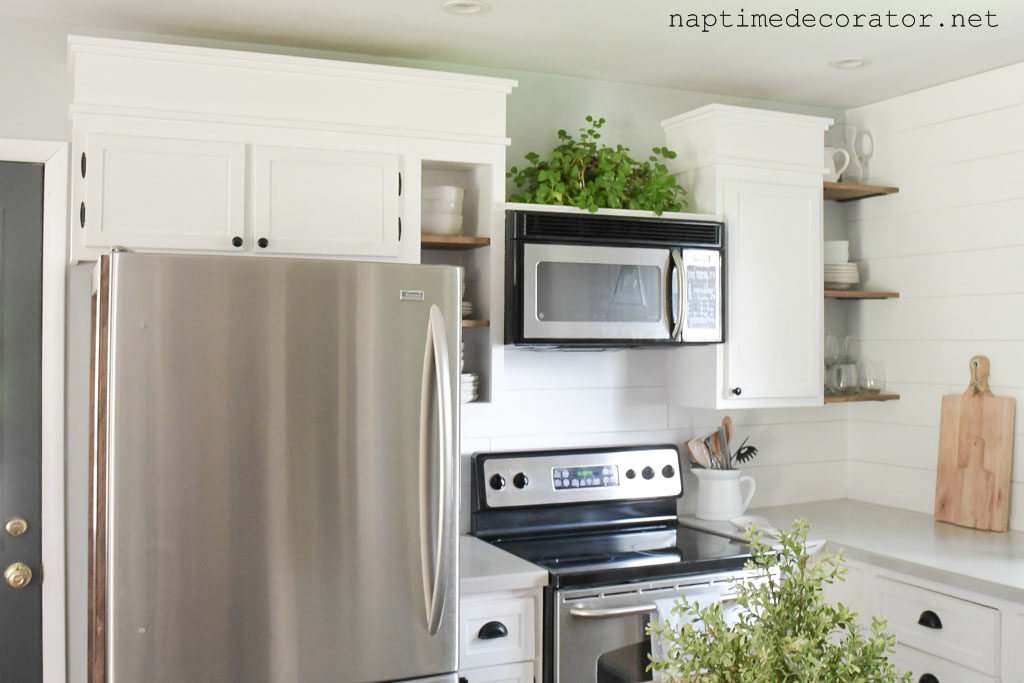
and NOW, my fresh and free of uppers minimalist(ish) phase!!
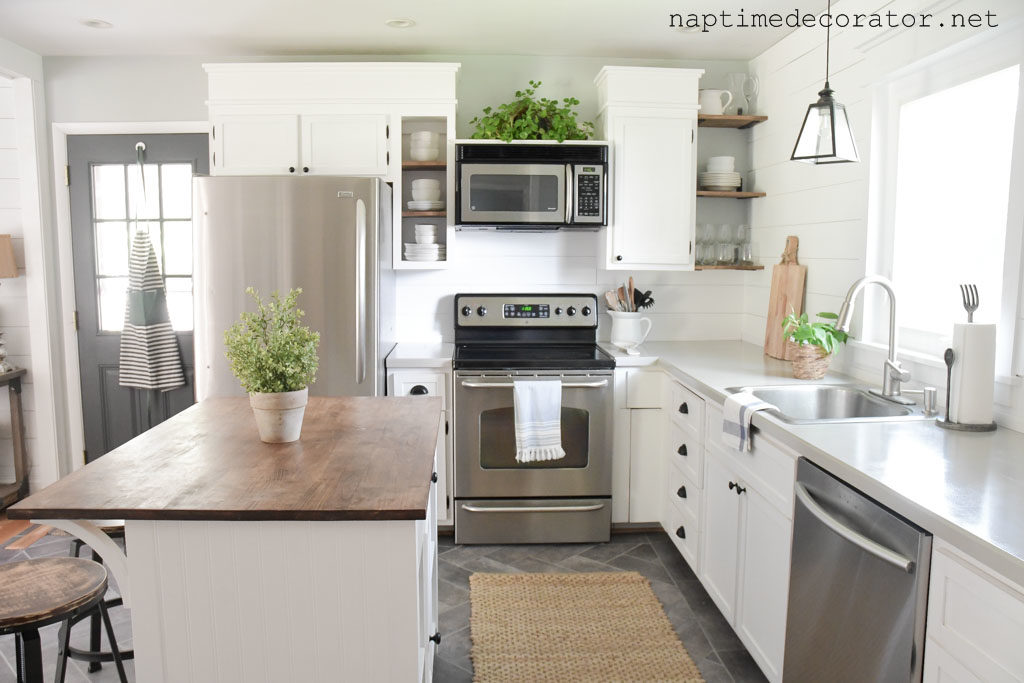
Same cabinets, many MANY makeovers!
All I did was follow the exact same method I did on the window trim (see this post for all the info):
Except I went with a 1×6 instead of a 1×5 for the big piece in the middle. I wanted these cabinets to get as much height as they possibly could. And I went with a 1×3 for the base instead of a 1×2 like I used for the window. I thought a larger piece on the bottom would help it sit balanced on there, and have more surface area to play around with. I didn’t really know how I was going to attack this project, honestly. I knew I wanted to make the cabinets grow, but how? Then I decided why not have them mirror the window trim? Yes! I decided to build the first front pieces first.
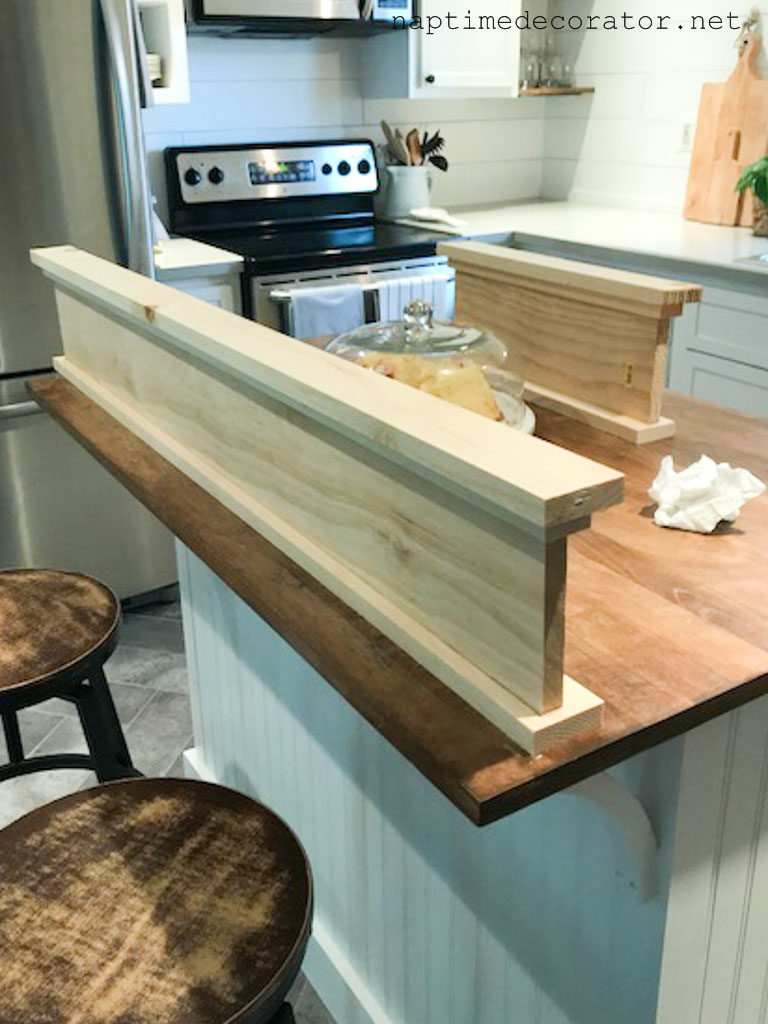
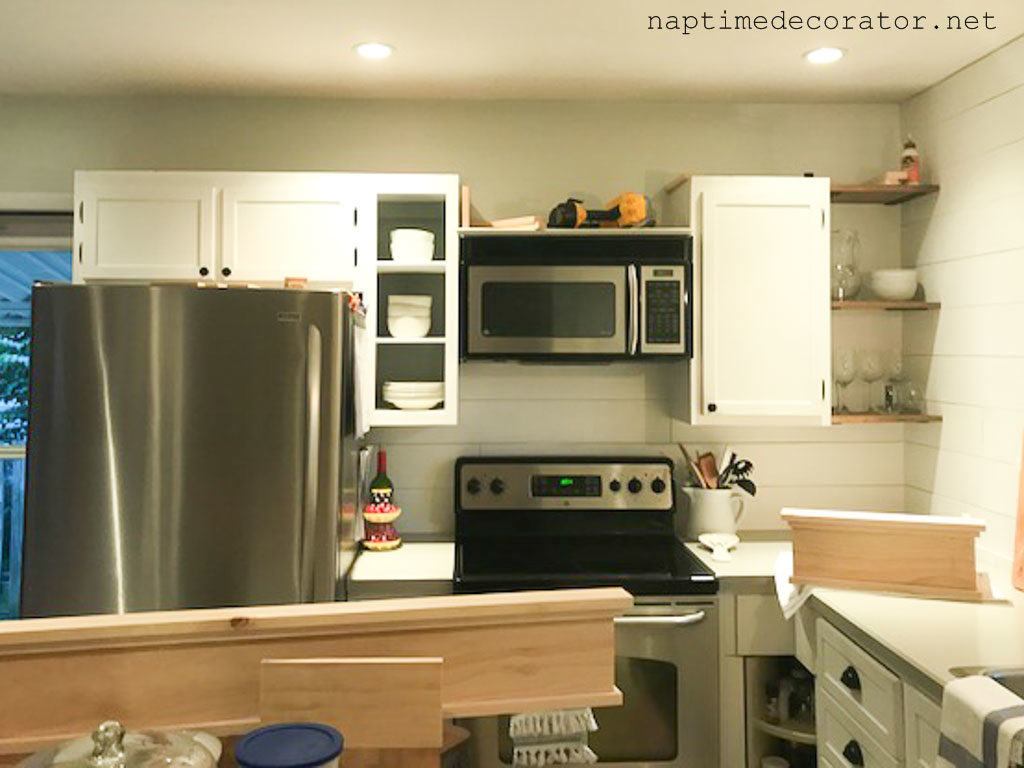
Then I sat them on top of the short existing cabinets to get all my measurements for the side pieces. It was just easier to get that front piece in the works first, then figure out all the dimensions. I used my circular saw for all of these cuts.
The top of the cabinets look like this (please ignore the dust…yikes!). I plopped a bunch of wood glue on there and after it dried, that front piece didn’t feel like it was going anywhere!
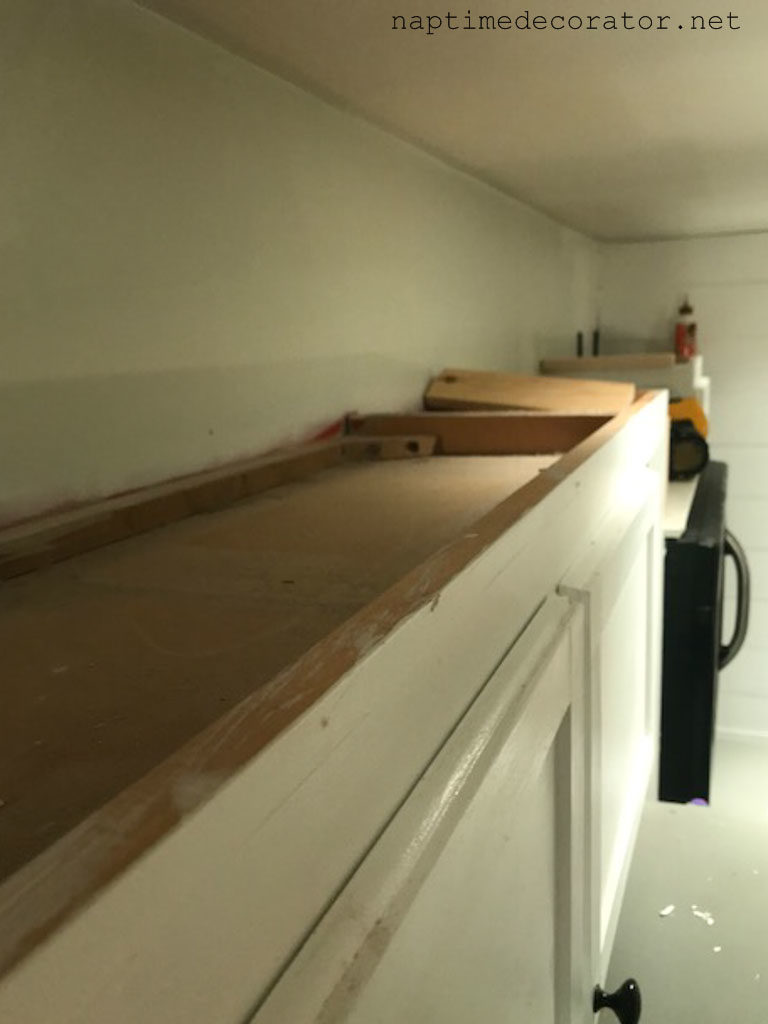
So I just kinda went from there. Measured, cut, measured, cut. It was like a Jenga game for a while there! (And you can see, I primed a bit at first, then said forget it, I’ll do it all at the end😉
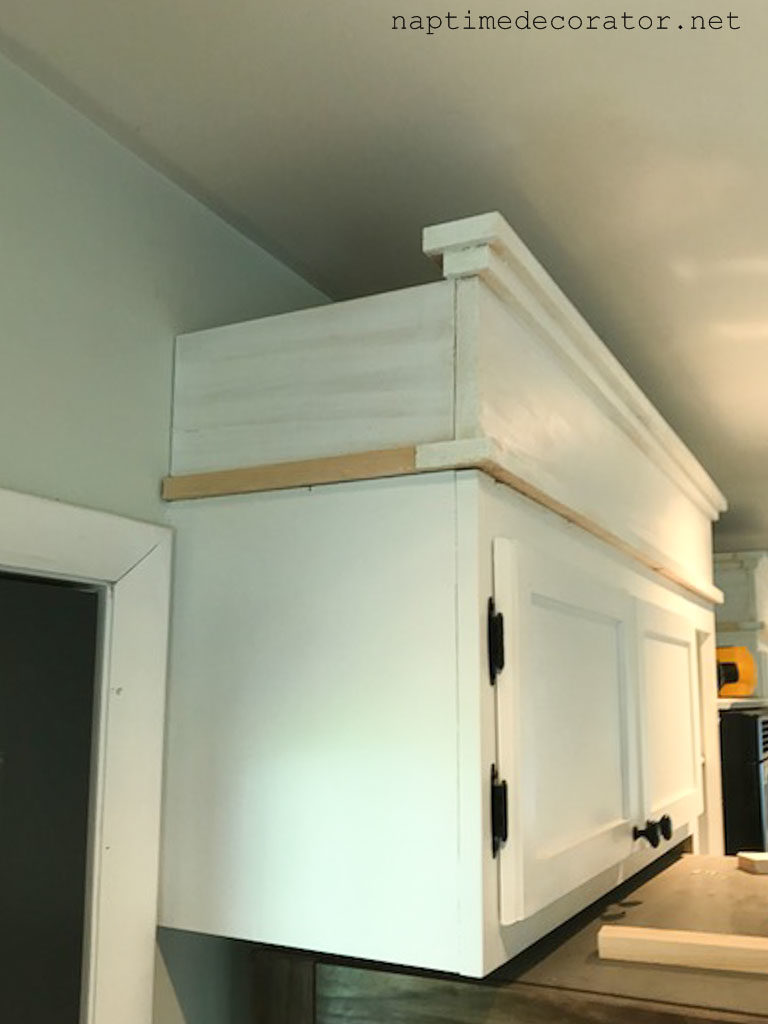
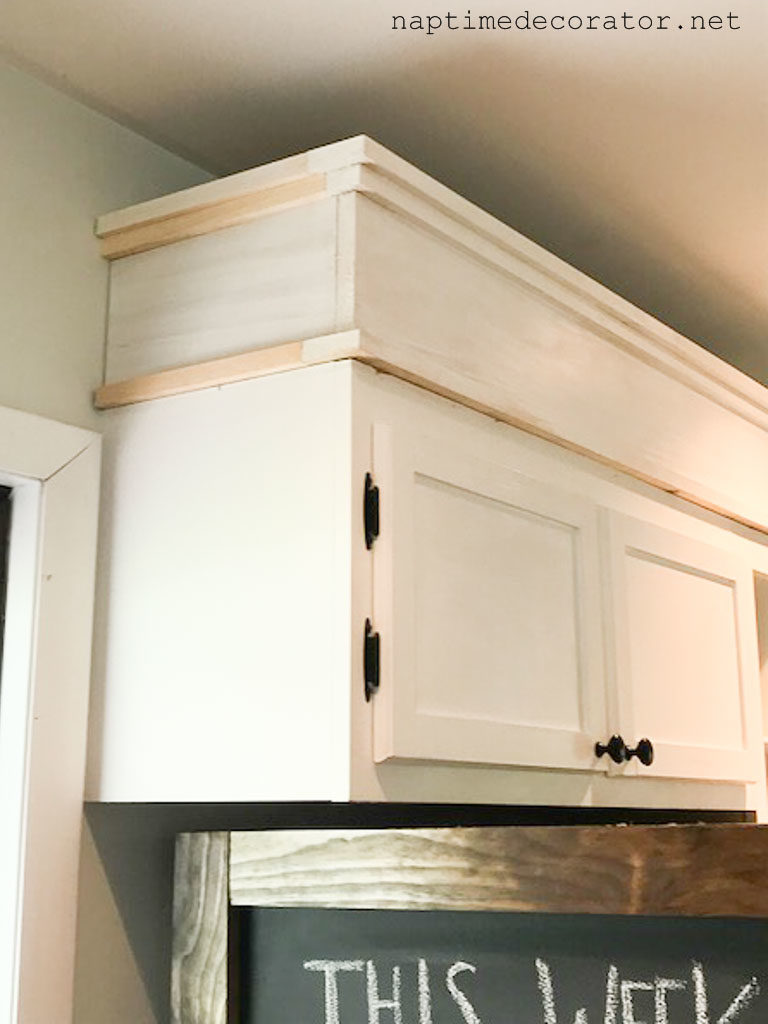
Once all the pieces were perfect, I actually just started gluing everything in place with wood glue. The only nails I shot in were where the front pieces met the side pieces. I made sure everything was perfect and in place evenly before the glue set, then I didn’t touch them for a day. Once it was good and dry, I caulked and painted with the same white paint I did the windows and faux shiplap – Behr Bit of Sugar in Satin finish. It’s a gorgeous true white. And that’s it, my friends!
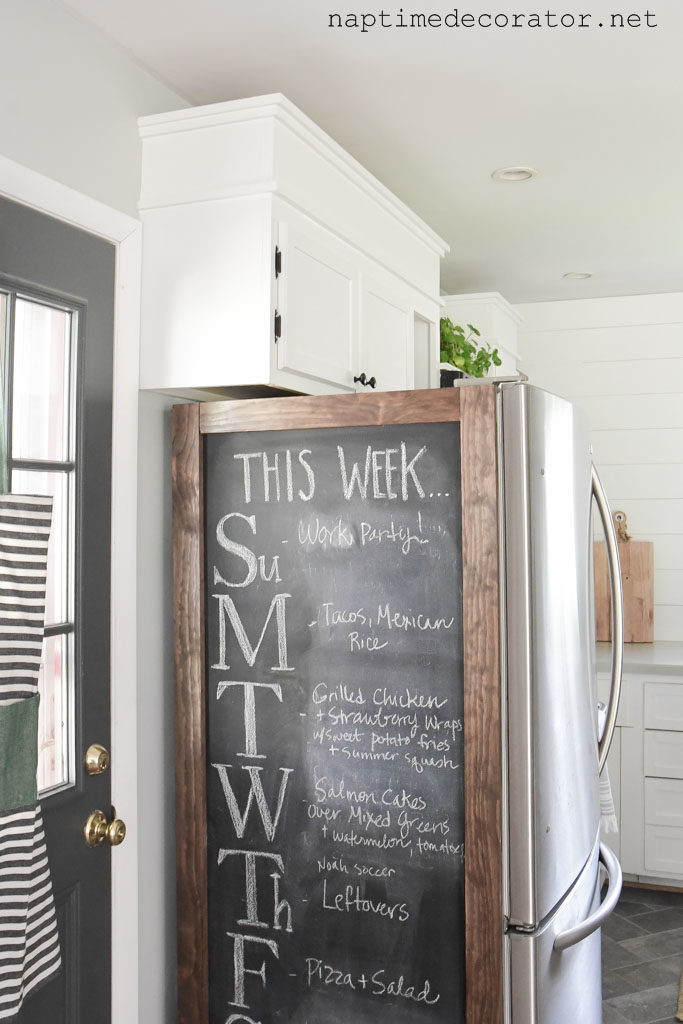
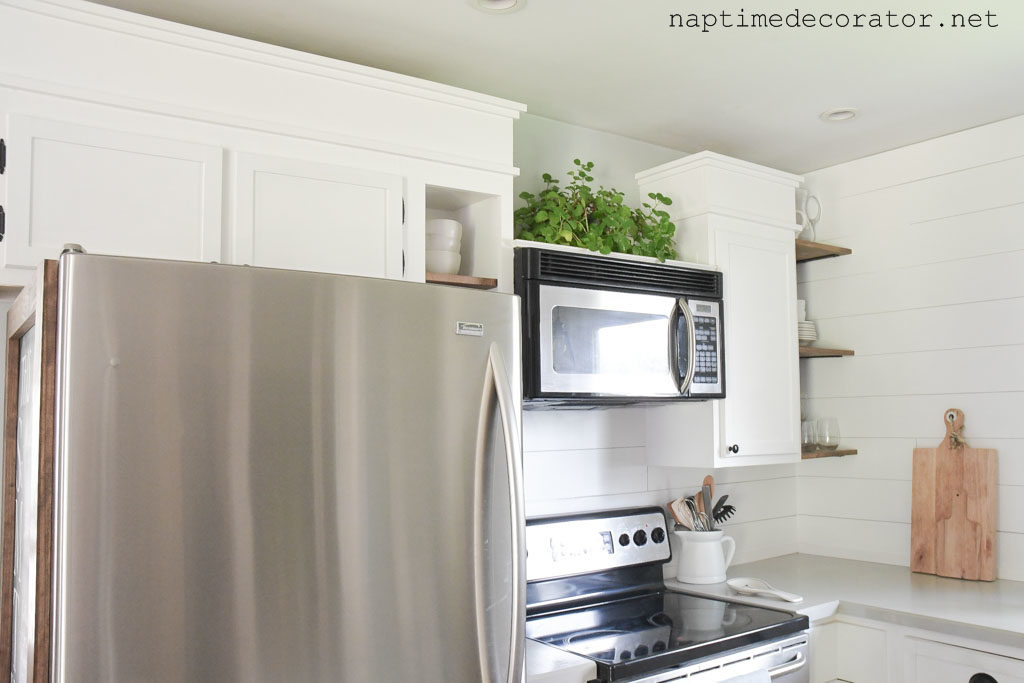
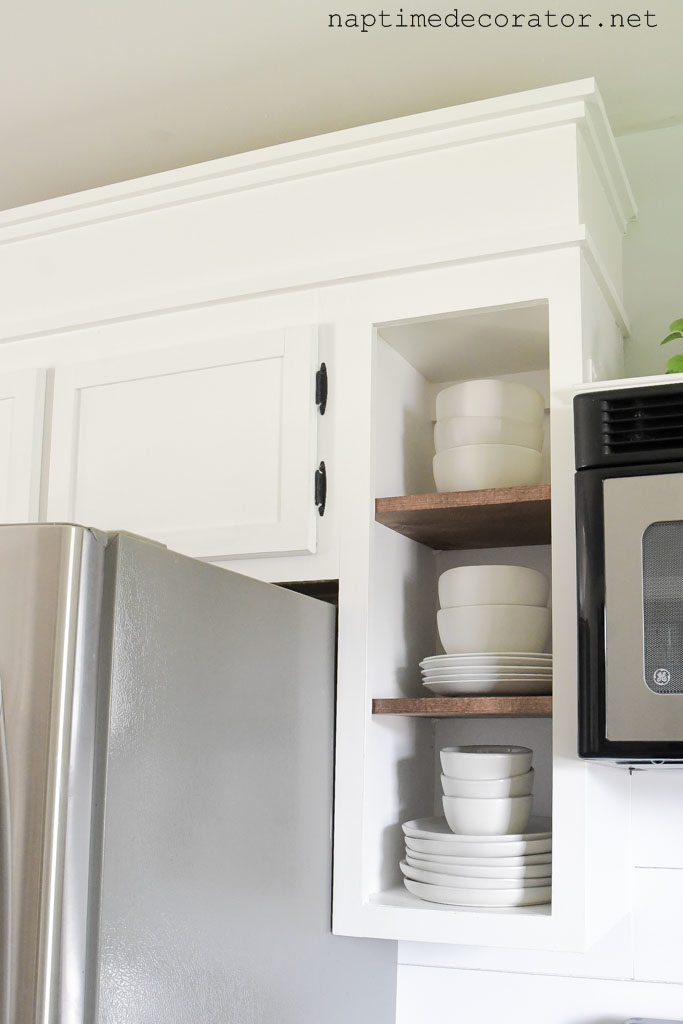
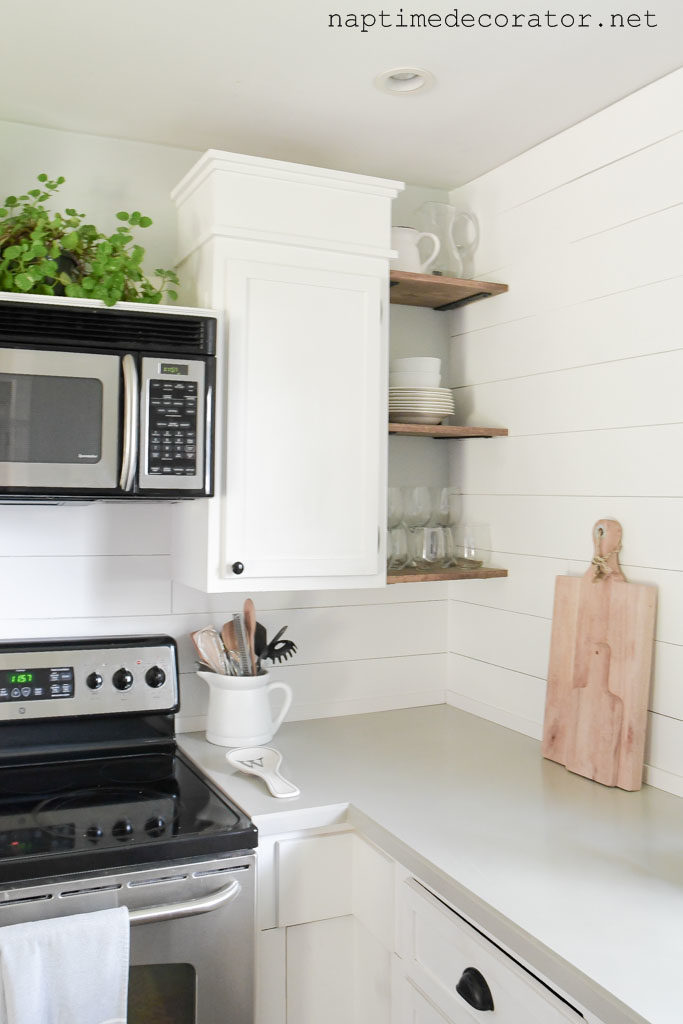
Oh! I’ll do a post about it later, but we had that awkward little space to fill on the right, where the corners met of the upper cabinets – this spot:
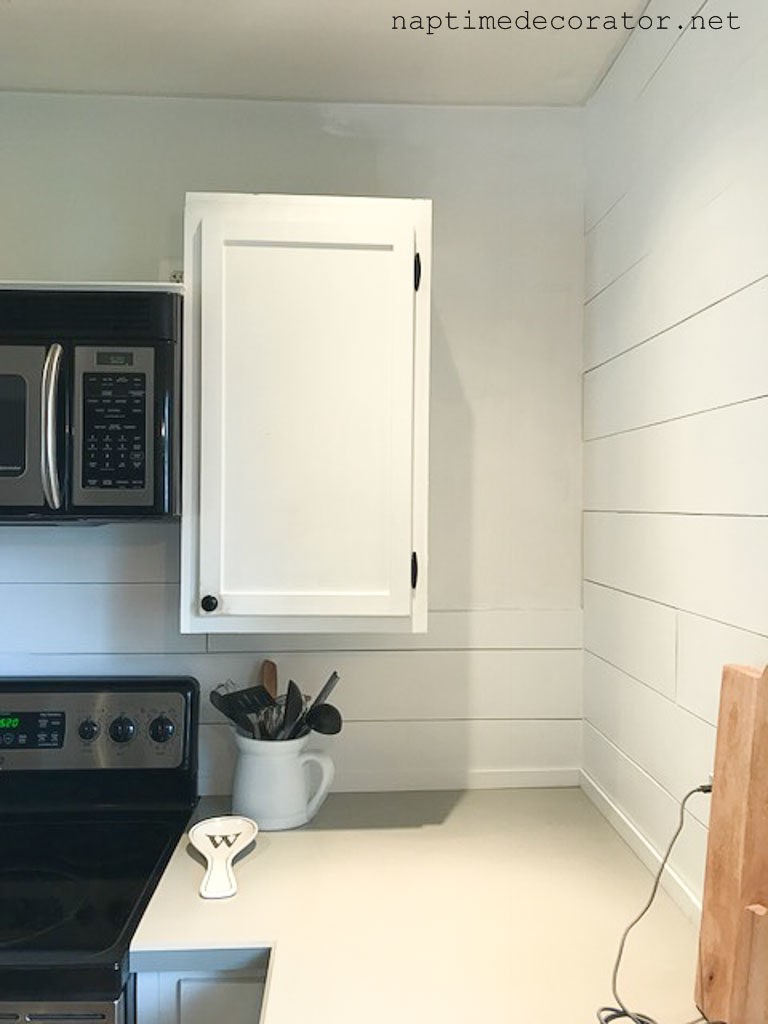
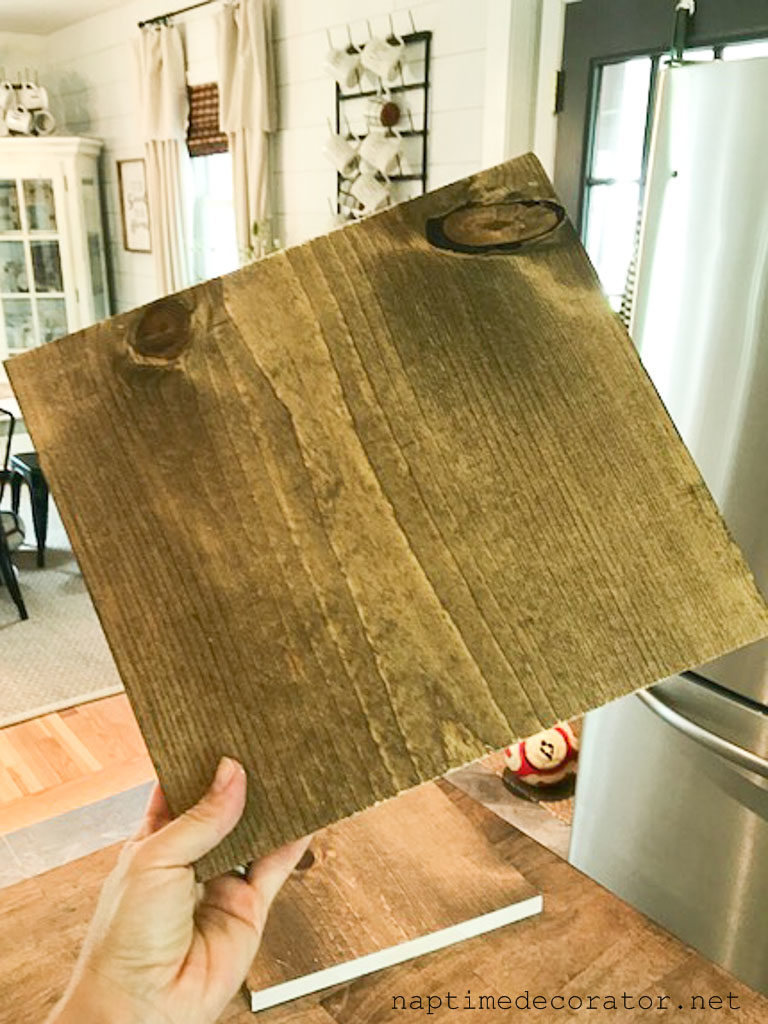
So I picked up a 1×12 piece of wood, stained it, cut it, and mounted them with brackets to that little spot to create more shelving. I had leftover pieces, so I used them on the skinny little open cabinet there as well, on the left of the microwave. Those dinky original shelves were literally curved from age and wear! Crazy. Took about two minutes to cut the wood to the same shape as the existing shelves and plop them in there, and MAN what a difference! And since I had the wood leftover, it cost me nothing.
Also, can you even believe my painted counters are still holding up?!! I’m holding my breath but WOW, so far so GREAT!
So that’s the scoop on the cabinets! Let’s just look at this before one more time – these cabinets are (were!) so tiny!
Got a few more things to do and then we’re done! I am completely loving the new look and can’t wait to see it all come together.
Have a great weekend, and as always, thank you so much for stopping by!
XO, Liz

 Hi there! I’m Liz, a former teacher-turned-stay-at-home mom to three kids, with a passion to create a warm and inviting home on a budget. This blog all started when I’d put the babies down for a nap, and squeeze in a project during those precious couple of hours! My hope is that you visit this page and feel inspired to do a little “naptime decorating” of your own. Thank you so much for stopping by!
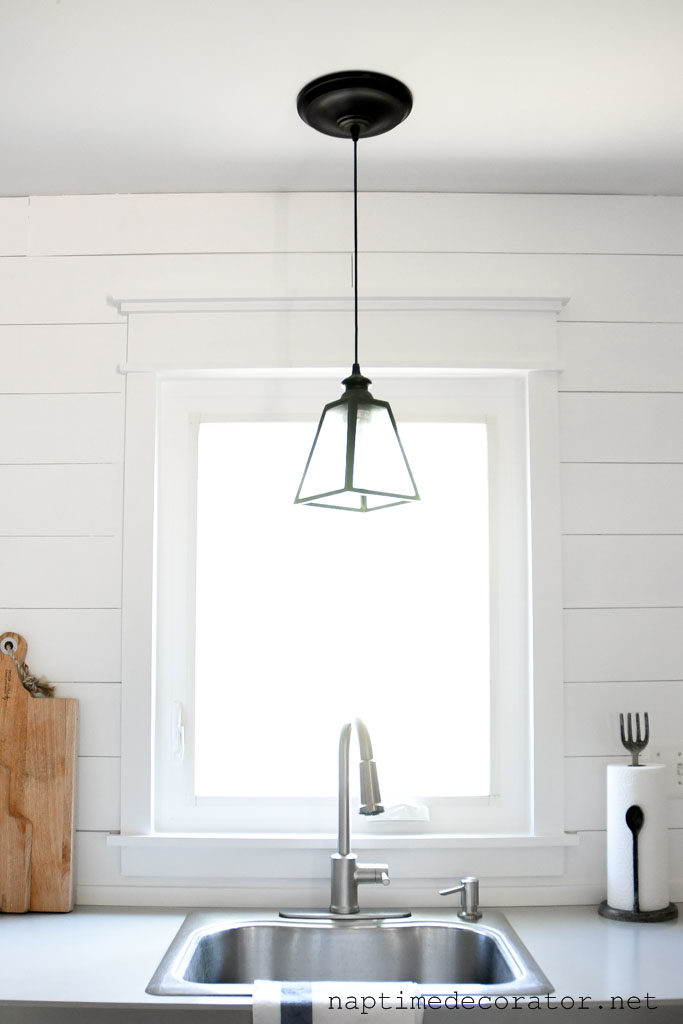
Can you link the light fixture over your sink?
Just tried finding it – no luck, sorry! Been several years.
Beautiful! Such an inspiration! You should be very proud of the space you have created for your family!
So great – you are one talented lady! Cheers!
Looks AMAZEBALLS, well done!! I’m trying to get the courage to remove the upper cabinets on one side of my kitchen (already white, custom cabinets all the way to the ceiling, I can afford to lose them as I have tons of cabinet and drawer space) and you’ve given me the courage me thinks! And I LOVE the wooden shelves, so clever and I never thought to replace interior shelves that way, genius! Can you tell me what kind of wood you used? I’d like to use a walnut stain for sure. Now I need to hunt down where you wrote about the faux shiplap, because I want to get to that as well 🙂 Thanks for the inspiration!