Whew! That’s a mouthful of a title, hug?!
Just callin’ it like it is, people.
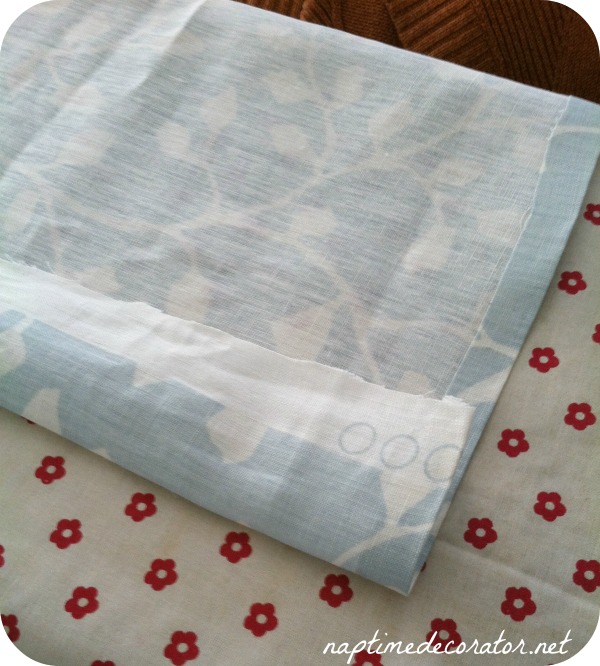
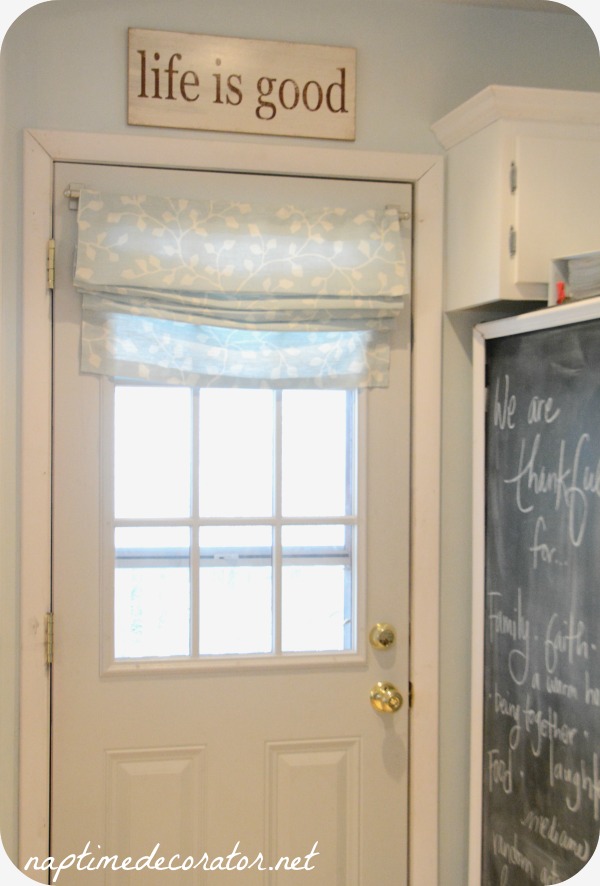
You see, once upon a time, I had these incredibly blah – oh, and UNmatched curtains in my kitchen. Yes, they’ve been up for oh, about 9 years. And I JUST noticed – scratch that – my HUSBAND just noticed the pair were different. Take a look for yourself…
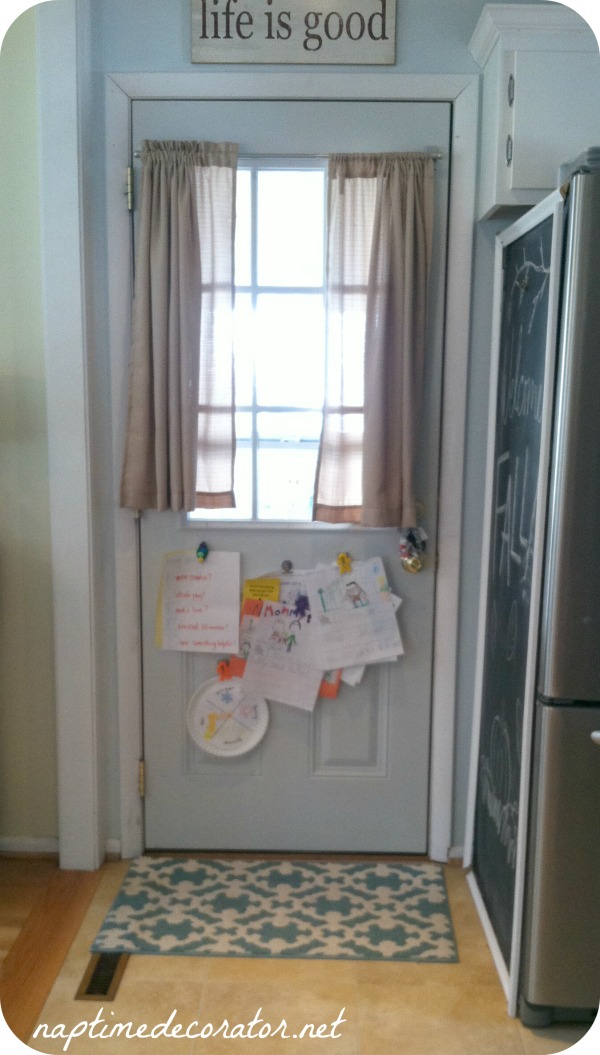
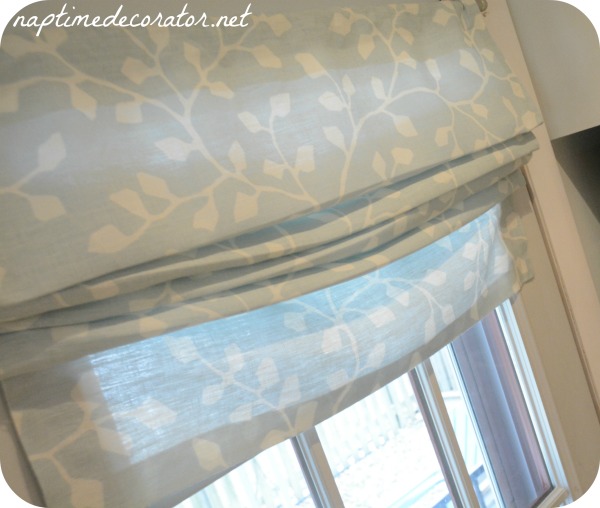
Take a look at the top of them. One has a rouched (is that a word??) top, one…does not.
OMG.
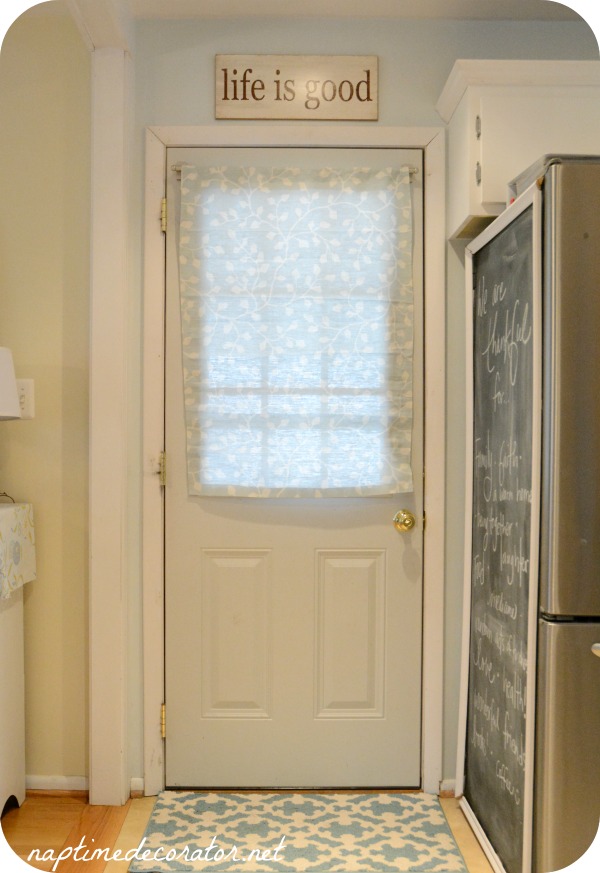
ANYwho…this gave me the kick in the pants to find a cuter solution, but it’s hard to find a shade for a kitchen door.
So I decided I was gonna solve this on my own.
Here’s how I did it:
I was already a step ahead of the game, because I have that silver magnetic rod to start with.
I went to JoAnn Fabrics and found a subtle pattern fabric in light blue and cream – didn’t want anything too bold. I bought one yard and had a coupon, so it cost me a whopping $4.50.
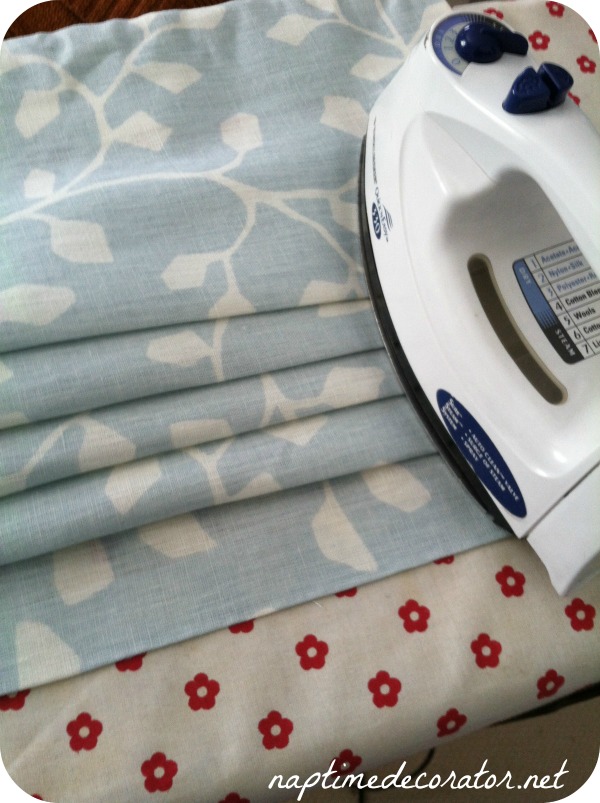
I had some iron-on hem tape already, so I cut the fabric to the size of the window part (the part it needs to cover), and added on an inch all around.
Here’s why – I had to add my hem. I do NOT sew, and I am soooo jelly of those who can. Lucky for me, there’s this awesome stuff to help a girl out, that only involves some tape and an iron.
It’s so easy to use, too. First, iron down where the tape will be going, making a pleat-like thing (Can you tell I have no idea what the terminology is when it comes to all things sewing?!) . Then, lay the tape down. Iron over it.
Voila! You have a hem.
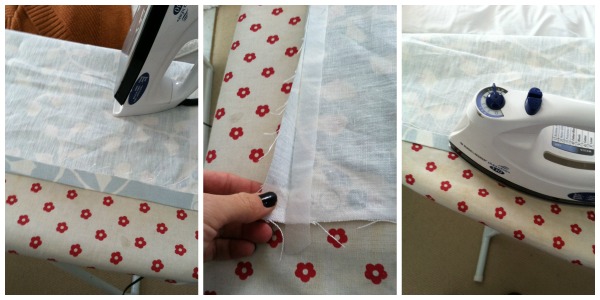
Repeat on all sides. You’re left with a hemmed piece of fabric.
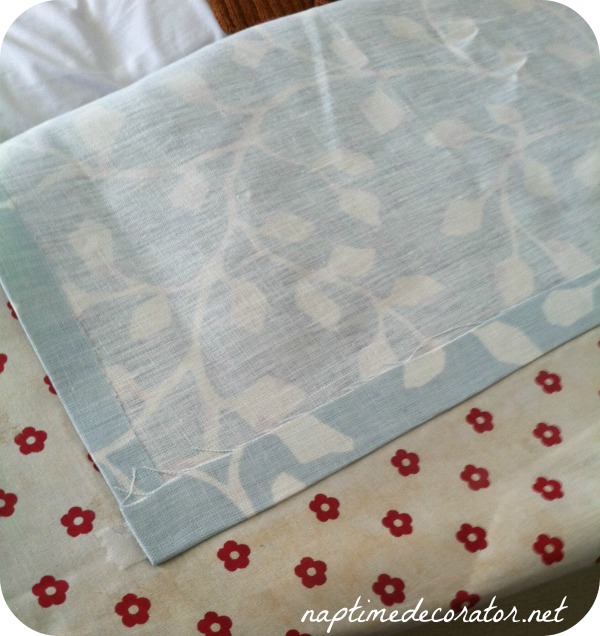
BUT! On the top hem, make sure you make it larger – large enough for the rod to slide through, like this big:
So I’m left with this:
Then came the tricky part.
How was I going to pull it up every morning to let the light in, and pull it down every night for privacy?
Hmm….
I picked up these magnets from Lowe’s:
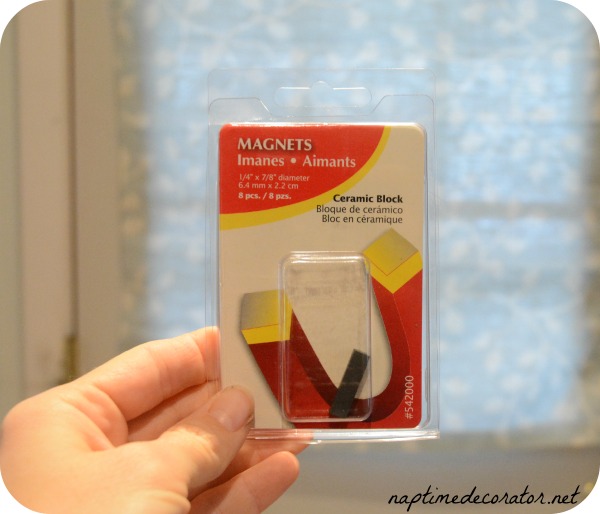
(There’s 8 pieces in the pack, I just happened to forget to take a pic before I used them!)
I pulled the fabric up to make it look like it would if it were pulled up:
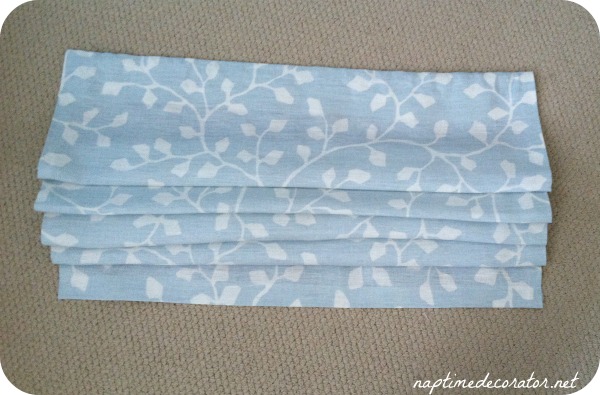
Then I ironed that bad boy to make those natural pleats. You’ll find out why in a sec:
I even went in between each layer and ironed:
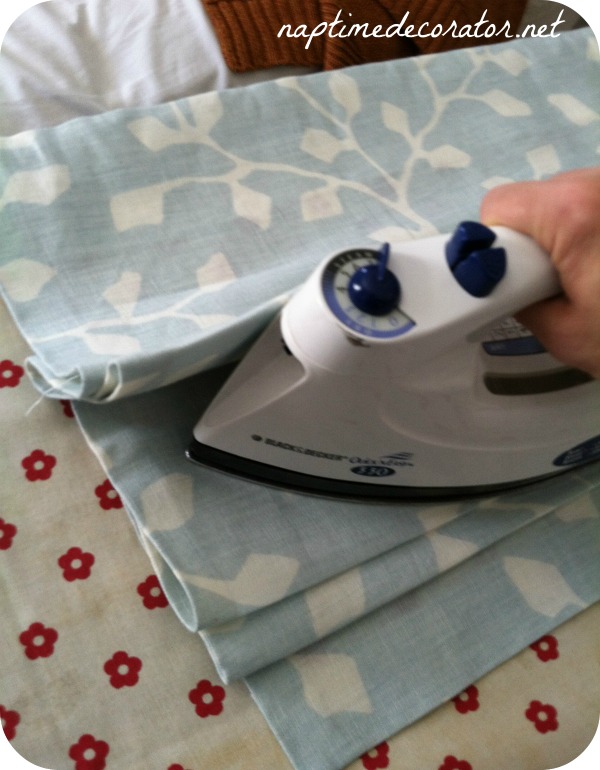
The reason for these pleats, is to ensure it naturally pulls up that way, when I attach the magnets.
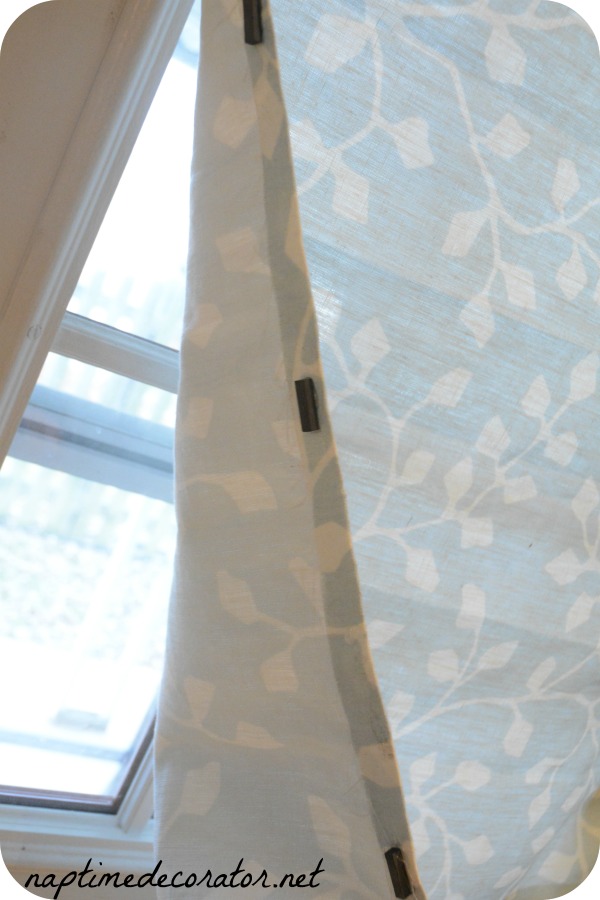
Which brings me to the next step. I hot glued the magnets to the sides (on the back of course!)
And since it was impossible to take a picture of myself as I slide both sides up (and have no patience to wait until tonight for my husband to do it;), I took a series of pics to show you. Basically, in the morning, I just slide the sides up, like so:
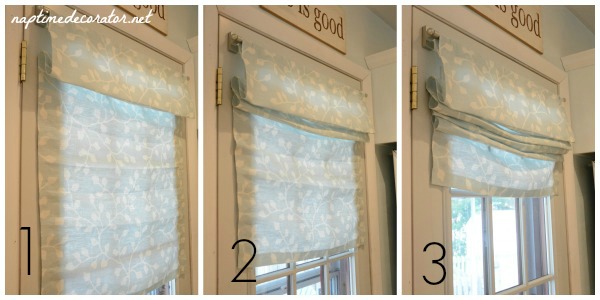
The magnets just do the work! Then at night, just pull it down.
So here’s what you’ll need if you want to give this a go:
-fabric (size depends on your door)
-scissors
-iron-on hem tape
-iron
-magnetic rod
-magnets
-hot glue gun
No more mix-matched curtains, and I only spend $7! ($4.50 for the fabric and $2.50 for the magnets).
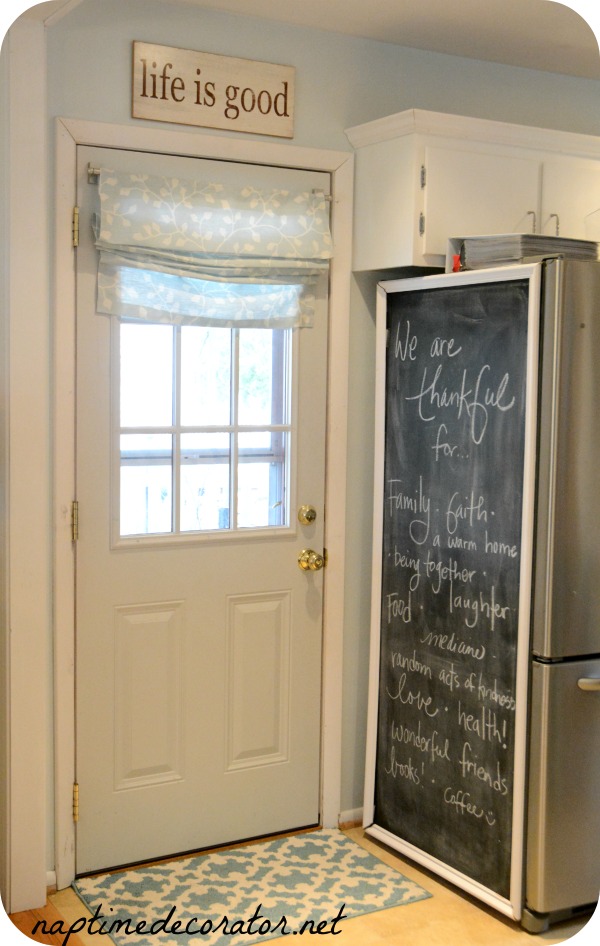
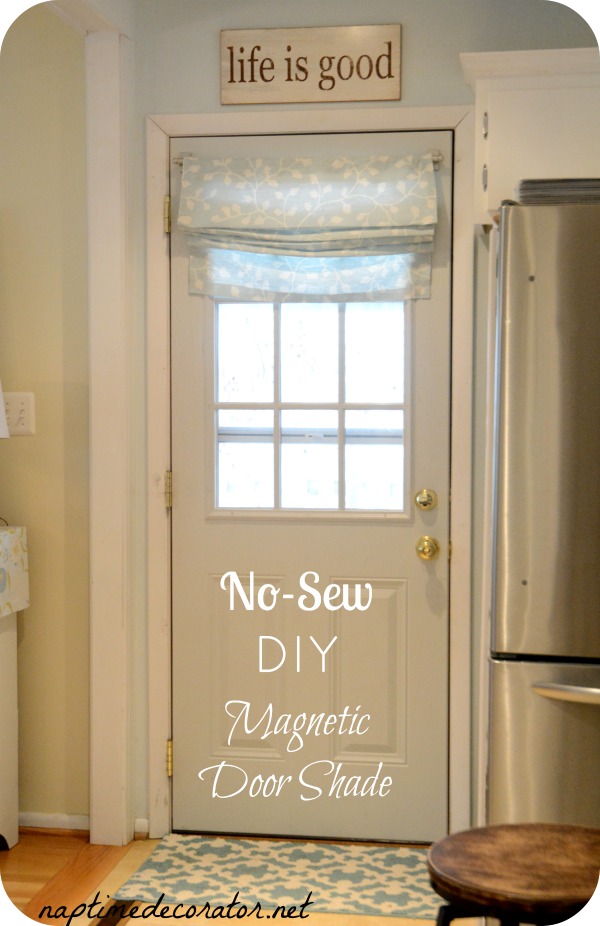
Problem solved:)

 Hi there! I’m Liz, a former teacher-turned-stay-at-home mom to three kids, with a passion to create a warm and inviting home on a budget. This blog all started when I’d put the babies down for a nap, and squeeze in a project during those precious couple of hours! My hope is that you visit this page and feel inspired to do a little “naptime decorating” of your own. Thank you so much for stopping by!
unmatched curtains? looks like the rod goes through the heading on one panel and the casing on the other.
the shade is nice!
I tried that! (I know because that’s happened in another pair of curtains I had;) hehe! It wasn’t the case in this set.
Ah well, turned out ok in the end! 🙂 Thank you!
You are so smart and resourceful! Great job (as always!)
Thank you so much, Lynn!
Seriously. . . I am sure you could sew if you tried it. You are so talented! Do you have a sewing machine? If not, hello Santa! Don’t get me wrong, your curtains are awesome! But sewing does come in handy, even if all you can do is sew a straight line 🙂
Good idea. I have a door like this. You may have the perfect answer … only I can imagine (since I sew a bit more than you do – =) … how to cover those magnetics with a thin layer of fabric lining. Good job!
Ok, help me out. The rod that the curtain is hanging from is magnetic, correct? But from the pictures it doesn’t look like the magnets are touching the rod, only each other when you have it up. Am I looking at it wrong?
Right, the curtain rod is magnetic. The door is steel so it’s magnetic also – the magnets are touching the actual door.
How far apart did you place the magnets?? Super cute!
Where do you find a magnetic curtain rod? Great idea and will be trying this out. Thank you for sharing!
Oh gosh, it’s been so long, I can’t remember, sorry! We picked it up 11 years ago when we moved in. Try googling it, I’m sure you’ll find it somewhere:) Good luck, and thank you!
They have magnetic rods at Wal-Mart!
I love your idea! I am making window treatments for a friend, and this is brilliant. I have seen Roman shades at Ikea with magnetic rods, but they come only in white and the fabric is just okay. Thank you for the inspiration, and the writer above is right: as clever as you are, you would pick up sewing in a heartbeat, and sewing has been one of my most valuable skills. Most home projects require cutting carefully (you already do) and sewing straight lines. I have sewn very personalized draperies and pillows for family that I could not have afforded to buy.
So confused. My door looks just like yours and is called a steel replacement door, but my magnetic rod doesn’t stick to it!
Bummer!!
Fiberglass door problem solved. We also have a brand new fiberglass door; a magnetic rod will not adhere to it. Not wanting to drill our new door, I got to thinking on how best to solve this and called a Magnetic sign company that makes signs for sides of vehicles. They sold me a long small strip of magnetic material about 3” in height. I will have to “glue” it to the door (or you could use a double sided stick tape). This strip be mounted above the glass and run the width of the door windows. I can then attach a magnetic rod to it or customized magnetic Roman shade.
I also had them cut a wider strip for the bottoms of my steel doors. If attaching to a steel door the white side of the material will be visible. It will be painted the match our exterior doors and because they are magnetic I can remove for color changes or touch ups. My sign company’s magnetic material was a lot cheaper & more lower profile than door kick guards (which require screws) sold in big box stores.
On a fiberglass door I would use the self adhesive velcro strips (found at Lowe’s Home Dep, Ace Hardware etc… They are used to hang pictures without damaging your walls etc. Anyway, they will not damage your door and they are easy to apply. I’d place them in a vertical pattern so they are not noticeable on the door or curtain.
We have a magnetic door with a magnetic rod,kk and the rod has left scratches on the door, have you found that the magnets on the sides leave scratches? Could the magnets be put between the fabric in the hems, to keep this from happening?
We didn’t find scratches, and I really don’t know if that would still hold or not, sorry! Guess that only way to find out is to try it? Good luck!
You should learn to sew. I was the same way. Never thought I could. One day my mother told me about Joann classes (even starts with beginner/no experience) and the online videos on bluprint, and I learned basic sewing in a week. I started sewing only 2 months ago and I have successfully made my 9 month old son’s Halloween costume (he was a donkey!) and everyone (myself included) is shocked how store bought it looks. Machines are on the pricy side (make sure it’s a good one reguardless of price) but they are an investment for the money you save on things that look store bought! Don’t be scared and believe me, it’s MUCH MUCH MUCH easier than you think!!
Yes!! Since this post I have gotten a machine and learned:) I love it!!