Wow. So my last post was eerily timely, huh? But just as I said in that post, I will continue to go forth and blog…while I pray and pray…and pray some more for Paris and the rest of this world of ours. God bless.
If you recall from the Basement Makeover Post, there were too many components to discuss in detail for one post, so I said I’d break it down into lotsa little ones…I do believe this is the LAST ONE!
To recap, there was:
1. HOME letters
3. Restaining the Railing and Painting the Interior Doors
5. Gallery Wall
7. The $20 Table and Chairs Makeover (and Runner)
…and this DIY Dartboard Project ought to complete this list!
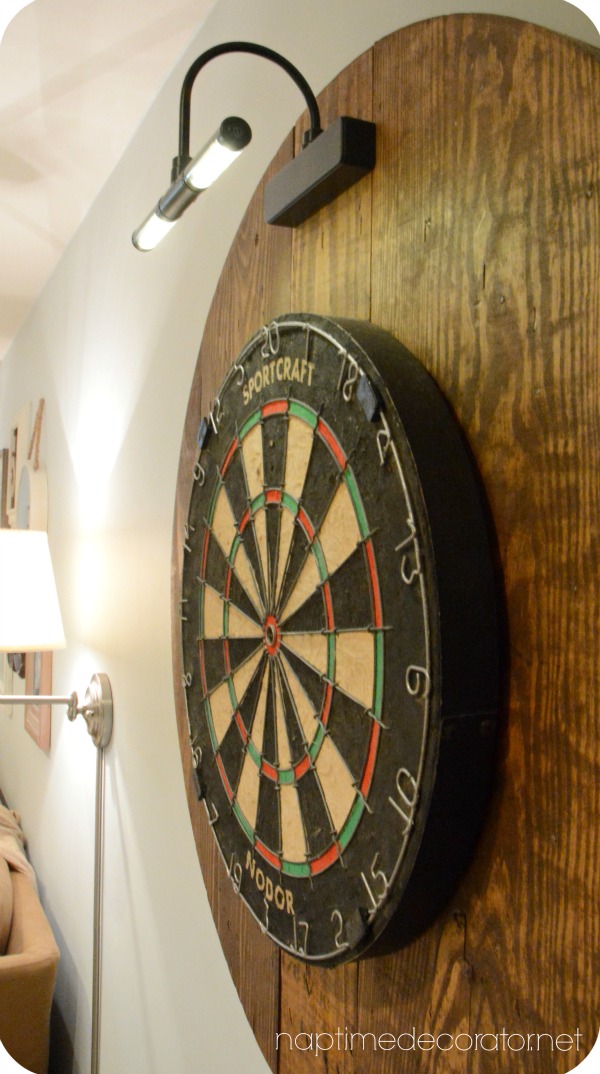
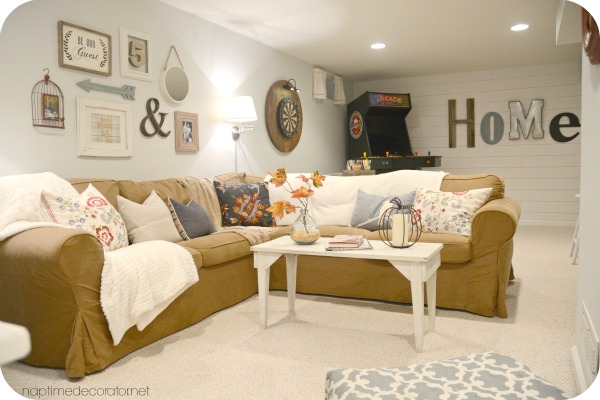
This was a fun one…and 100% my husband’s idea. And SUCH a good one! If you saw the makeover, you know it all started with the beast of an arcade machine. So obviously, I had to roll with a fun, playful vibe, you know? If you can’t beat ’em, join ’em! Now, we aren’t exactly huge dart players, but it looks fun, and when the kids aren’t around, and the grown-ups get to hang out down here, it’s a good time.
Best part?
Other than the $2.99 dart set and battery operated light, it was 100% F-R-E-E!
Ha! Just realized I took these pics without the darts on there. Oops. My bad. You get the idea though, right?! We do keep them safely tucked away when the kids are down there with friends unsupervised. Guess I forgot to get them out for the photo op. 😉
Let me tell you how this all came to be…with spending barely a thing!
Our next door neighbors moved out over the summer. Awesome couple who raised a family here and were now at the downsizing stage. So that meant for all of us: TONS of stuff thrown on the lawn that they were tossing! Seriously, they were begging us to loot through everything and help ourselves – less they had to figure out what to do with! I spotted this dartboard – it was old and lovely and just the right addition to the playful basement I was smack dab in the middle of redecorating. Wasn’t sure where it was going, but I knew it was staying with us.
Enter my husband who works in an industry where they have loads of cable reels laying around. He texted me a pic one day and asked if I thought it would work for the dartboard? We could stain it, mount the dartboard, then hang it up?
I was totally down with this idea.
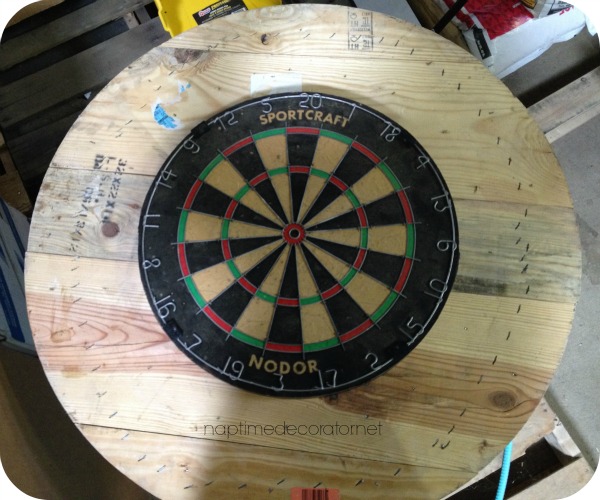
He just had to pop some staples out that were sticking out, and hammered down some that he couldn’t, then sanded it just a bit. I loved that the words and staples still remain – looks so weathered and beat up and lovely. I stained it with Minwax Special Walnut, and then it was time to hang this HEAVY puppy.
He mounted one of those sliding picture frame mounts on the back of the dartboard to get it nice and secure on the cable reel.

Now to get this onto the wall…
After much googling, he found this incredibly heavy duty frame bracket that would be perfect, and made sure to attach to the studs.

The other part went into the wall and they slide into each other. I don’t quite understand how these things even work, but I leave all those *minor details* to my smarty pants husband. We’re a good match;)
He found a battery operated light on Amazon to attach for a nice little touch, and that was it!
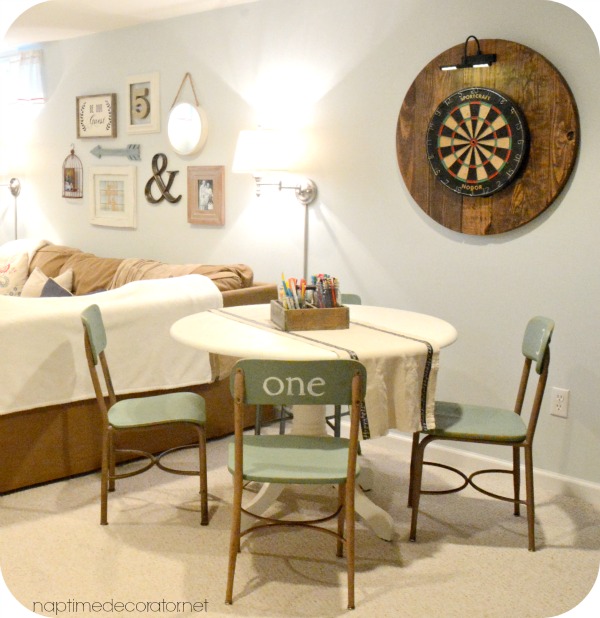
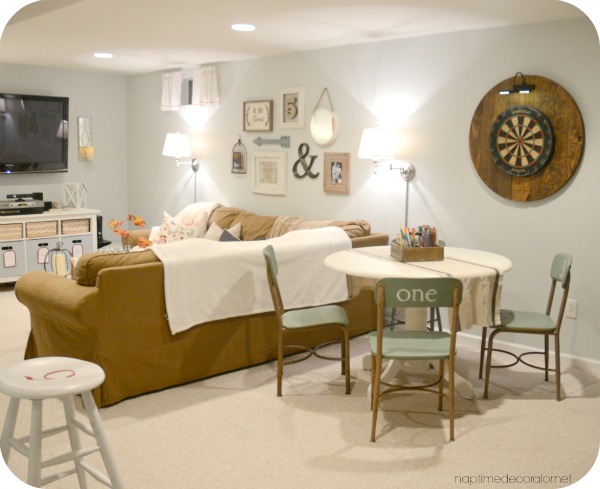
I seriously cannot think of anything better to put in that spot. I love so much about it: the fact that it’s a little old and beat up looking, that it’s a little different than your typical dartboard, that it brings out the other wood/brown elements of the room, and sorta compliments the arcade machine in a way. It’s the perfect mix of everything. Since the gallery wall is there, I knew I couldn’t do anything too busy, so a bunch of little things were out of the question – I mean, I did that once…didn’t go so well:
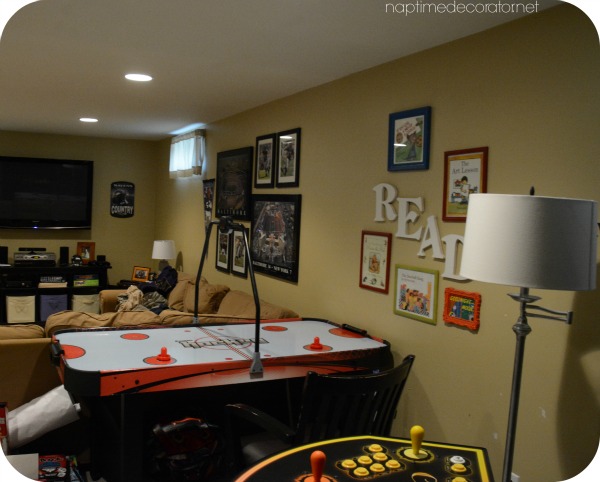
That READ wall is where the dartboard is now, in case that’s not clear in this hodge-podge wonderland that was the old basement. See what I mean about the single, large, round dartboard to fill the space, rather than more of the same?
I am SO glad my husband thought of this cool idea, and how awesome that it barely cost a thing!?
He’s a keeper:)

 Hi there! I’m Liz, a former teacher-turned-stay-at-home mom to three kids, with a passion to create a warm and inviting home on a budget. This blog all started when I’d put the babies down for a nap, and squeeze in a project during those precious couple of hours! My hope is that you visit this page and feel inspired to do a little “naptime decorating” of your own. Thank you so much for stopping by!
Do you have a link to the bracket that you attached to the wall and to the back of the cable reel? Yep, I think I’ve just found my next project. #wifeoftheyear
here you go!
http://www.lowes.com/pd_56378-37672-122373_0__?productId=3058195
http://www.amazon.com/GLD-Products-Dartboard-Mounting-Hardware/dp/B00C20MTR8/ref=sr_1_1?ie=UTF8&qid=1447704517&sr=8-1&keywords=1+piece+dart+board+bracket
good luck!
I’m happy to say I got a FREE 42in cable reel and will begin my DIY this weekend. Eeek! One end of the reel will be a dartboard backing like yours, and the other will be a very large clock. I will probably stain the dartboard similar to yours, but I’m playing with the idea of a teal stain for the clock. Wish me luck!
Good luck! Let me know how it turns out! 🙂
Where can I get same one as light battery operated for to keep light bright on dart board
My husband ordered it on Amazon I believe – sorry, been a while so I don’t remember exactly!
Hi, brilliant idea. Definitely doing this. Could you tell me what the diameter of the cable reel wooden board is? Looks about 900 to me.