One of the nice things about having limited space and a smaller house is finding creative ways to use the space – in the most effective, useful ways. It’s like a fun challenge, trying to find the smartest ways to use what we have. In our home, we don’t have much of a foyer, or a coat closet. So for a while, we used our main hallway to hang everything. I made a little rack using stained wood and knobs/hooks and it worked fine…but lately, it’s gotten a little out of control:
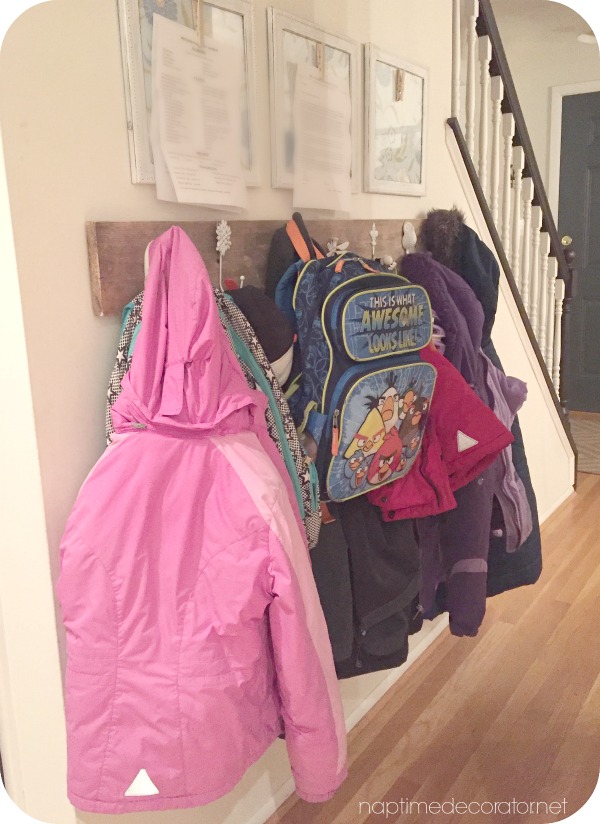
What you can’t see in this photo, is just how close the opposite wall is. That little hallway is narrow and was feeling mighty crowded with all the coats and bookbags taking up space.
But I thought and I thought and I had just the solution!
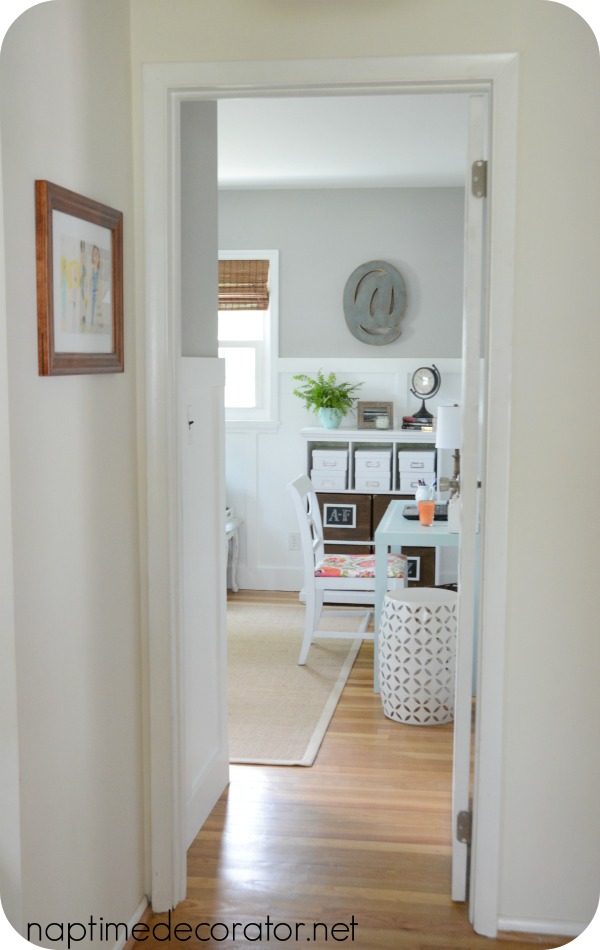
Remember when we took the wall down this summer? When we did that, we combined the office and family room into one big space. I thought it would be a good idea to close up the office doorway when we did that, and use that little wall as a makeshift “mudroom.” Far from a real mudroom, but it’s a good spot to hang our coats, have a family calendar, etc.
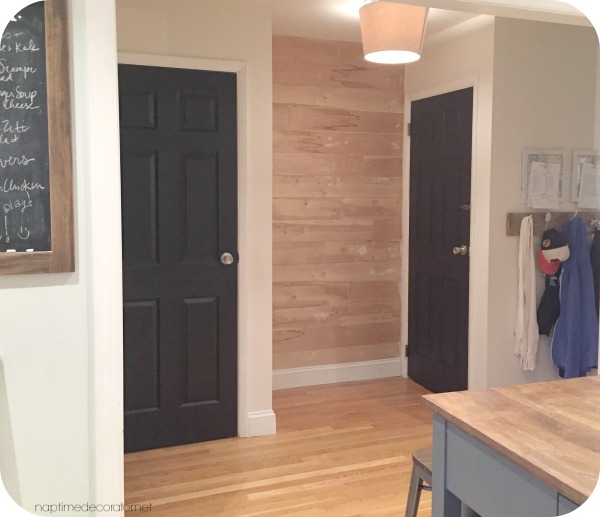
This is what the entrance to the office looked like way back when:
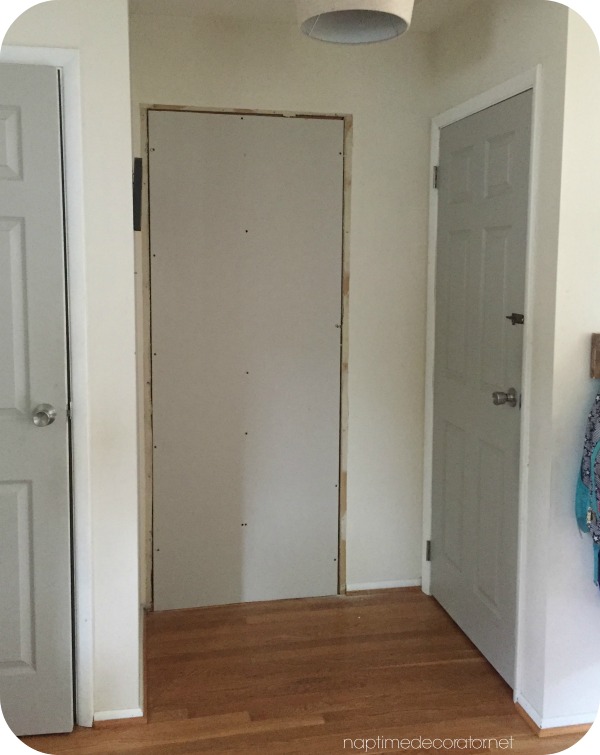
Then we closed it up when we tore down the wall to expand the room.
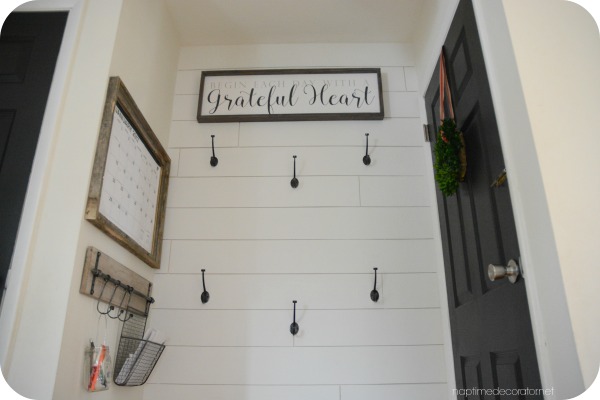
And I immediately envisioned it with shiplap and black hooks, with a calendar on the little wall to the left, and black doors. So one day last week, I decided to devote one whole day to it, and cranked it out!
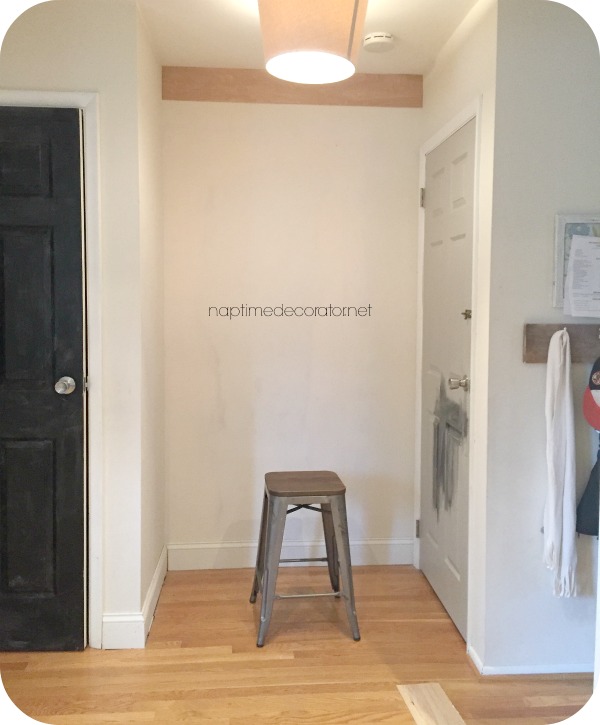
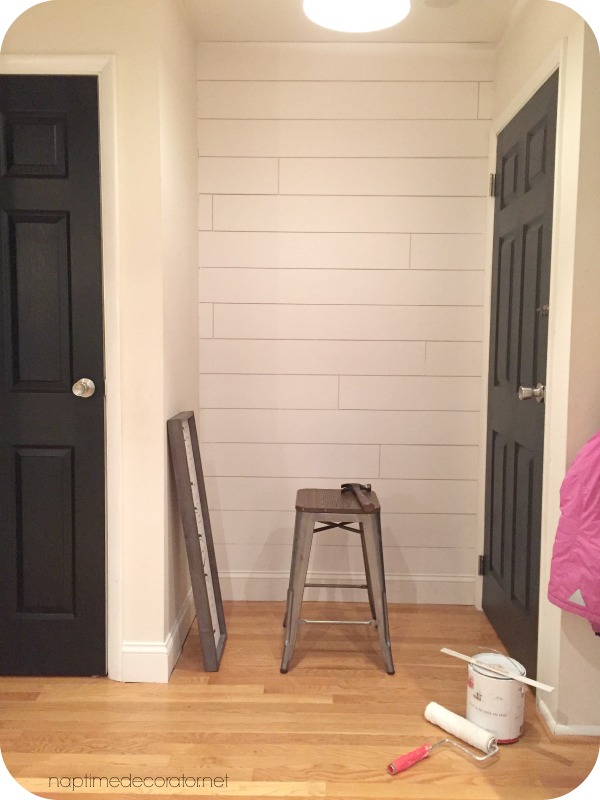
Up went the planks (just like I did here, here, and here)…and the black paint (SW Tricorn Black)…
Then the caulk and white paint (Behr White)…
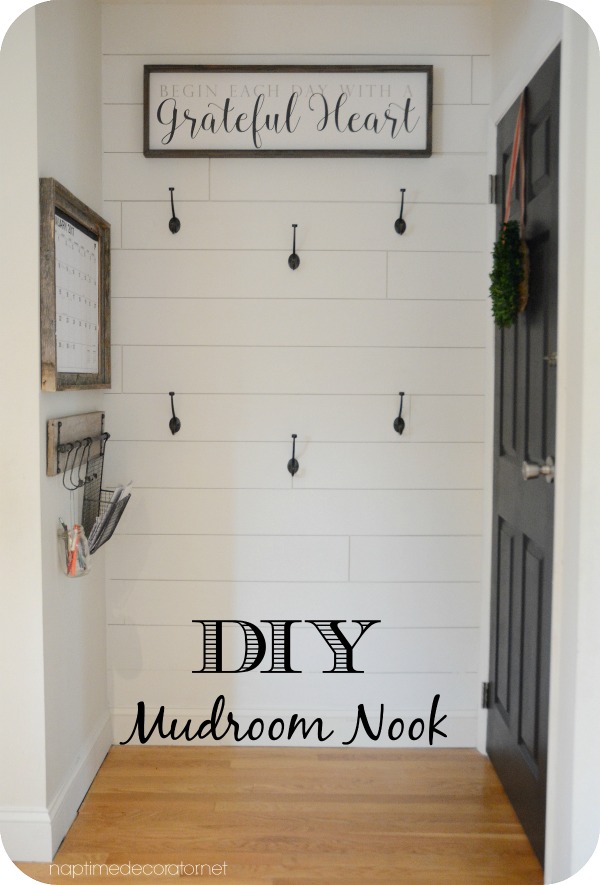
Up went the hooks (from Lowes) and a sign from Hobby Lobby…and here we are!

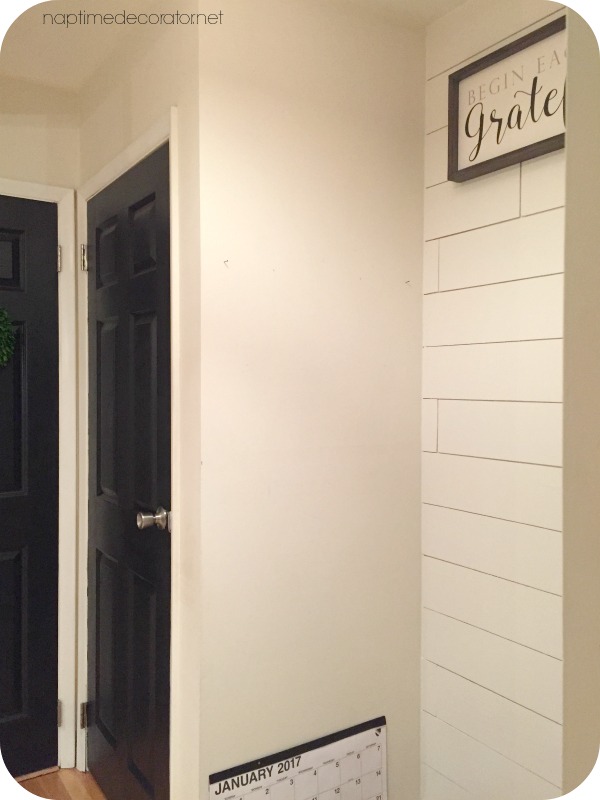
I wanted a big calendar so I picked up a desk calendar from Target, and found a perfect sized empty driftwood frame at Hobby Lobby (just like the one I used for my DIY Shiplap in a Frame project!) and a cute little thing for important papers and pencils at Hobby Lobby as well. (It didn’t come with the hanging mason jar, but I thought it would be great for pencils)…
And now for the coats!
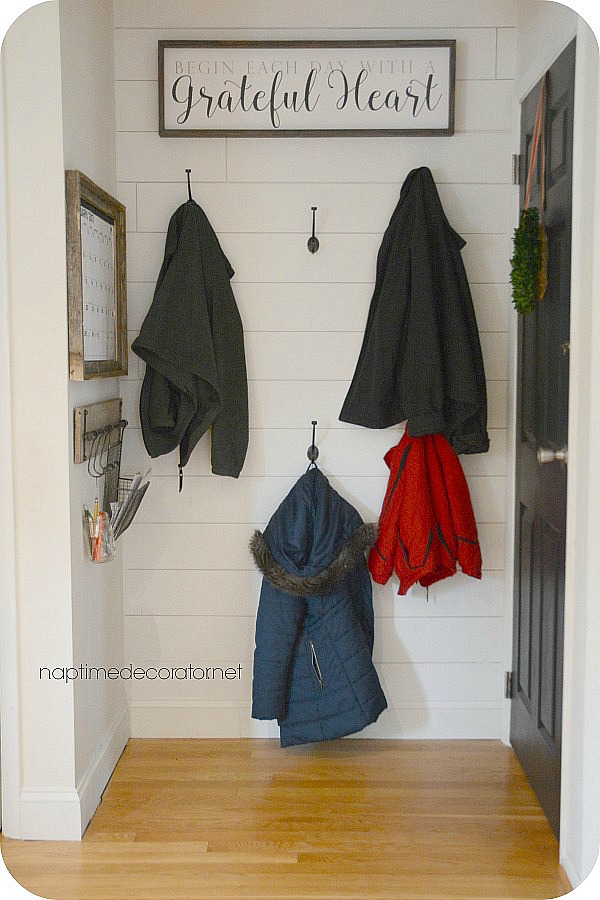
Best part is, the hallway is nice and free of clutter:)
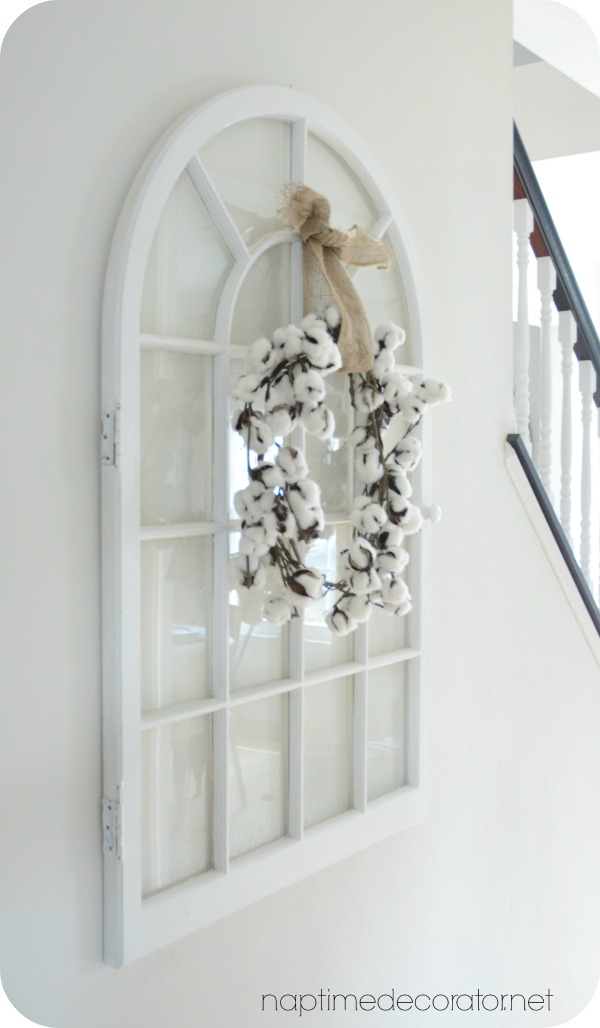
I hung my huge window (gifted to me from a dear friend) that used to be in the old family room:
We have a few other things to do in here – finish replacing the baseboard and add quarter round, and add recessed lights in the hallway (including where the lamp shade light is – that’s on its way out!). And I ordered a runner for the hallway, fingers crossed on that one! I’m stepping outside my comfort zone…we shall see:)
But already it’s a huge improvement and a nice addition to the house. And I’m LOVING my black doors! Such a cool contrast, I don’t know why I didn’t do it years ago!
Anyway, that’s the scoop on how we solved the Swimming-in-Coats Problem. Hope you all are having a good week and checking lots off the never-ending to-do lists. Getting close…trying to soak up every minute of this season as I can – hope you have a great night, and stay warm!

 Hi there! I’m Liz, a former teacher-turned-stay-at-home mom to three kids, with a passion to create a warm and inviting home on a budget. This blog all started when I’d put the babies down for a nap, and squeeze in a project during those precious couple of hours! My hope is that you visit this page and feel inspired to do a little “naptime decorating” of your own. Thank you so much for stopping by!
More shiplap! I love it! Does the door to the right go down to the basement?
hehehe! Can’t get enough! 😉 Yes, that’s the basement door.
I just love what you’ve done w/ that space! btw, where does that door on the right lead to? Is that your basement? Living in Florida i’m always envious of anyone with a basement!
Thanks, Lynn! Yep, our basement steps are behind that door. 🙂
You’ve done it once again…love how you used this great little space.
Christmas Blessings…
Sherri
Thanks, Sherri!
Very creative!
Thank you!