*This page contains affiliate links for your convenience. For more information, see the FTC guidelines here.*
I just realized I never shared this one last project from the Cloffice! I tried to hit them all – first, came the reveal, then the DIY shelves, then the DIY custom desk with the mini sliding barn door…but totally forgot about the sign I made to hang above the space!
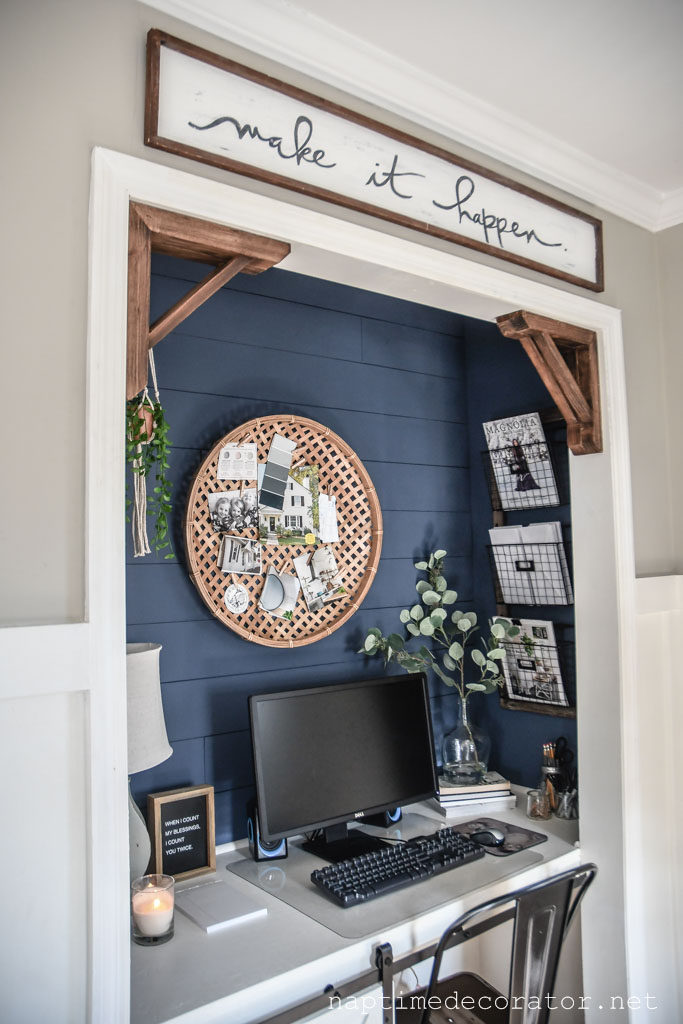
It all started when I spotted this perfectly sized rectangular sign at where else: Hobby Lobby! 😉 The size was just so so perfect, but it wasn’t the wording I was looking for above our home office.
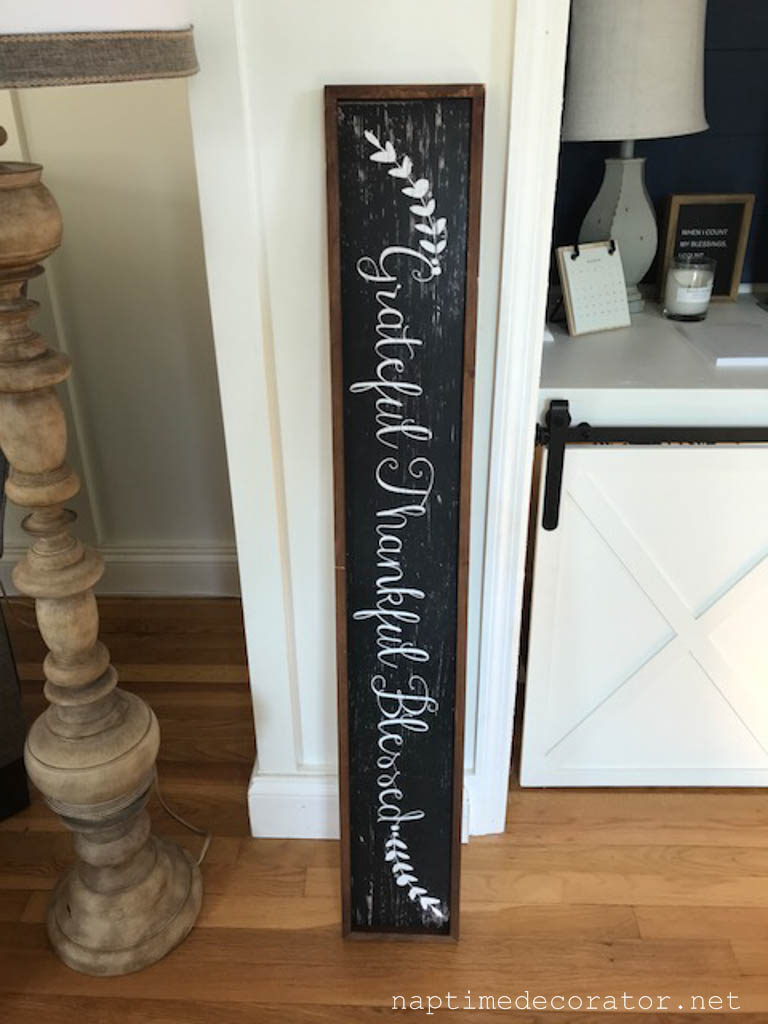
Now, COMPLETE BLOGGER FAIL and can’t find any photos of the during stage – <face palm x 1000>
I remember doing Instastories while I was making it, but I suppose that was all I did, and those are gone after 24 hours. So I apologize for that, but here’s what I did:
- Went over the black with plain ol’ craft paint in matte white. I used a foam brush, and did a couple coats, until it was pretty much covered. I didn’t tape the wood frame, I was just extra careful as I approached the border.
- I thought and thought and thought some more about what saying I wanted to write. I wanted it to be inspirational, kinda go get ’em feel. (I actually thought about that one, but it didn’t seem visually long enough). Since this is our office, where a lot of the magic happens, I wanted it to motivate, and light a spark within us when we come over here and sit down to work. I scribbled a bunch of different quotes, and in the end, ‘make it happen’ seemed just right. I took a pencil and lightly wrote it on the dried white paint.
- I went over it with a sharpie, then a small brush and some black matte craft paint.
- I decided to go over it with some light sandpaper to give it a distressed look. And done!
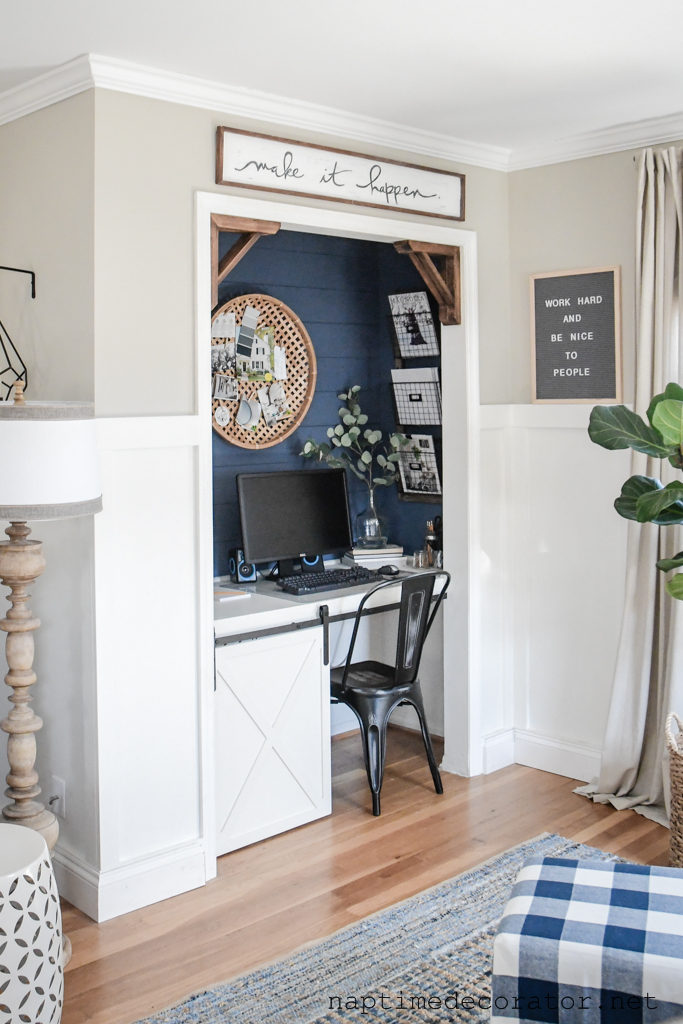
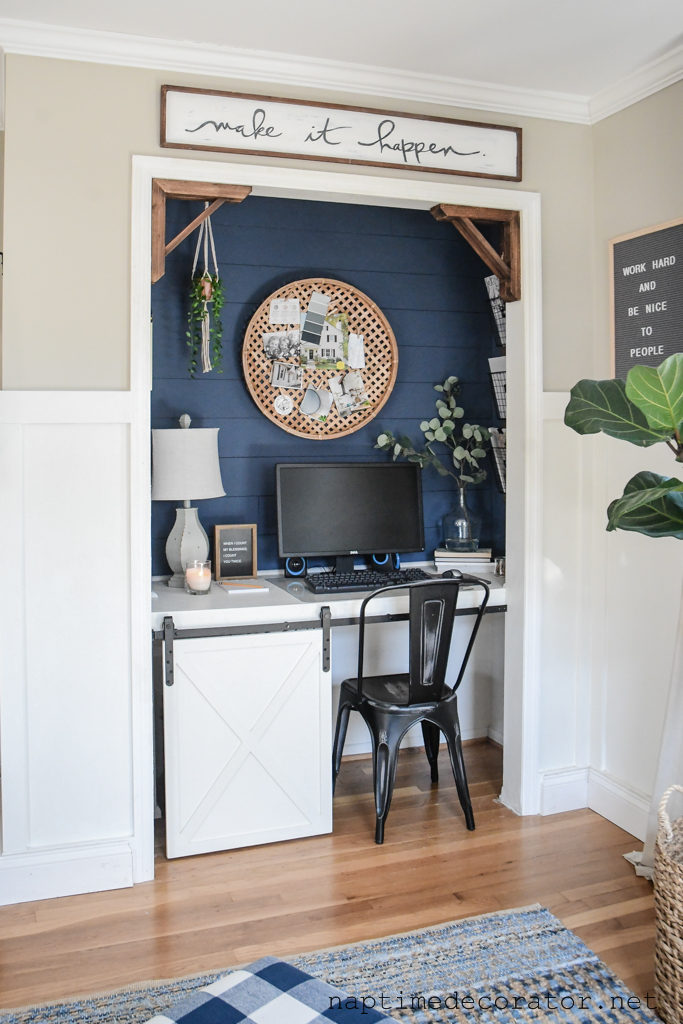
Now, I know freehanding isn’t everyone’s cup of tea, but you could also print out a saying in a font you like, and pick up some carbon paper from a craft store, or this from Amazon (affiliate link):
All you do is stick it under whatever you want to copy, and go over it with a pencil and the image will transfer onto the wood! Then go over it with black paint (or sharpie first if you like).
Sometimes it’s fun to create a sign from scratch, and sometimes time is of the essence and when you see a sign at a great price, but not the words you were looking for, it’s fun to go ahead and make it your own! Remember this post, when I did a similar idea with the big signs over my couch?
I took these two signs from Hobby Lobby…
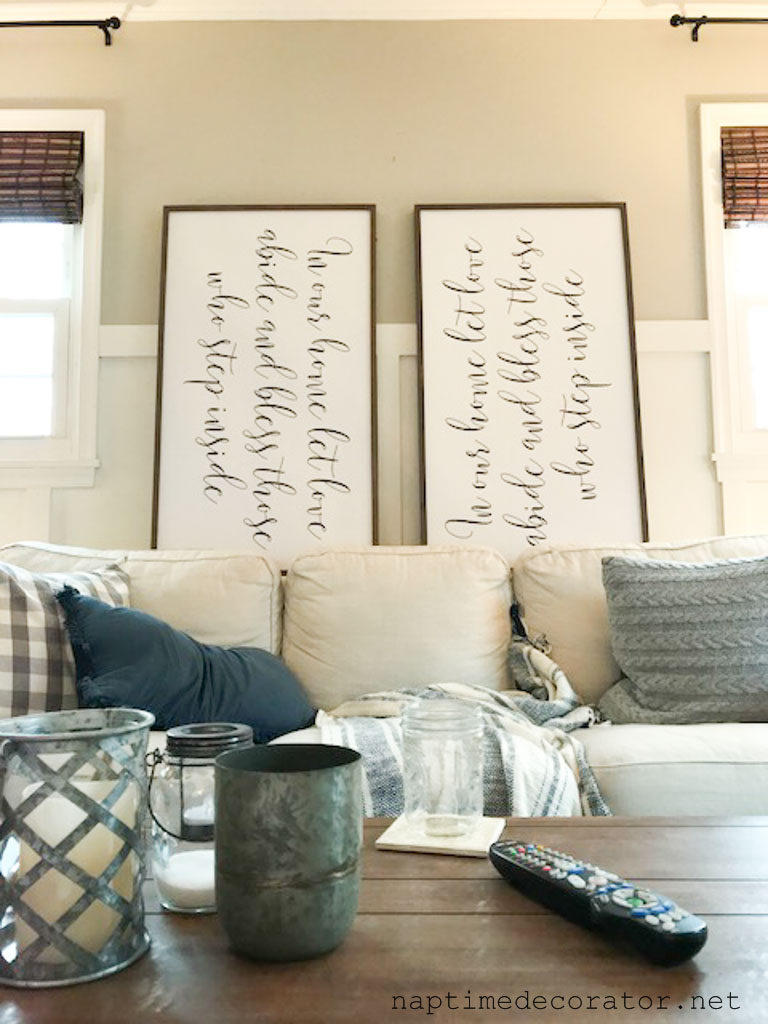
…and made this:
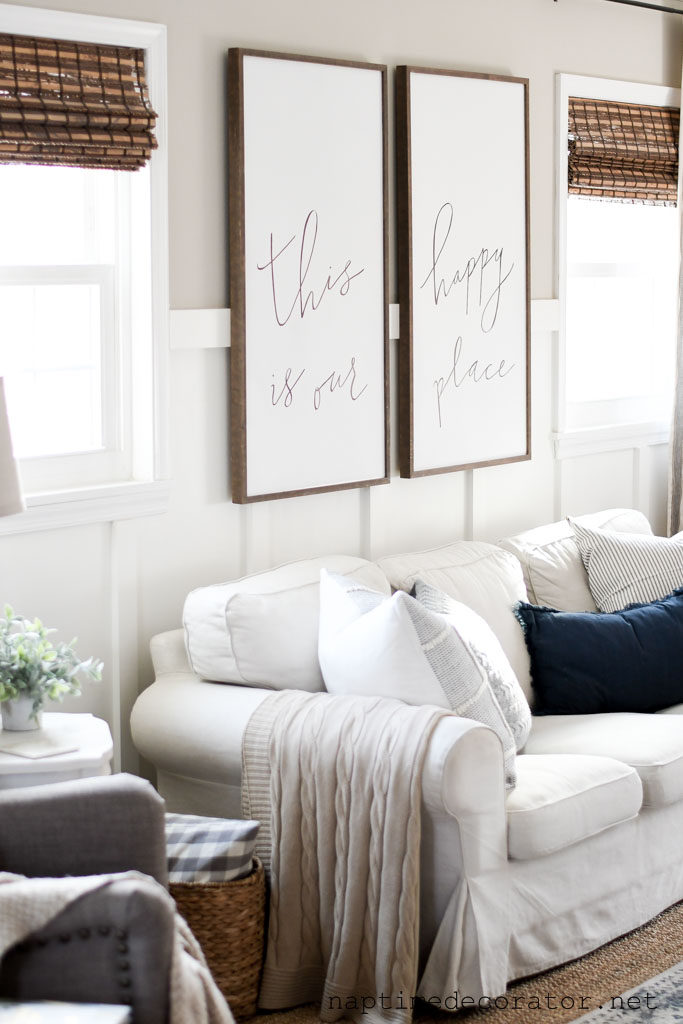
A shortcut now and then never hurt anybody;)
Happy creating!
 Hi there! I’m Liz, a former teacher-turned-stay-at-home mom to three kids, with a passion to create a warm and inviting home on a budget. This blog all started when I’d put the babies down for a nap, and squeeze in a project during those precious couple of hours! My hope is that you visit this page and feel inspired to do a little “naptime decorating” of your own. Thank you so much for stopping by!
You are so talented. I love everything you do. Where did you find the cute round basket you have hanging in the Cloffice that you are using as a vision board? Cute idea!
Thank you so much, Sarah! What a nice thing to say:) That’s from the Hearth and Hand line at Target!