Hello there!
If you read the Cloffice post last week (if you didn’t, you can click HERE to go check it out!), you may recall I said I’d do some additional blog posts about the different parts of the makeover, otherwise it would’ve been one loooong post;) So today we’re going to talk about the little shelves I made for the itty bitty nook to the left.
It used to look like this, and had a lonely little hook on it back when it was a closet:
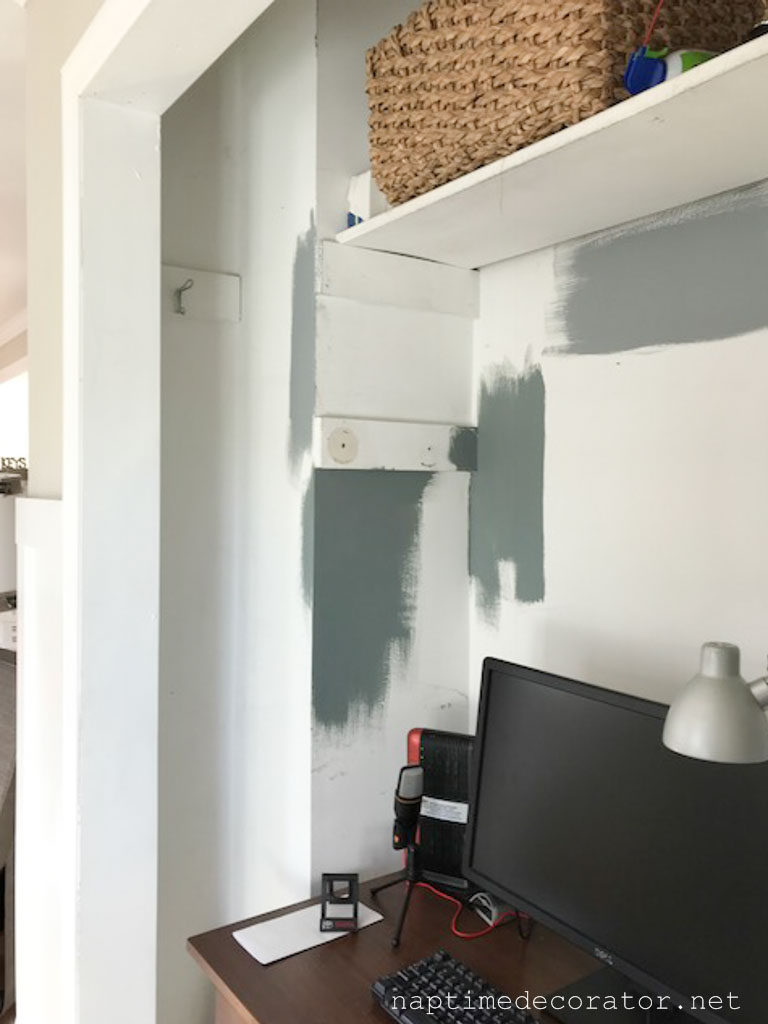
It seemed like such wasted space, if we were making this our office. And shelves seemed like such an obvious choice. Always a good idea to go vertical when you’re short on space. But talk about a tough one to figure out. It’s so tiny, and there’s a duct behind that wall, so didn’t want to drill in there (we had an issue with that when drilling in the desk – more on that in the desk post!). So basically, I had to hang the shelves from the back wall.
I thought about doing some DIY chunky floating shelves, and may do them one day, but let’s face it. This cloffice was already taking forevvvvvver and I really wanted to find a quick way to get some shelves up here. So I walked the aisles of Home Depot and spotted these:
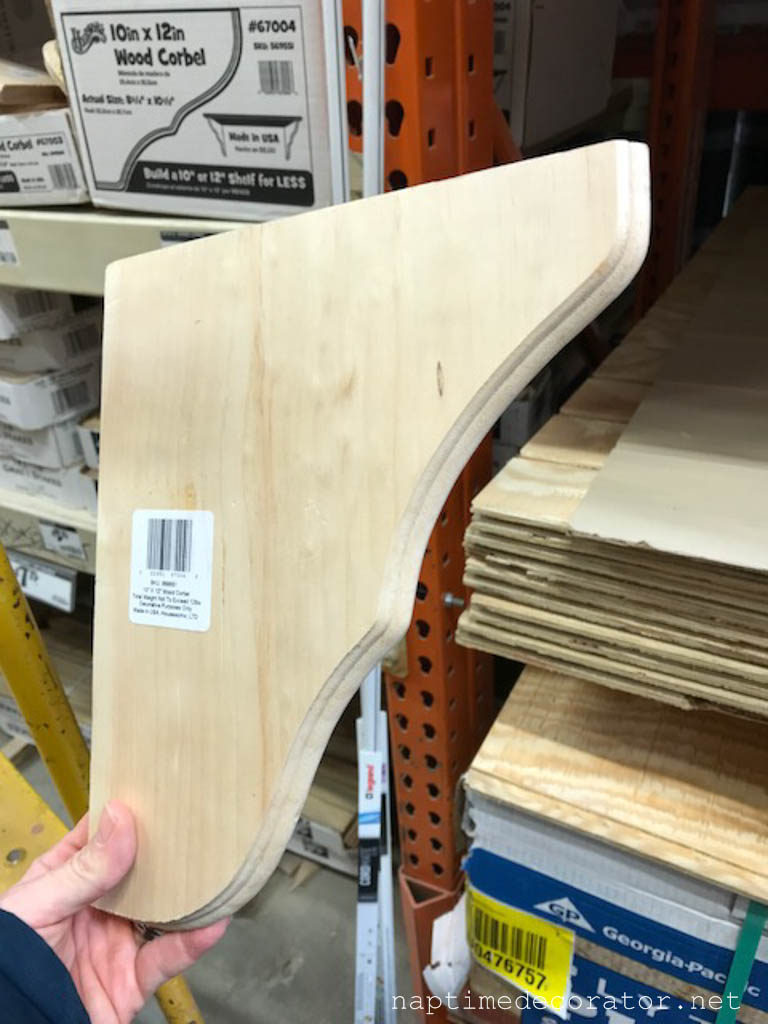
The backing had a little hole for a nail:
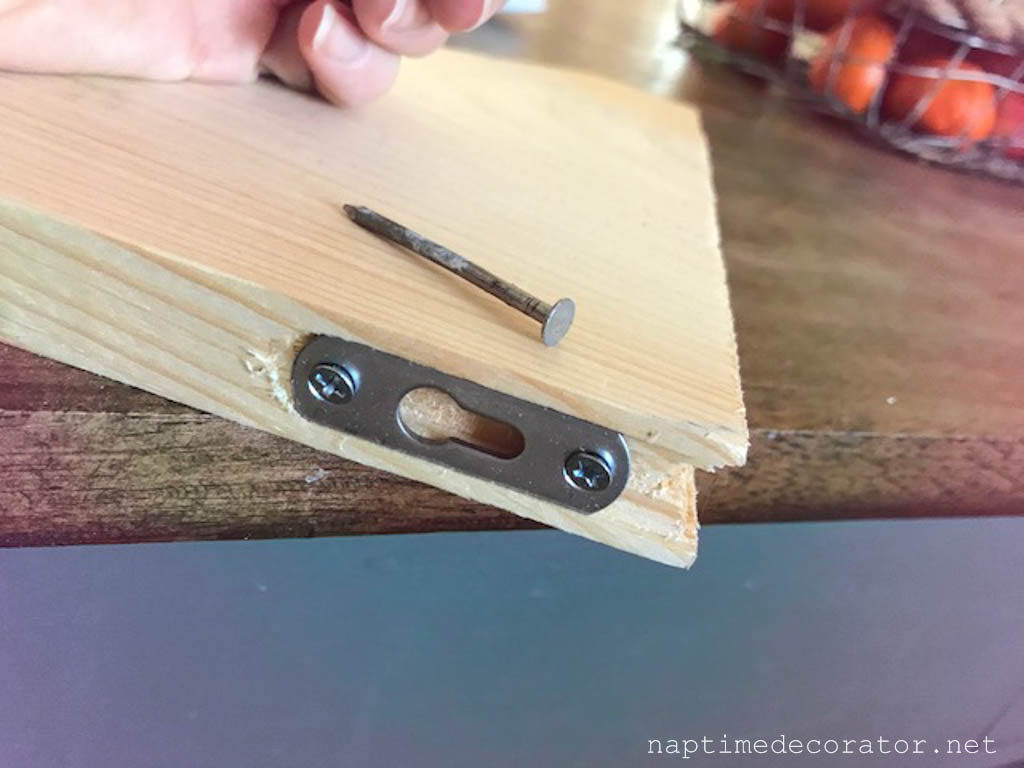
This could work! So I put six in the cart (two for each of the three shelves I envisioned), and kept on walking.
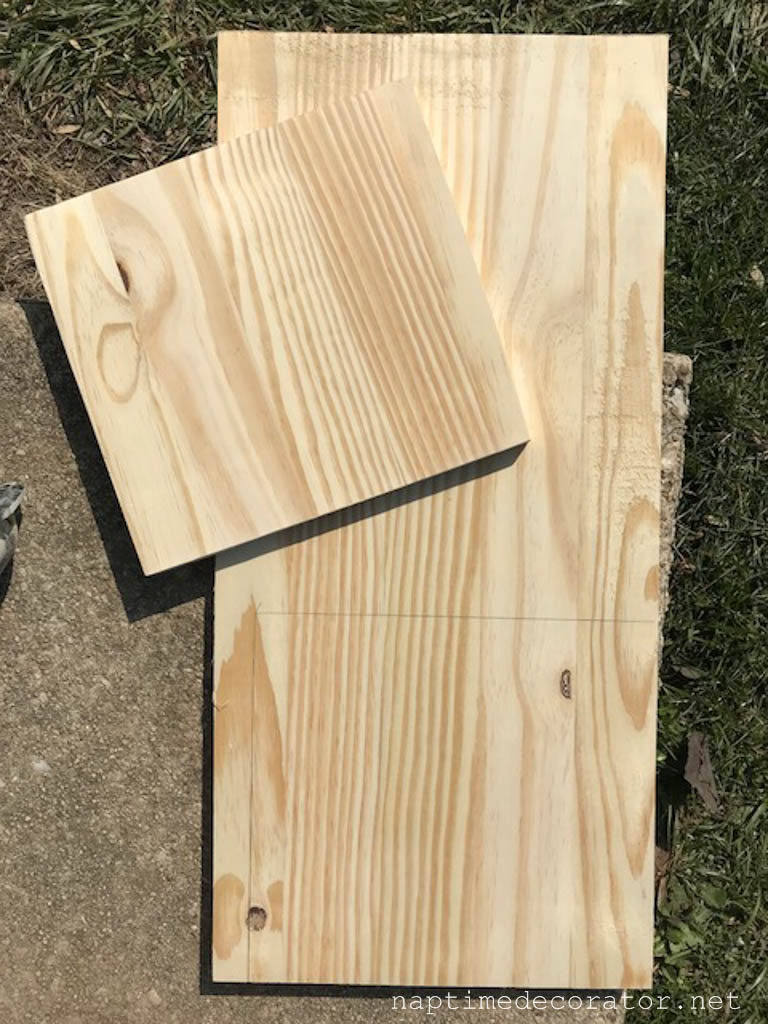
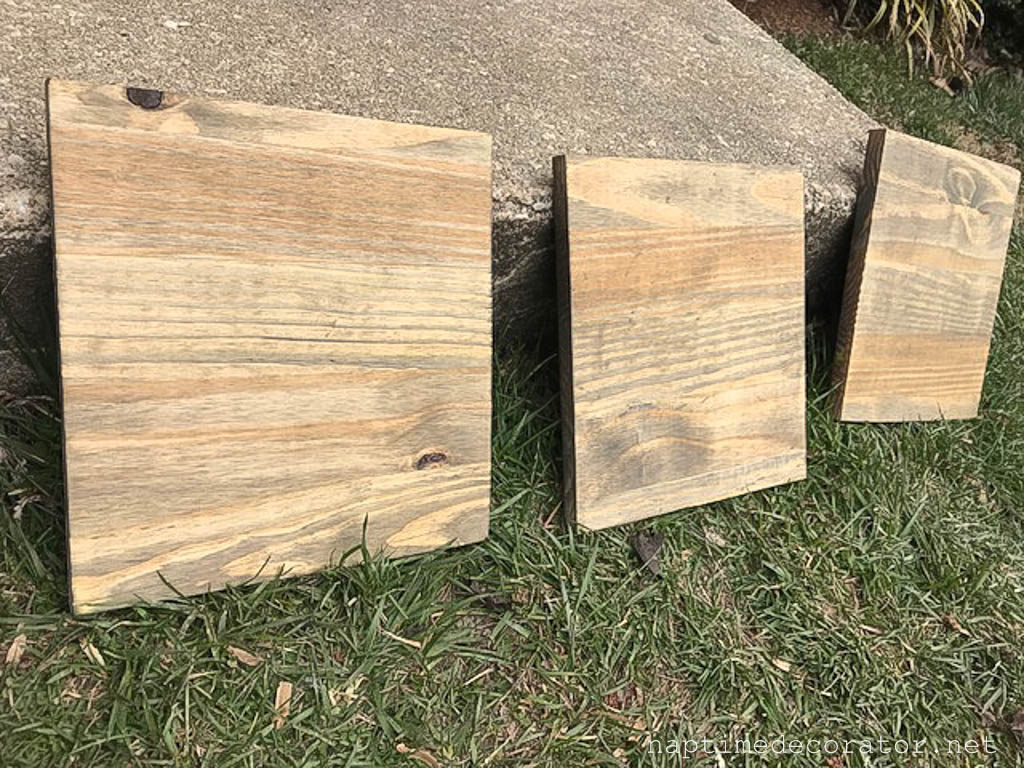
I found a piece of wood for about $5 that could be cut into three pieces easily. I left the store and got to work.
First, I measured how big to make the shelves, then cut, sanded, and stained them (Weathered Oak by Minwax)…
….then I got the level out and started getting the brackets up!
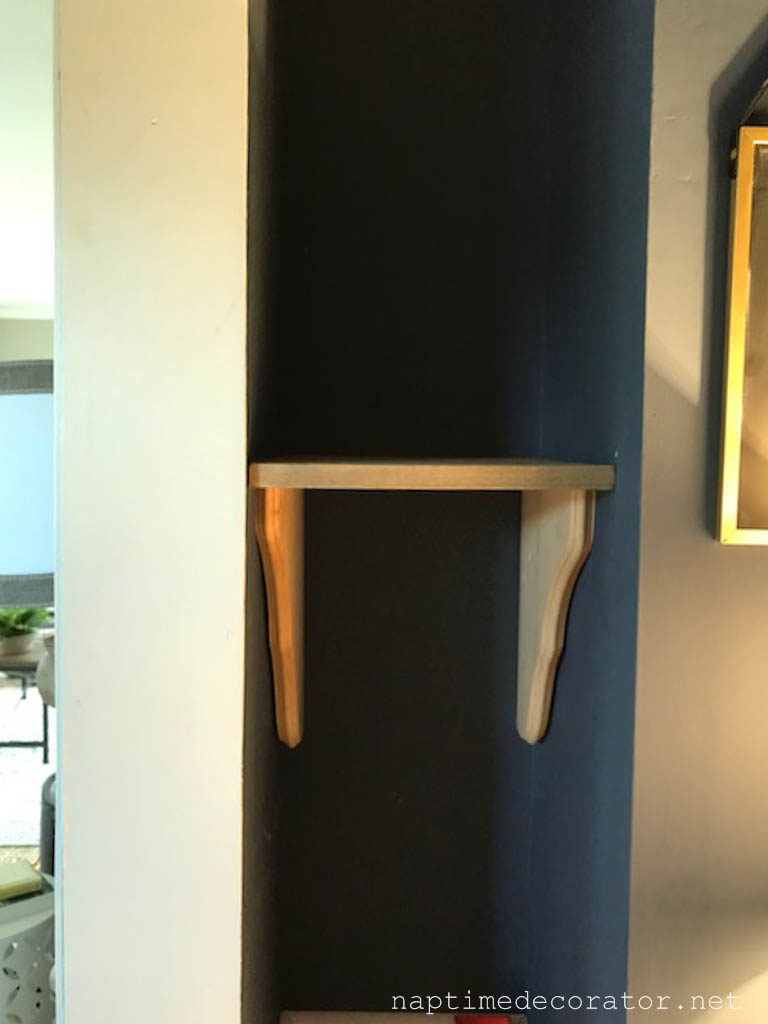
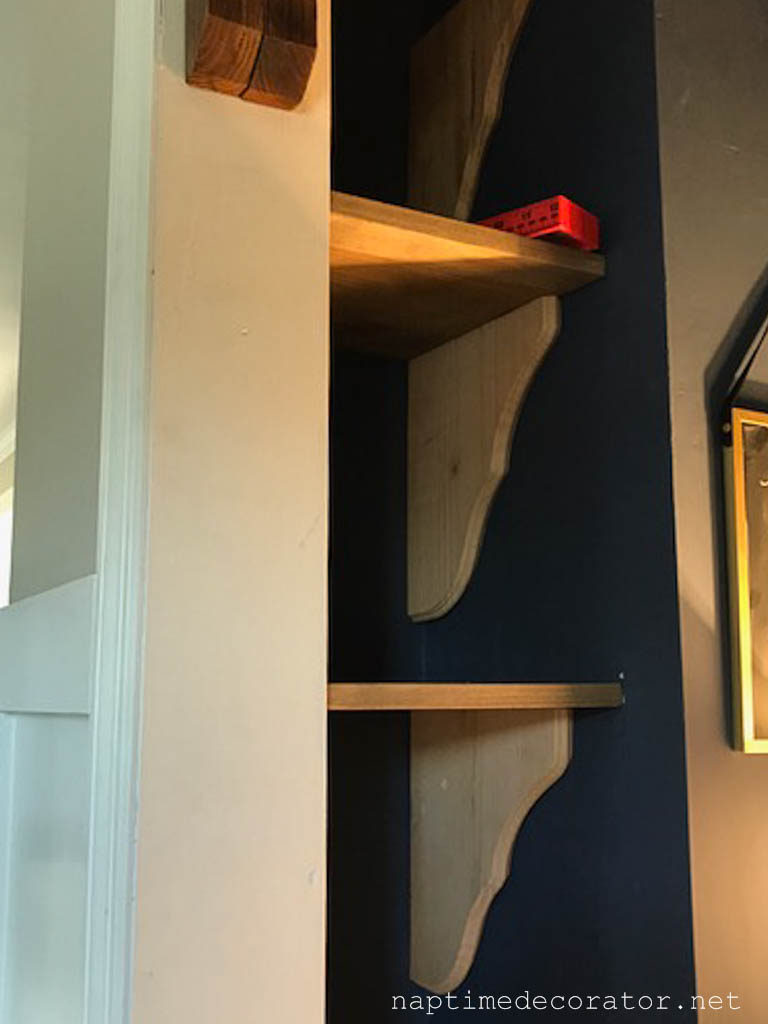
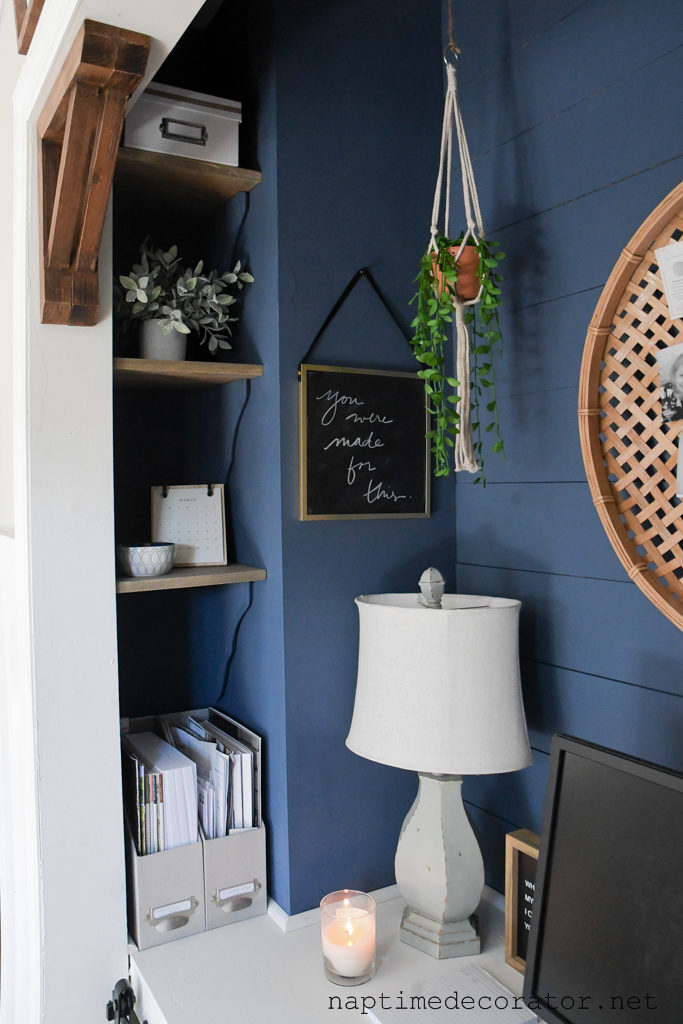
I painted them to match the wall (Benjamin Moore Van Deusen Blue)…
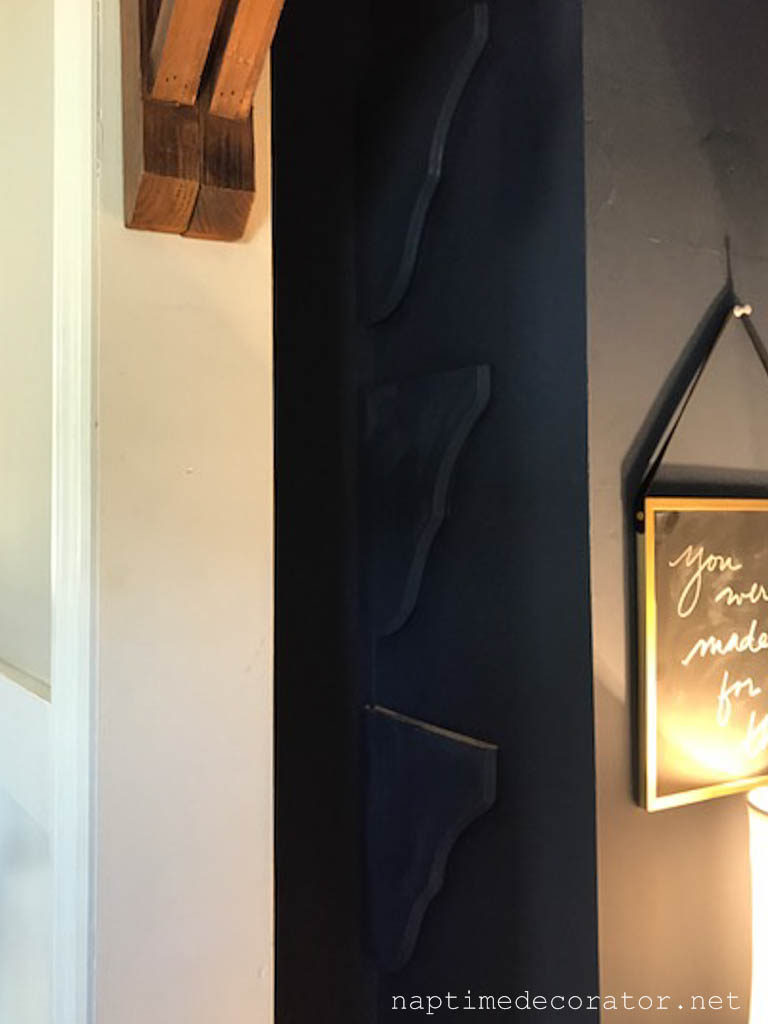
…and put the shelves on top.
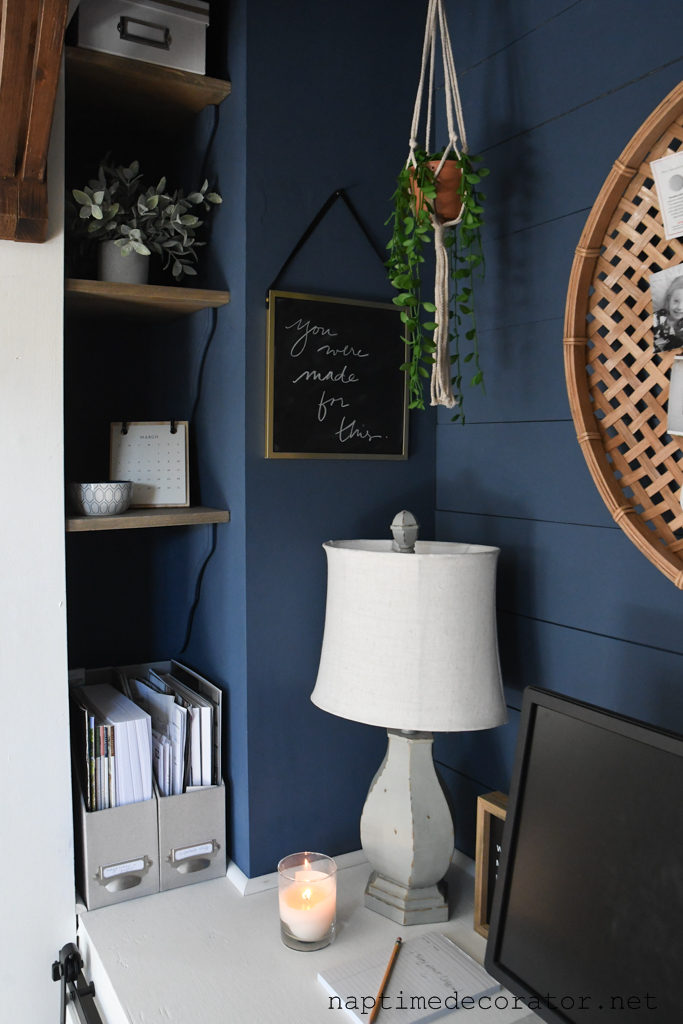

They don’t hold anything heavy – more like some extra space for little odds and ends, a jar of pens, a faux little plant, a bowl of memory cards for the camera, that kinda stuff. So I wasn’t concerned about the weight factor. If I wanted to hang anything heavy, I would’ve gone a different route.
They were fairly quick and easy – and inexpensive! The brackets were $3 a piece. So under $25 for the whole project! Not too bad.
Next up: the DIY desk! 🙂
On an unrelated note, there won’t be a Favorite Things Friday tomorrow – the kids are officially on Spring Break and I decided Mommy is too;). Going to take this Easter weekend and spend it with family and friends. Have a blessed Easter, friends! XO

 Hi there! I’m Liz, a former teacher-turned-stay-at-home mom to three kids, with a passion to create a warm and inviting home on a budget. This blog all started when I’d put the babies down for a nap, and squeeze in a project during those precious couple of hours! My hope is that you visit this page and feel inspired to do a little “naptime decorating” of your own. Thank you so much for stopping by!
Leave a Reply