Yes, it’s yet another kitchen post. That’s been consuming my days lately – other than the pool, but those days are numbered;). Coming down the homestretch though – just ordered some lights and have to finish up the paint job and that’s it, my friends! Then time to start the 87,062 projects I’m in the midst of…yes, half painted board and batten in the hallway, I’m looking at you.
But anywho, enough chatting, let’s get down to business!
Once upon a time, this one particular corner looked like this:
That was pre-grey floor, pre-painted countertops, pre-shiplap, pre-window trim, pre-island makeover, pre-cabinet trim, and pre-removing cabinets.
See in the corner there, where those two upper cabinets met? Well, the corner was totally empty space. So once that came down, we were left with this:
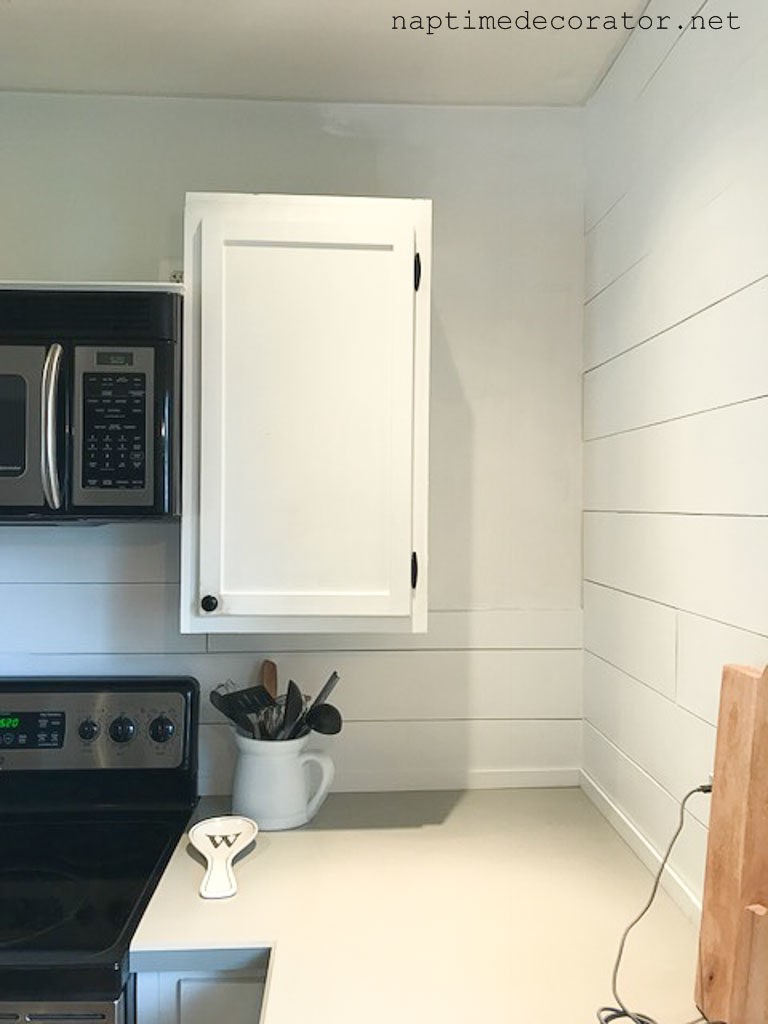
I thought about this for some time. What to do, what to do. Then I decided, let’s add some wood shelves! And bonus: more space to put dishes!
I wanted to do the chunky floating ones. But it’s a very odd size, so I’d have to DIY it. And it’s such an awkward spot to work, I really didn’t feel up for all that. You know patience isn’t my strong suit, so I kept thinking. I decided to go with stained wood, and black brackets. But the shelves were short but deep (I think they were 11x13ish) and I didn’t want for the brackets to steal the show. Does that make sense? It was extremely hard finding brackets for this short but deep size. So here’s what I did…
I wandered Home Depot. I picked up a 1×12 piece of wood for the shelves, but couldn’t find any brackets to be found that were deep enough. I decided to grab corner braces – the same ones I used for this little shelf project (only a different size).
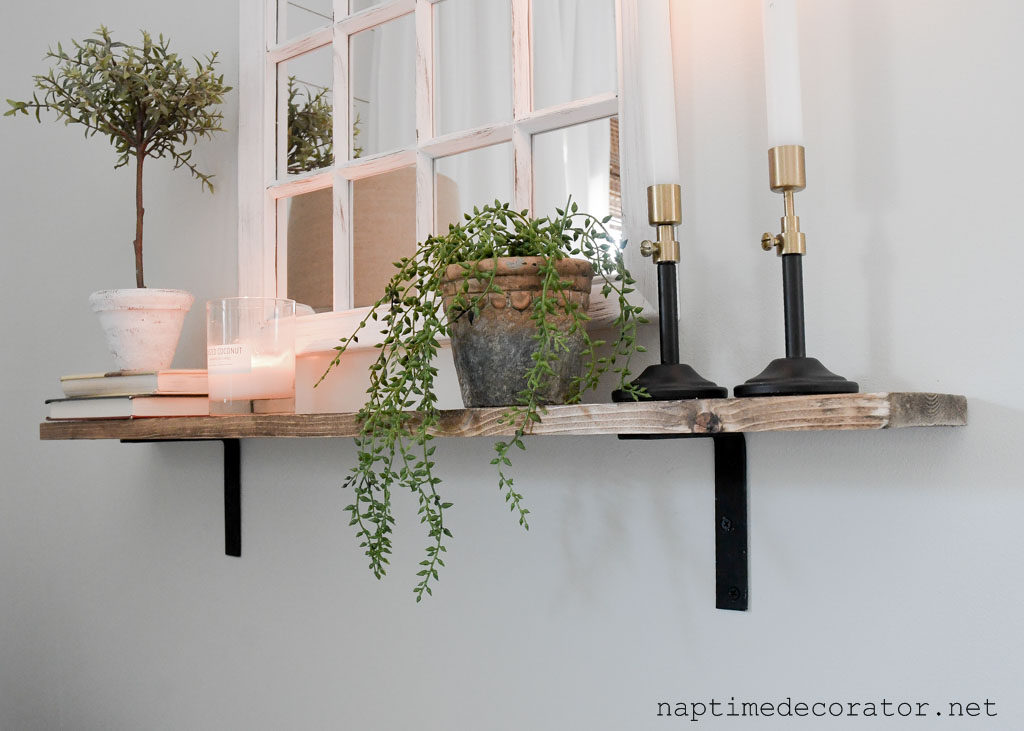
They were 10x10s. I didn’t want 10 inches of bracket showing in that itty bitty space between shelves – and didn’t even know if there would be 10 inches for it! So I had a crazy thought: What if we cut them?! I remembered I have a Dremel hand saw that has metal blades! I googled it, asked my handy friend who knows about this kinda stuff, and both google and friend said it would be fine, just will spit out sparks – nothing more than sparklers on the fourth of July. Also said NOT to touch it when finished because it will be H-O-T! I asked my husband if he’d do it for me (Liz doesn’t do sparks) and he was game!
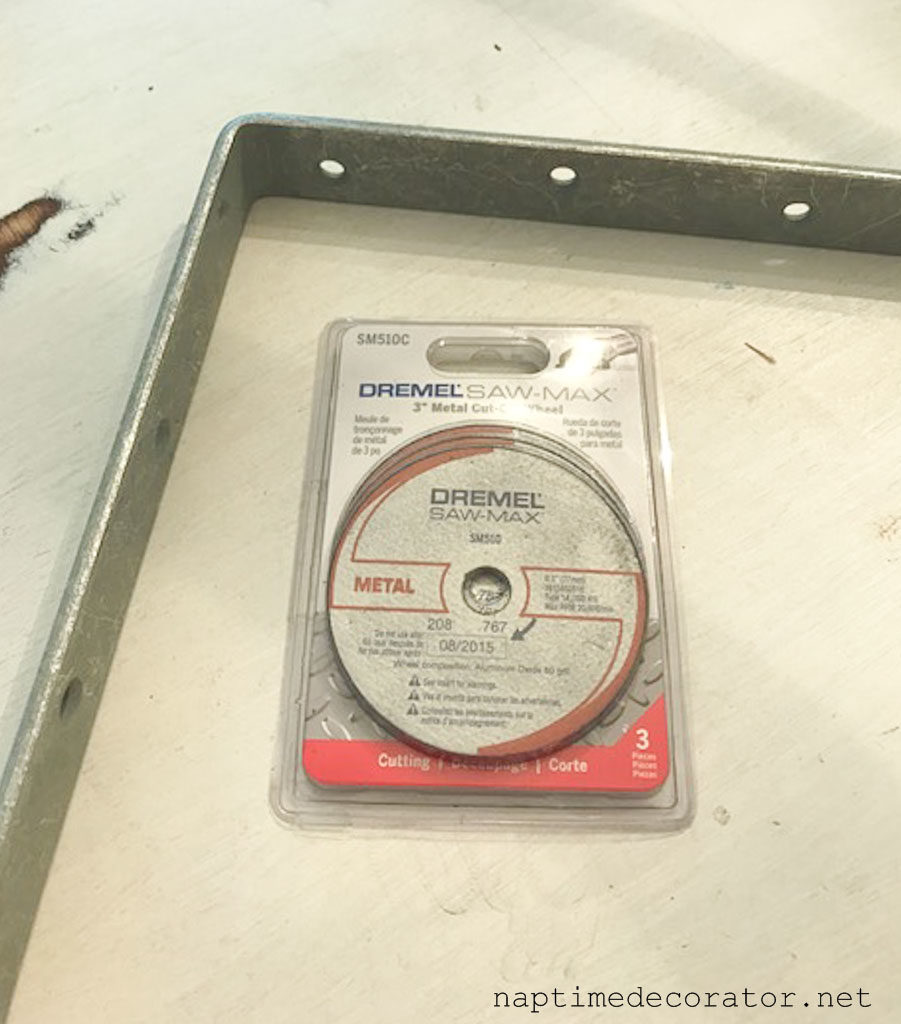
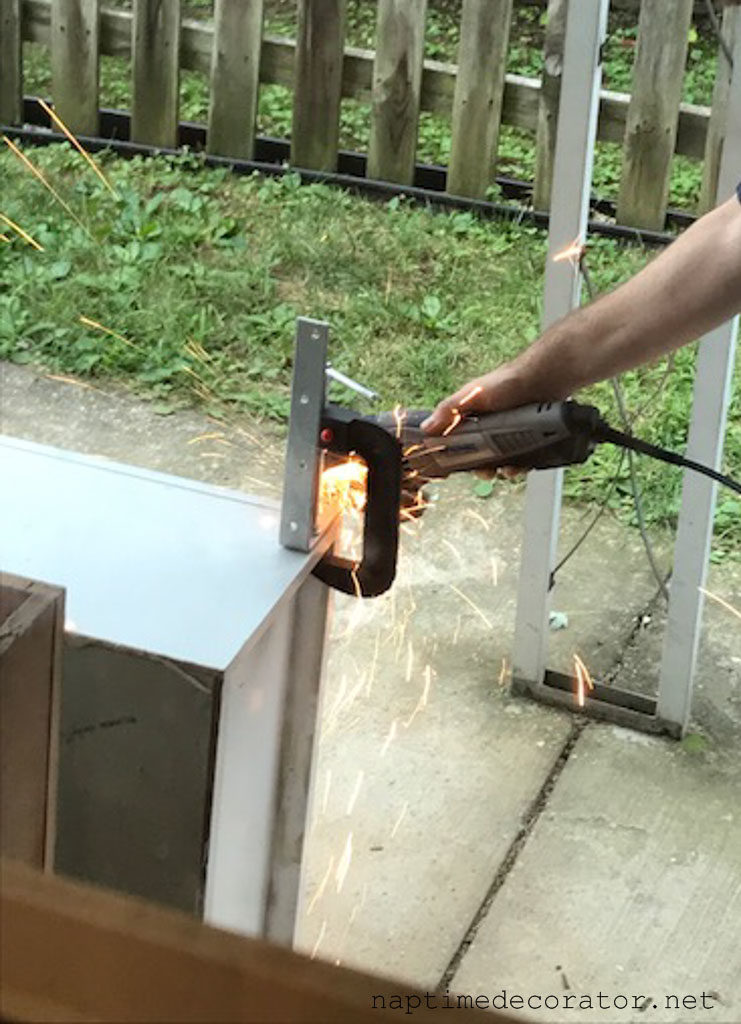
Too funny – we didn’t know what to clamp them to, and here’s where procrastination pays off – we still had the old upper cabinets outside waiting to go to the dump and secured the braces on there – it worked perfectly! (also, the hubs took every precaution and was wearing safety googles)
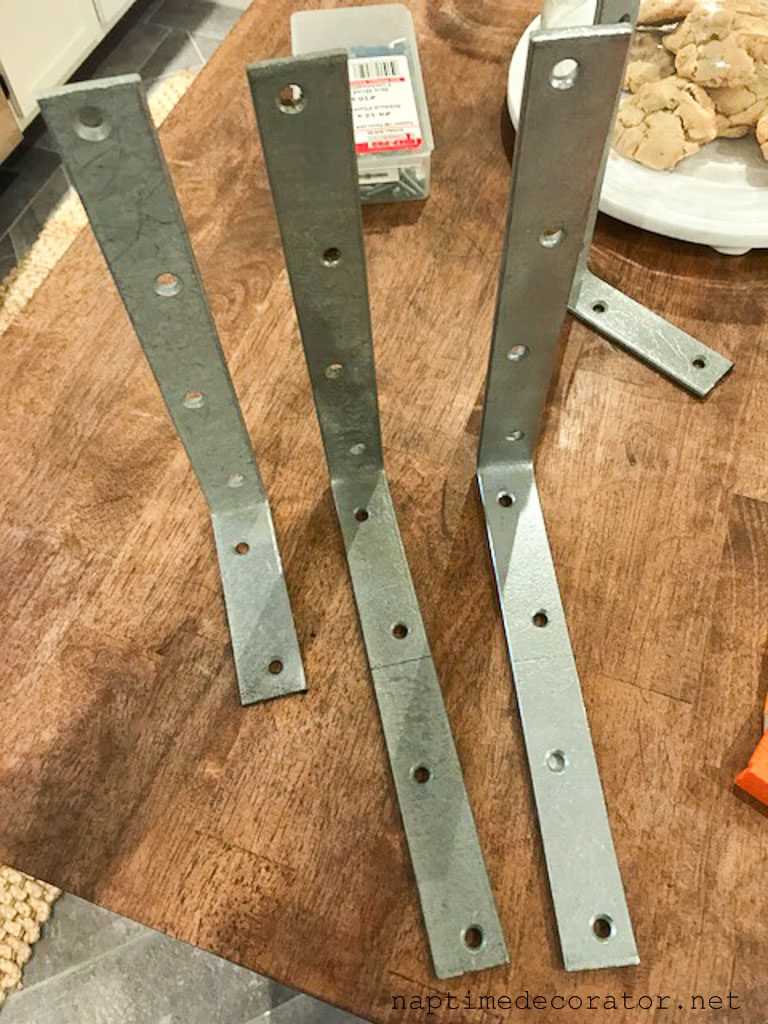
Just had to spray paint them with flat black…
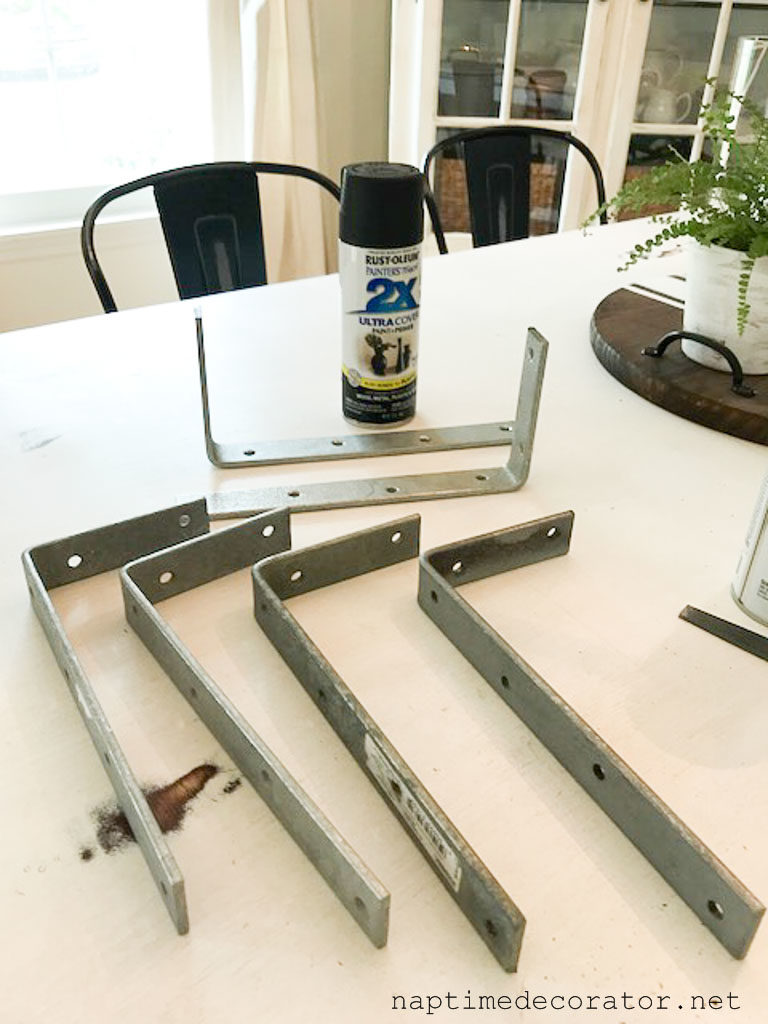
And I also stained (Minwax Provincial) and cut the 1×12 piece of wood into three pieces to fit the space exactly.
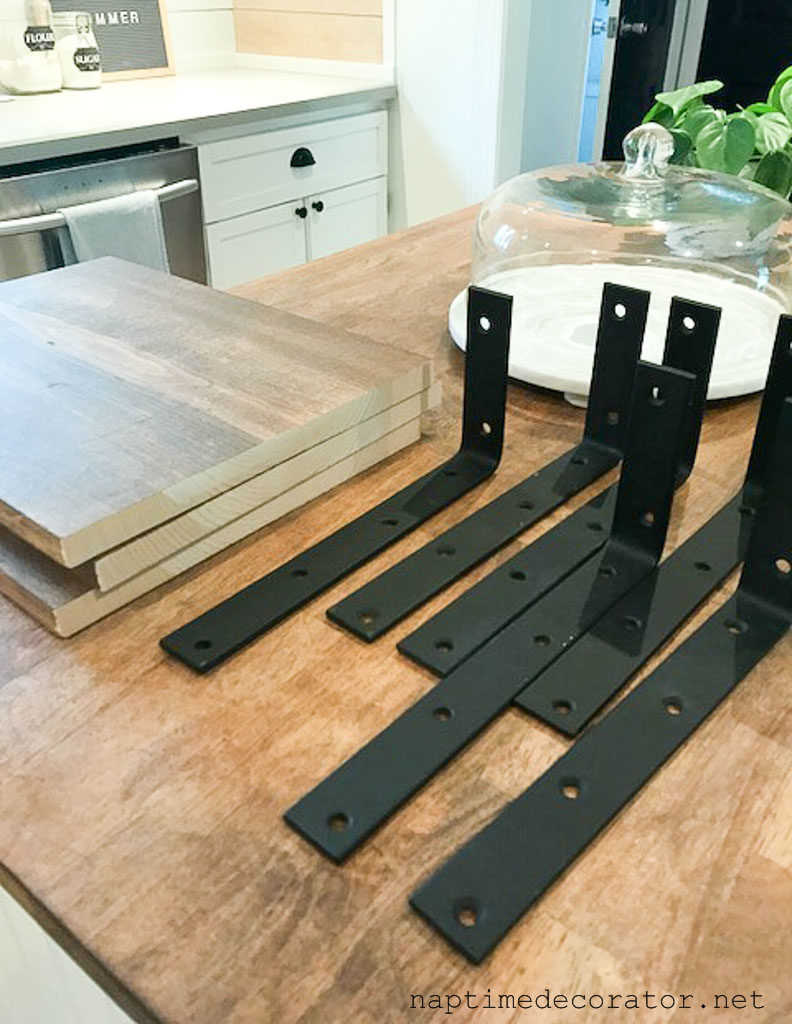
Time to hang them!
I wanted the shelves to actually sit ON the brackets, as opposed to how my little shelf looks, with them facing the other way.
So we measured…
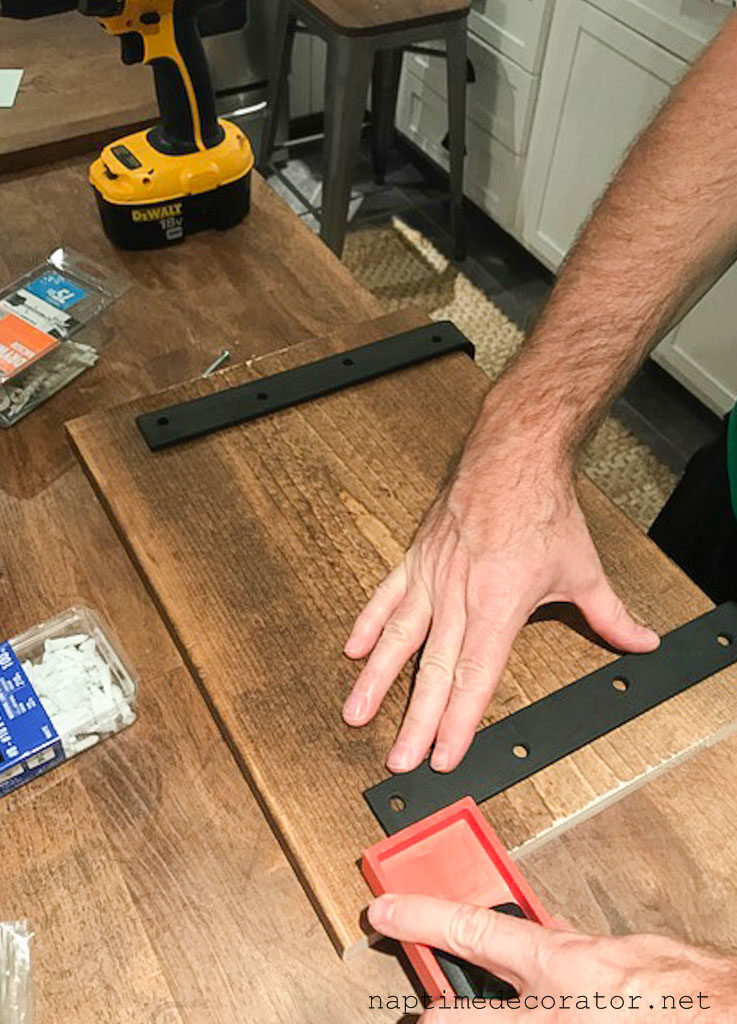
…and secured the wood to the bracket with wood screws.
I knew the black brackets wouldn’t show all that much once the dishes were in there, so it would still have a floating shelf look.
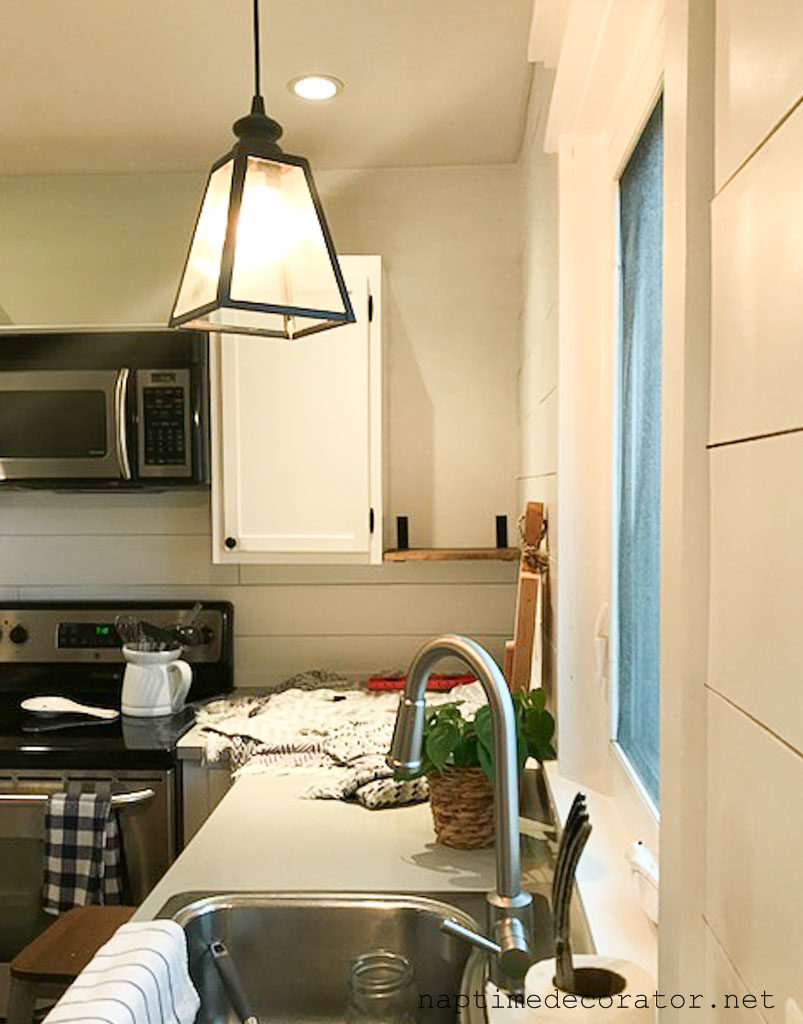
We used zip-it anchors that can hold 75 pounds, so I think we’re good!
And here we are…
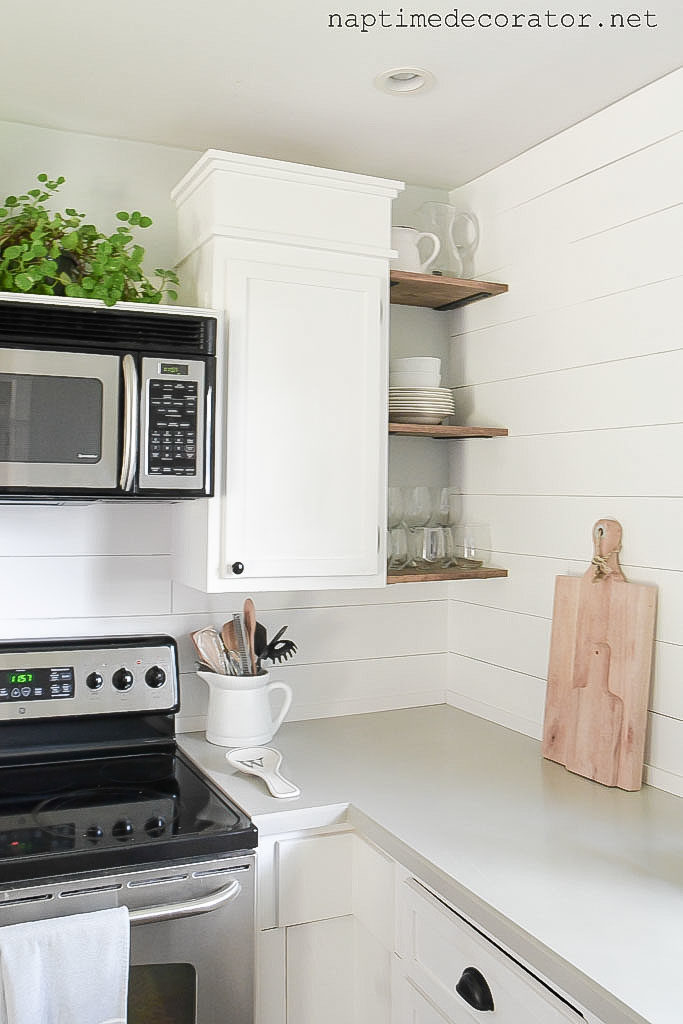
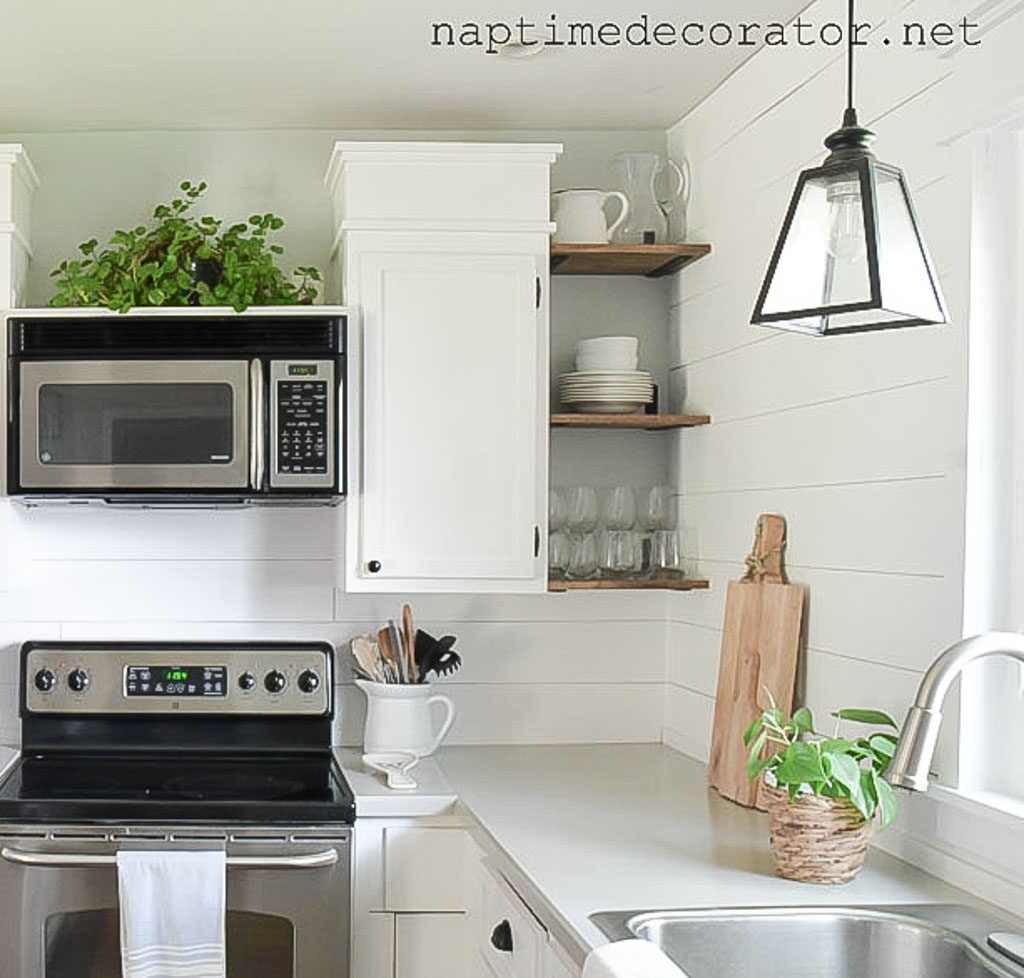
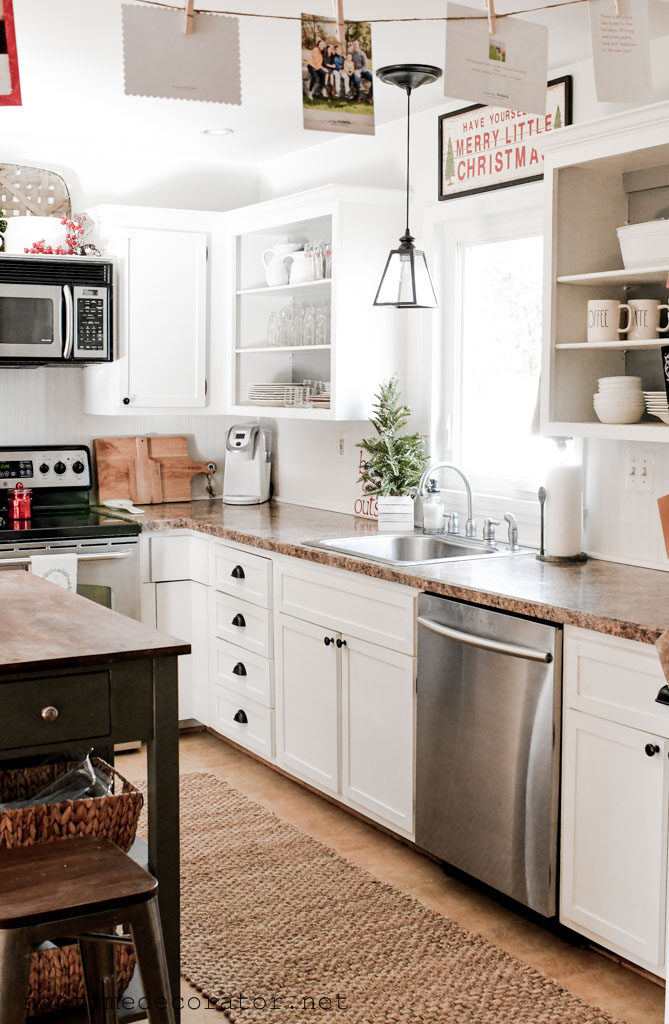
I really love them. And they worked out great for the extra storage. I put a couple pitchers I rarely used on the top, since that one’s not exactly easy to get to. I used the extra wood scraps to stick in the skinny open cabinet too (to the left of the microwave) – you can see it in this pic:
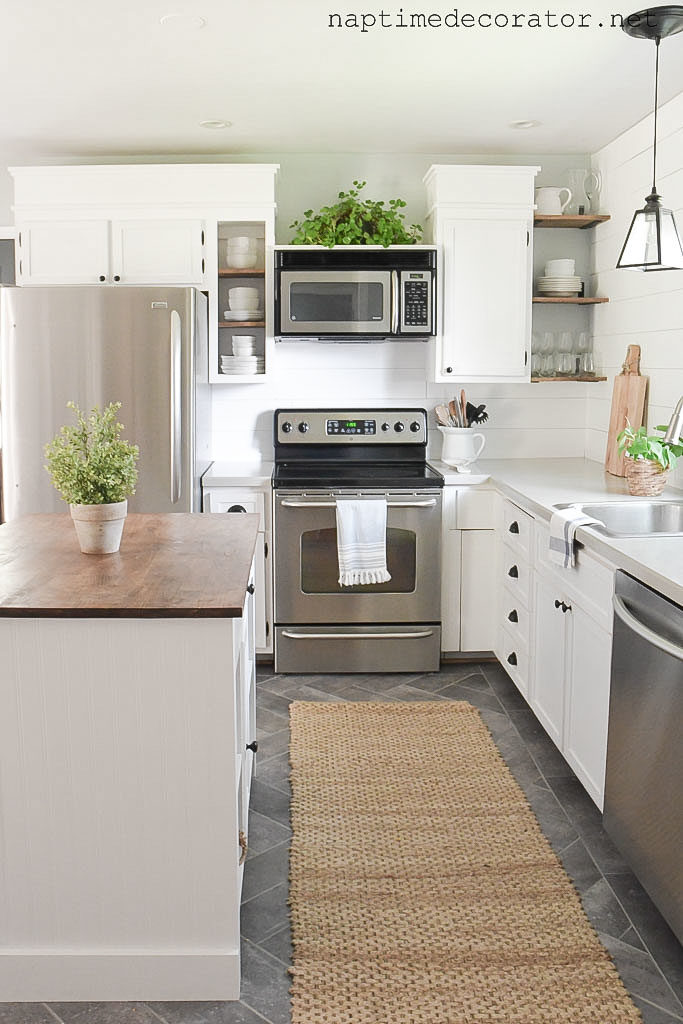
Those were easy peasy because the original shelves already had the little thingamajigs in there to simply place the wood on. (Yes, that’s the actual term.) 😉
That cabinet used to look like this:
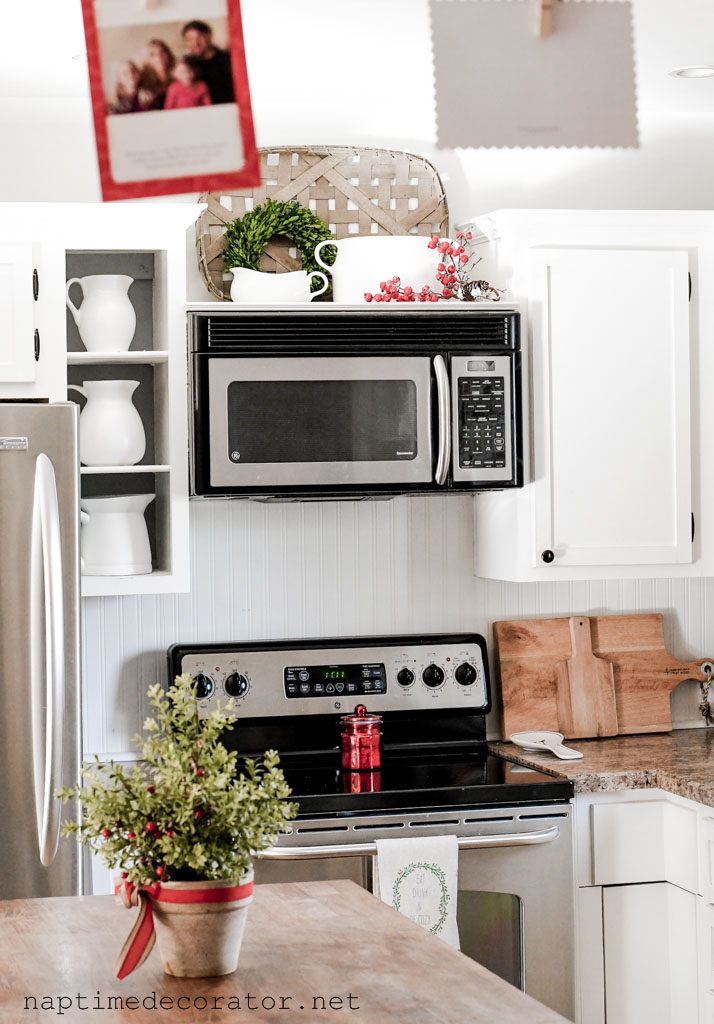
You wouldn’t have believed how warped those white shelves were after 50 some years – it was crazy.
Oh man, these Christmas kitchen pics are getting me excited! Don’t hate me, not rushing anything, I’m just sayin’…
😉
Have a great week, friends! Thanks for stopping by!
 Hi there! I’m Liz, a former teacher-turned-stay-at-home mom to three kids, with a passion to create a warm and inviting home on a budget. This blog all started when I’d put the babies down for a nap, and squeeze in a project during those precious couple of hours! My hope is that you visit this page and feel inspired to do a little “naptime decorating” of your own. Thank you so much for stopping by!
Is it me or is that cabinet a little bit on a tilt?
It’s the picture! I noticed it too – it’s not in real life:)