*This page contains affiliate links for your convenience. For more information, see the FTC guidelines here.*
I’m not even gonna try and act cool about this you guys. There may be an overuse of capital letters and exclamation points and run-on sentences and geeking out because I PAINTED MY UGLY COUNTERTOPS AND THEY ARE SO PRETTY AND I LOVE THEM SO MUCH!!!!
See what I mean? I just cannot help myself when it comes to this DIY.
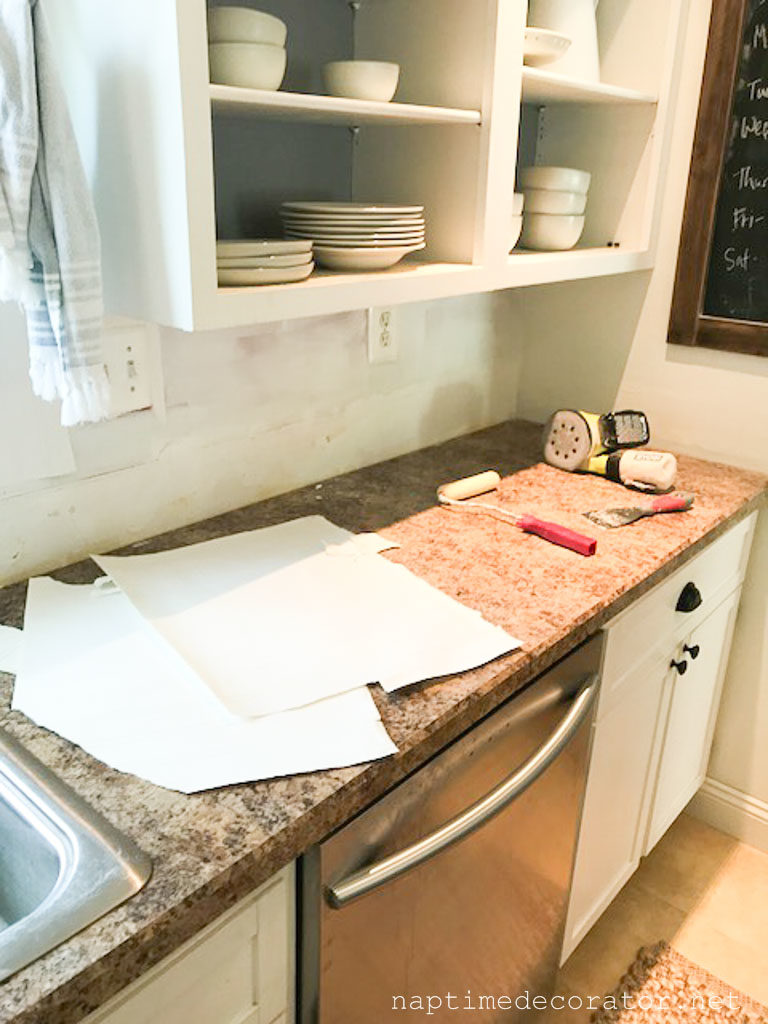
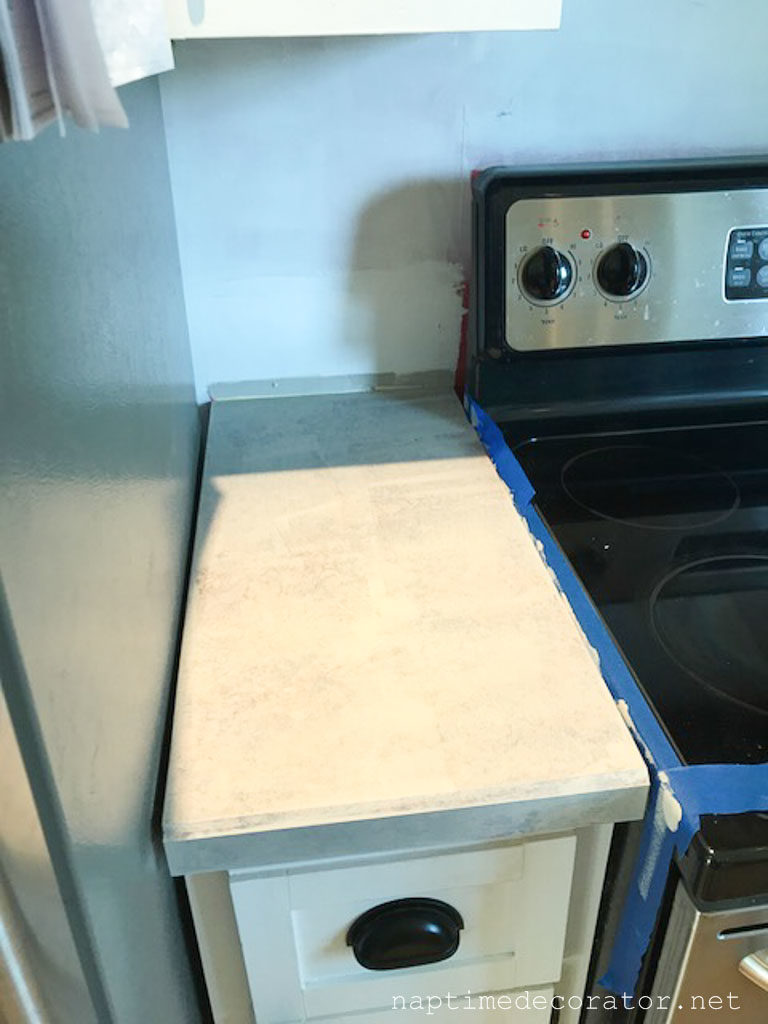
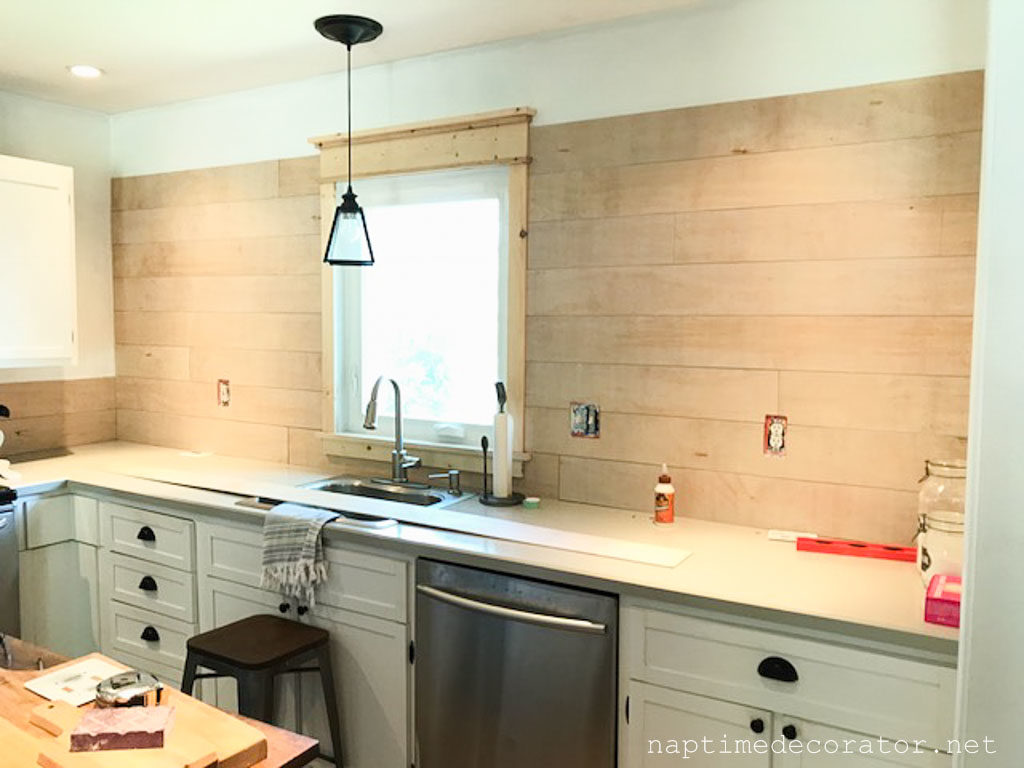
I mean, I spent $30 and went from this old Formica laminate stuff (mostly browns and golds):

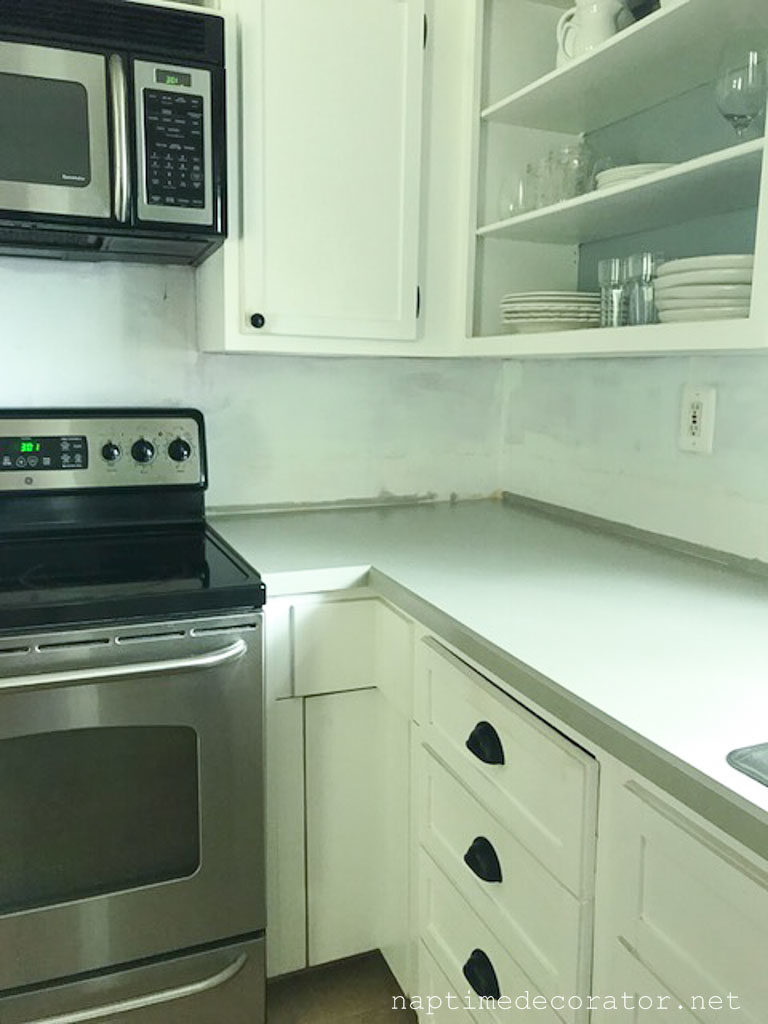
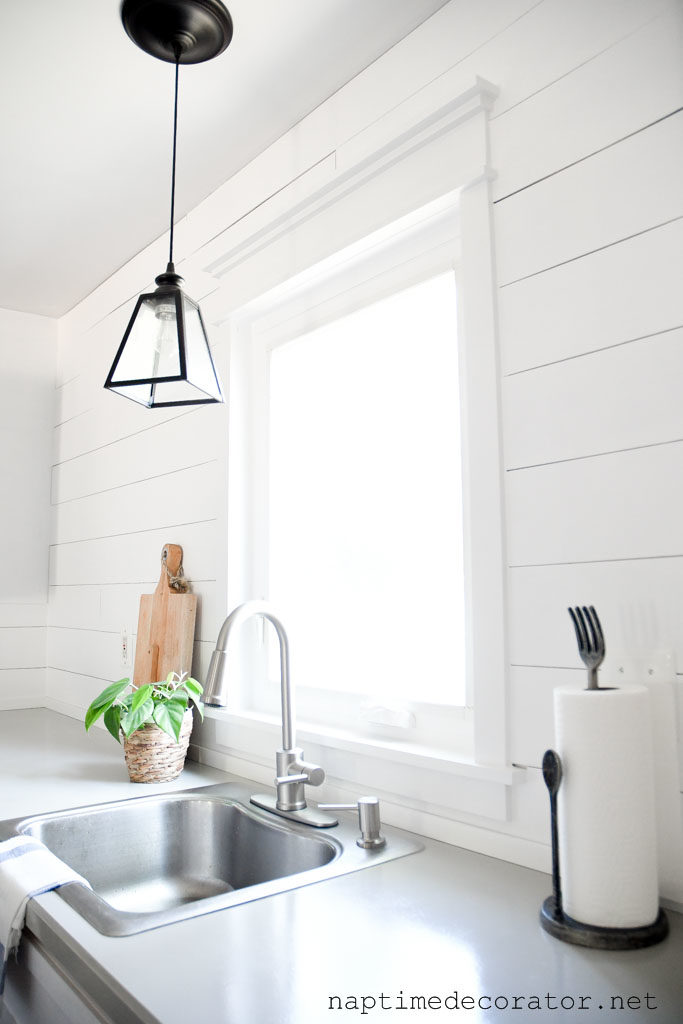
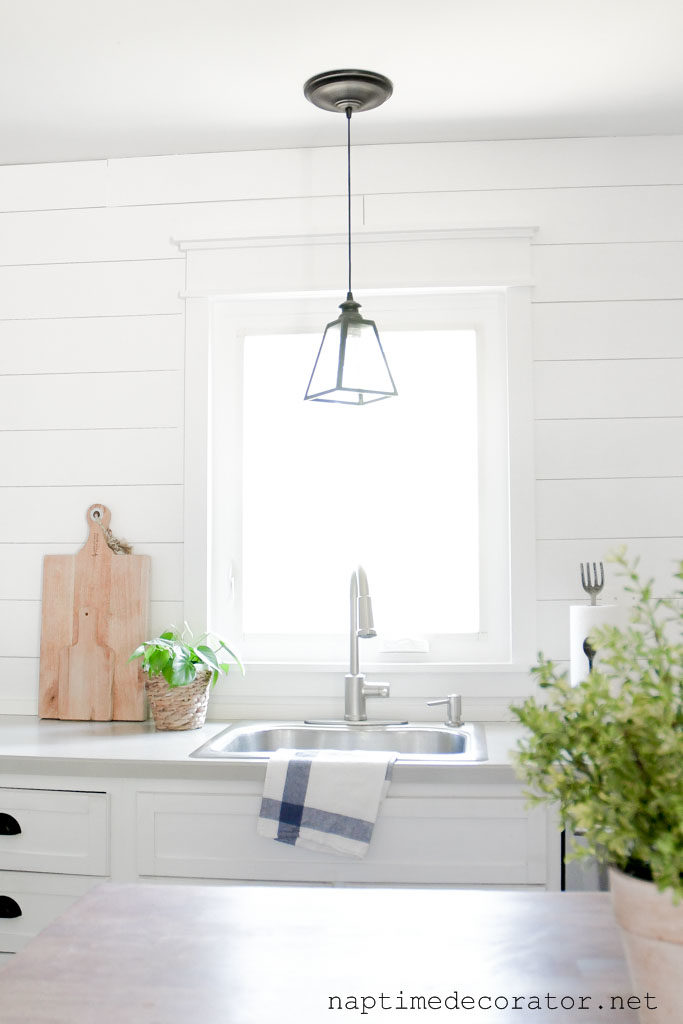
to this grey loveliness:
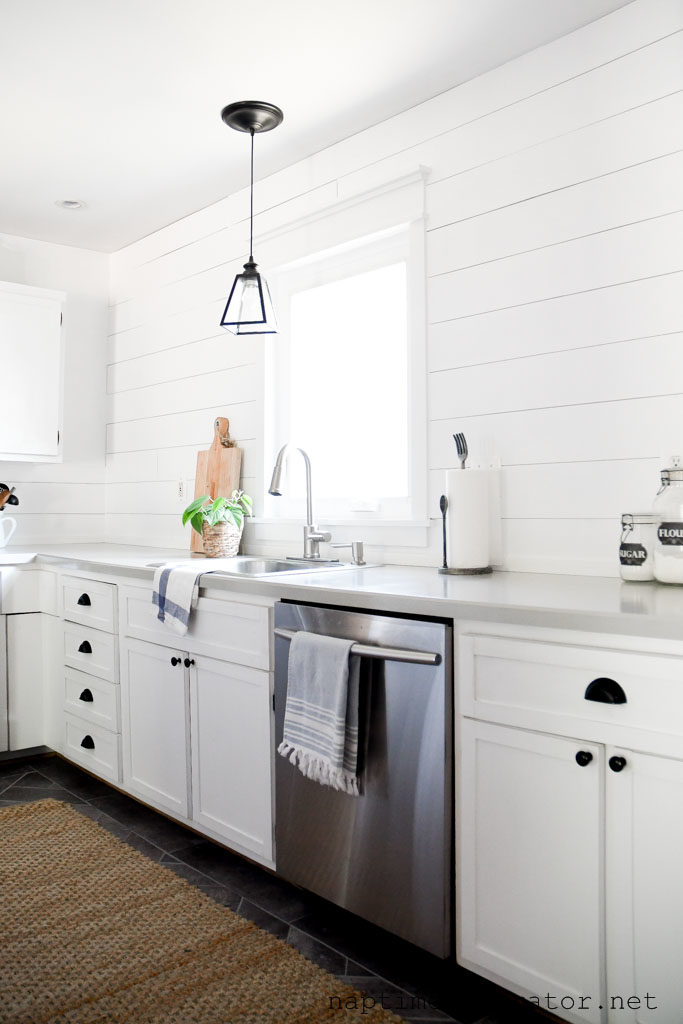
Ok, yes, I also redid the floors with peel and stick tile, and removed the uppers and replaced with shiplap, but CHECK OUT THOSE $30 COUNTERTOPS!!!
It all started when I was at my sister’s house in early June for a birthday party. She had read about this painted counters thing somewhere and was fixing up her basement – there’s a wet bar down there and she thought she’d give it a go. I could not believe how durable this counter felt – I was blown away and decided right then and there that I was going to try it in our kitchen. We have original cabinets from the 60s, and they may look nice, but they’re not in the best shape – you know, when you have to wiggle this one to the left, shimmy that one to the right;) So I’m not about to drop thousands of dollars on new countertops, just to stick them on old cabinets. So this sounded like the perfect fix – even if they don’t hold up long term, as long as they can get us a few years until we can do a full reno, you know? I was all in, and ordered the paint on Amazon the next day! It’s called Dove Grey chalk paint by Renaissance – here’s an affiliate link:
I couldn’t wait to start. I was equally nervous, because WHO PAINTS A KITCHEN COUNTER?? But hey, no risk, no reward, right? I had no Plan B, so fingers crossed!
I sanded it a bit with my hand sander…and also ended up ripping off the beadboard wallpaper, because at this moment, it went from painted counters to a FULL ON MAKEOVER – If you give a mouse a cookie…my poor husband, he truly never knows what he’s coming home to at the end of the day!
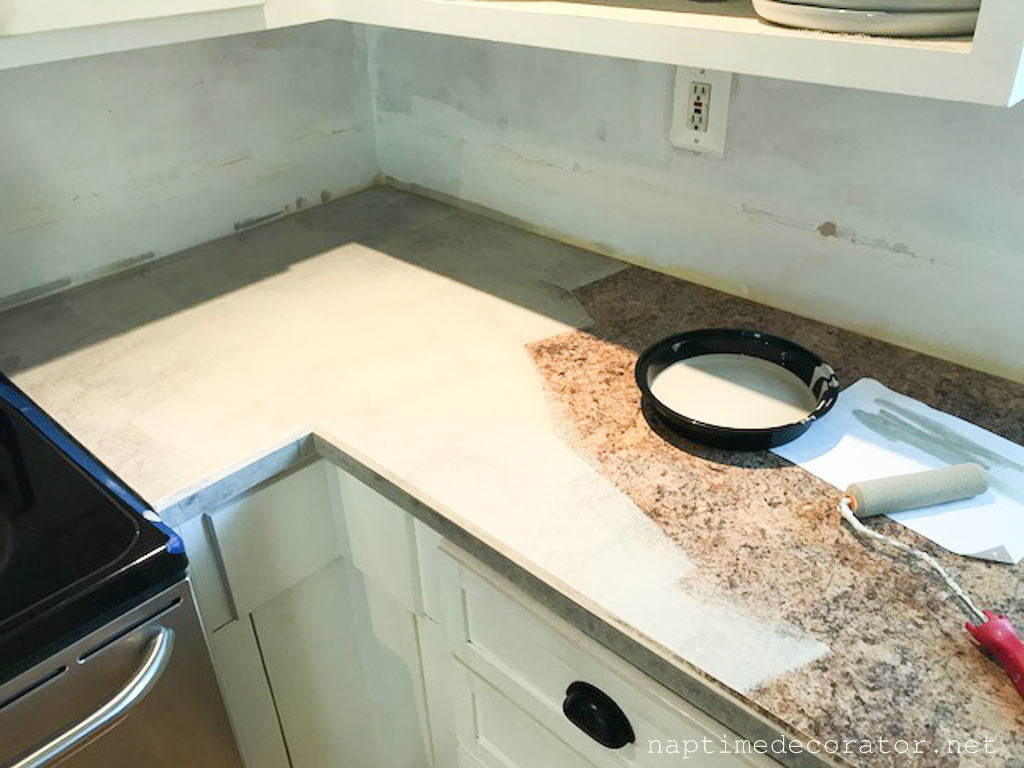
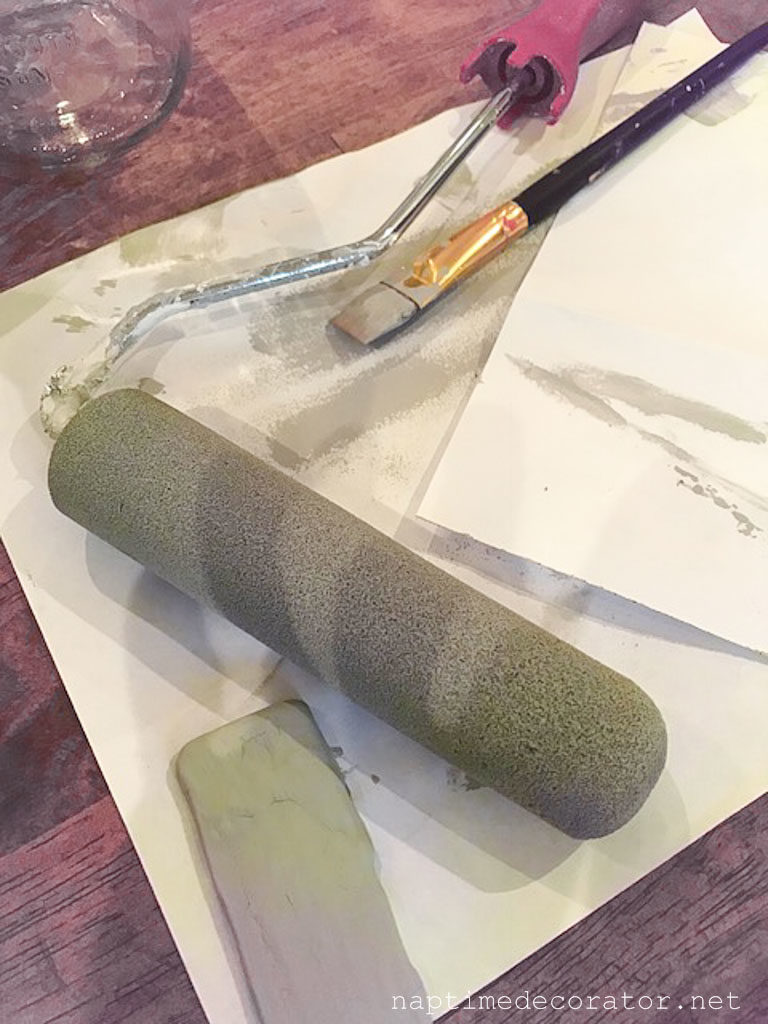
I wiped the counters clean, taped around the sink and stove, poured some chalk paint into a container, and got to work! I just used a foam roller – the kind for cabinets and doors.
I was DYING ALREADY. I started texting my sister, because I just could not contain my excitement!
I ended up doing 2 or 3 coats – can’t remember. I let it dry a day before the top coat of Polyurethane went on.
(Here’s an affiliate link to the poly!)
Now it was time to protect this beauty. My sister bought a gallon of this floor finish poly – did you hear that – it’s made for floors!! – so it has to be pretty durable, right?! Since she had so much and only used it on her small wet bar, she lent it to me (which saved me $50! Thanks, sis!).
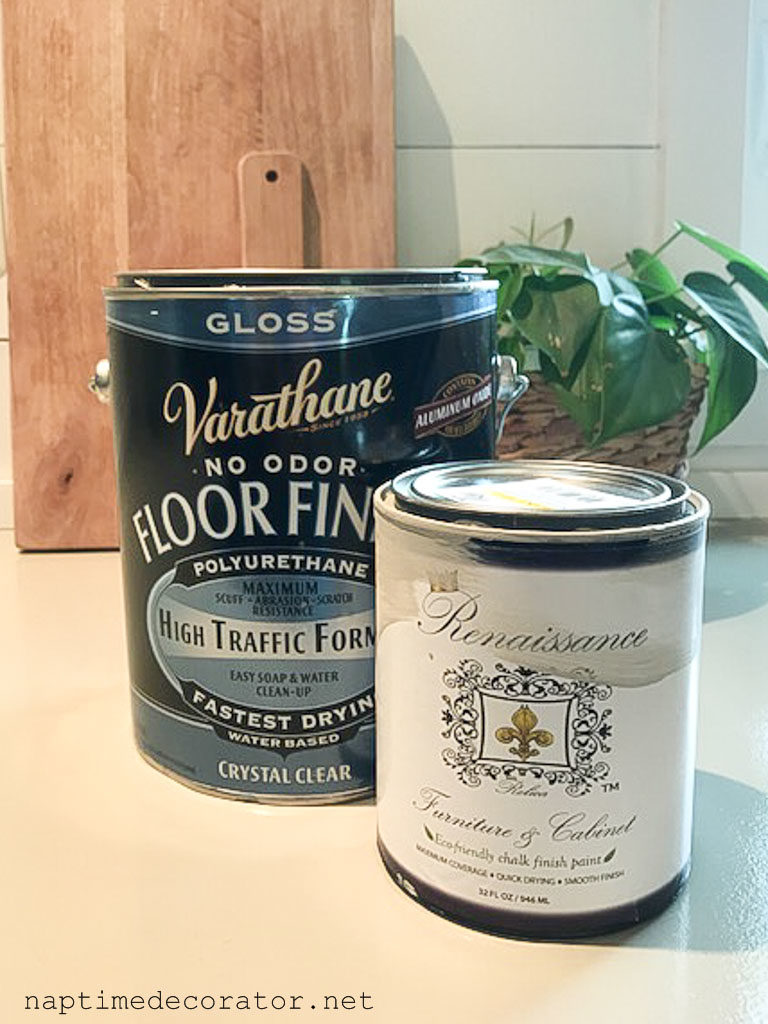
Says no odor, but I could smell it – make sure to have all the windows open when you do this. I used the same kind of foam roller (buy a 5 pack – it hardens and becomes unusable after each coat!).
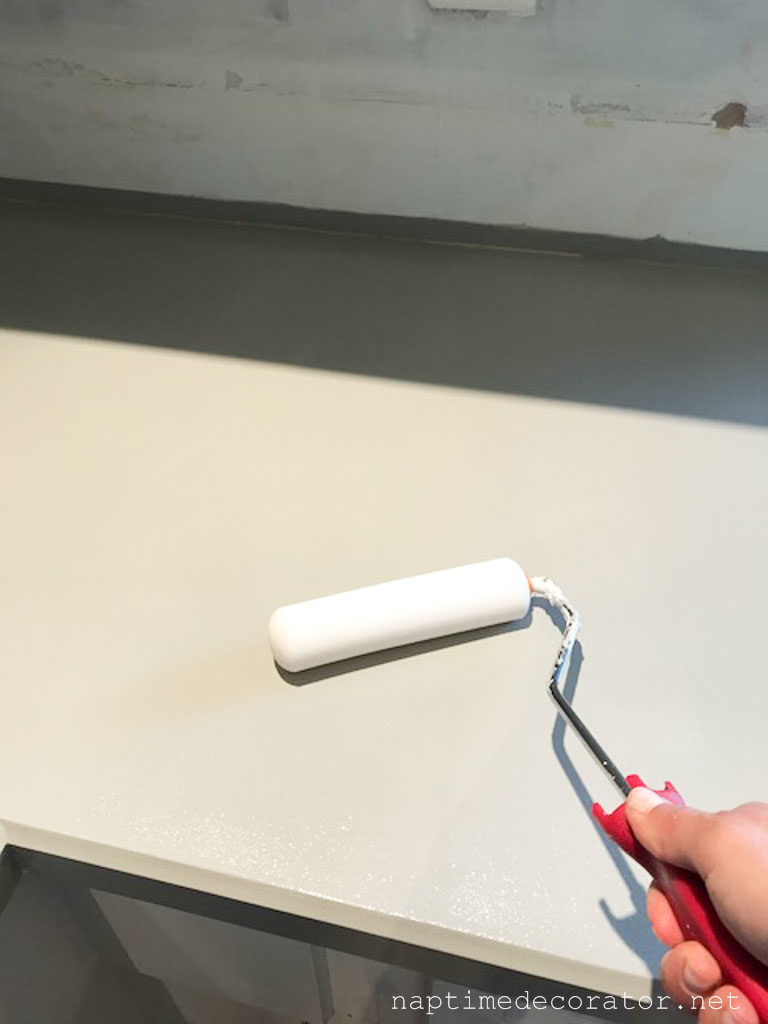
I dipped it right into the can, so I didn’t even use a separate container. I followed the directions of the can, and ended up doing five coats when all was said and done, over the course of a few days.
Then it says to wait 3 days to resume normal use, and we did. I can’t say I wasn’t nervous – but it has been amazing!!! Since apparently I like to do things backwards, we had to rip off the cabinets AFTER I did all this…then frame the window…then put up the plank wall (faux shiplap)…then prime it…then paint it…all with these new painted counters. Lots of holding my breath throughout these projects! Oh Liz. <face palm>
But I am happy to report, these counters passed the test!! I mean, throughout the projects that followed, I stood- no, WALKED – on them in my dirty sneakers over and over again – screwdrivers and nail guns and hammers were on there – and not one chip. And I am completely crazy about looking – every day, while I’m cooking, emptying the dishwasher, whatever – I’m checking. Full disclosure- there was one itty bitty chip underneath the lip last week near the untensil drawer – and I’m chalking that up to not putting enough poly there. If screwdrivers can fall on top of this counter, and I can walk around in my shoes putting shiplap up, and it gets wet everyday, all day long, mind you, from dishes, and NOTHING happens – then that has to be it. I was a crazy person slapping that poly on top, so it’s crazy protected, but I’m sure I didn’t do as decent a job on the bottom-est part of the lip. I touched it up with literally my pinky fingertip of chalk paint, and plan on putting one more thick coat around the lip of the counter, just to ensure that doesn’t happen again. So if you do this – make sure you put lots of poly everywhere, not just on top!
It has now been about 6 weeks. And I am still as smitten as I was on Day 1!

And I would do it again in a heartbeat.

 Hi there! I’m Liz, a former teacher-turned-stay-at-home mom to three kids, with a passion to create a warm and inviting home on a budget. This blog all started when I’d put the babies down for a nap, and squeeze in a project during those precious couple of hours! My hope is that you visit this page and feel inspired to do a little “naptime decorating” of your own. Thank you so much for stopping by!
You are amazing! Love everything!
So beautiful! Just wondering where you got your kitchen rug from?
Thank you! That’s from Target:)
Love your new kitchen! Beautiful!
Thank you so much!
Soooo awesome!
Thanks, Lynn!!
This looks AMAZING – I’m so inspired. Is everything food safe? Or do you have to be careful with what goes on the counter?
No, I’m sure it’s not food safe, but I always put everything on cutting boards and plates anyway, so no changes there:) Thanks so much!!
BEAUTIFUL!! Awesome Liz💜
Thanks, Cindy!
Love the new countertops — will be doing that to mine ASAP — thank you for sharing with us!
Thanks, Janet!!
Beautiful! Where is your light from?
Thanks, Kristan! It’s from Home Decorators Collection, a few years ago.
Love the counters but want to know more about the faux shiplap and the color you use there, please.
Thanks, Meg! Here is a tutorial I wrote a few years ago, when we did our first one. Did the same thing, except went with Behr Bit Of Sugar for the paint in the kitchen.
http://www.naptimedecorator.net/diy/diy-plank-wall-tutorial/
So, you painted your counters for $80 except someone else bought you $50 worth of supplies. Very misleading. And I hope you won’t be reselling because those tiles are cheap and show their age quickly.
I’m sorry you found it misleading – I didn’t think so, since I included the information in the post. And no, we have no intention of ever moving, and if you read that post, it said it was a short term fix until we can gut our original kitchen. The tiles come with a lifetime warranty, and a friend of mine has the same ones that recently endured a flood in her basement, so I’m hopeful they will stand a few years until we can do a renovation. I think it’s wonderful there are budget friendly options out there – even if they don’t have the durability as the more expensive products, they still improve what you have until you can afford to get the real deal! I’m so happy with them.
Grace, grace and more grace. Not misleading at all, you did well!
Thank you so, so much, Tina! <3
He>i. We were in a prayer group today and I shared how your response impacted me to reflect on how we represent Him. Some days we do well and others, not so well. At all times, I don’t want to embarass Him by my actions, but inadvertently, I do. Our purpose is to reflect Him and you did that so well today. Just thought you needed to be reminded of how you are impacting others. Well done.
You can never know how much this means to me, Tina! Really. And I will be going to MY prayer group to tell them about YOU and how YOUR impact impacted me – if that makes any sense?! LOL! This was a really great reminder for me today. What a God-wink! Thank you<3
🙂 Thanks!
It looks so amazing very inspiring. I have a very similar laminate countertop to what you had prior. I’m wondering if I could choose a different color chalk paint?
Thanks, Jaimie! Yes, I’m pretty sure they had a bunch of colors to choose from!
This is exactly what I have been looking for! I have spent hours on Pinterest looking at painted countertops. Thank you for posting. The Dove Grey is beautiful!
Thank you so much! Glad it helped you!
Are your kitchen counters still holding up? Looks beautiful!