Wow, I cannot thank you all enough for your kind words on my last post! I’m so happy you love my new peel and stick tile floor as much as I do!
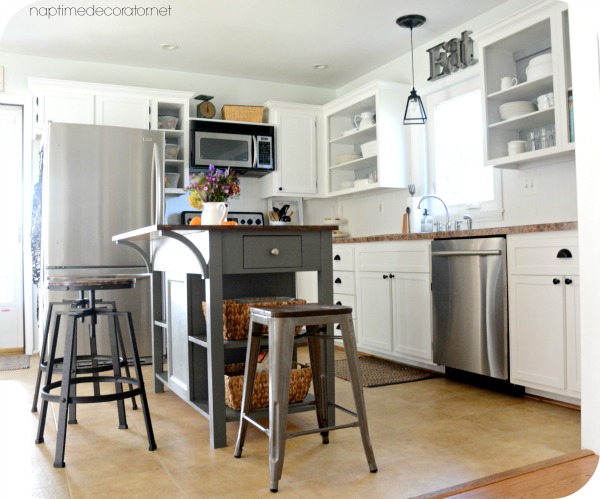
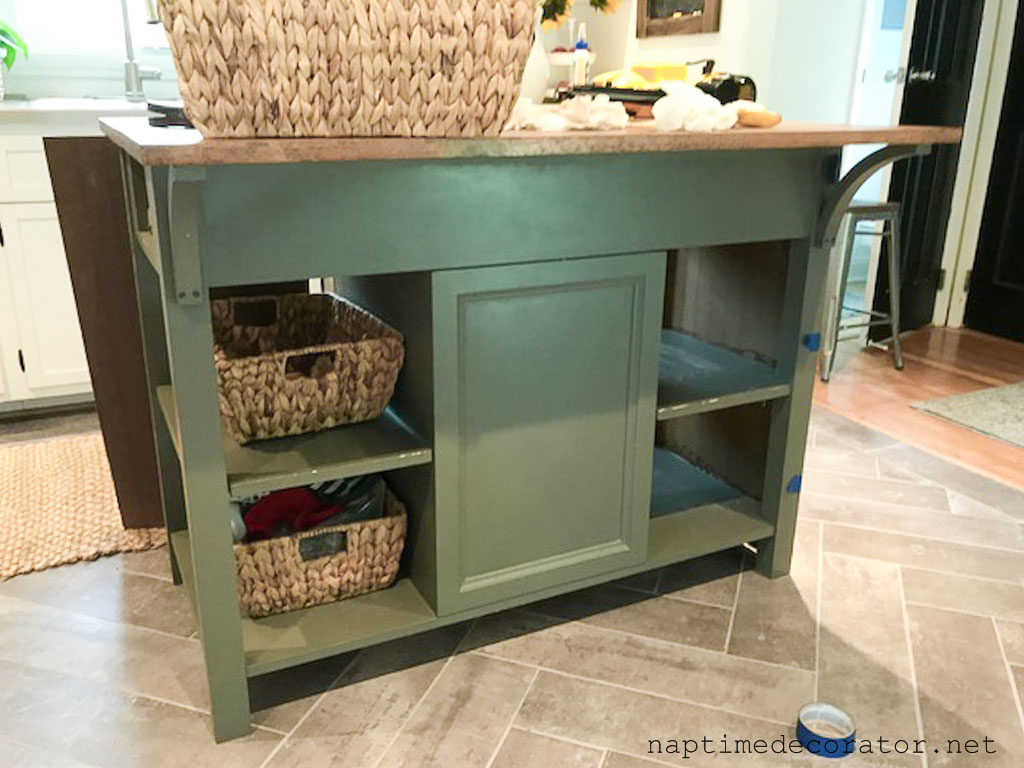
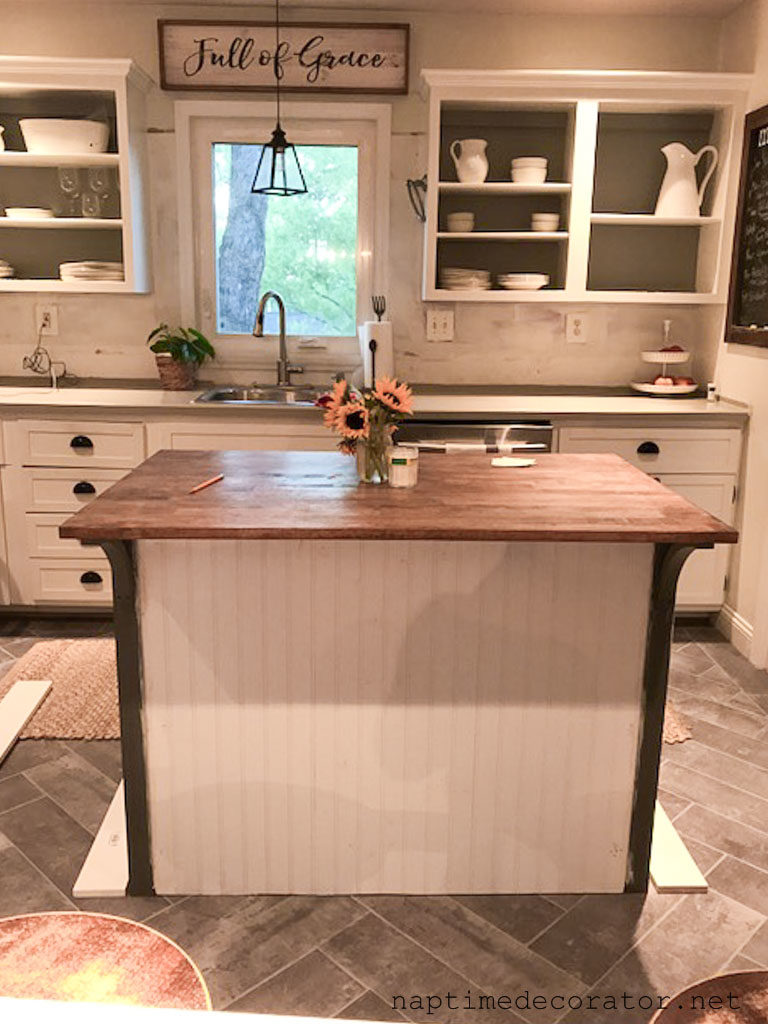
As promised, I wanted to fill you all in on the island update. Once we got the grey floors, I knew I needed to lighten up the paint, but then I had the craziest idea…and our island ended up going from this:
to this:
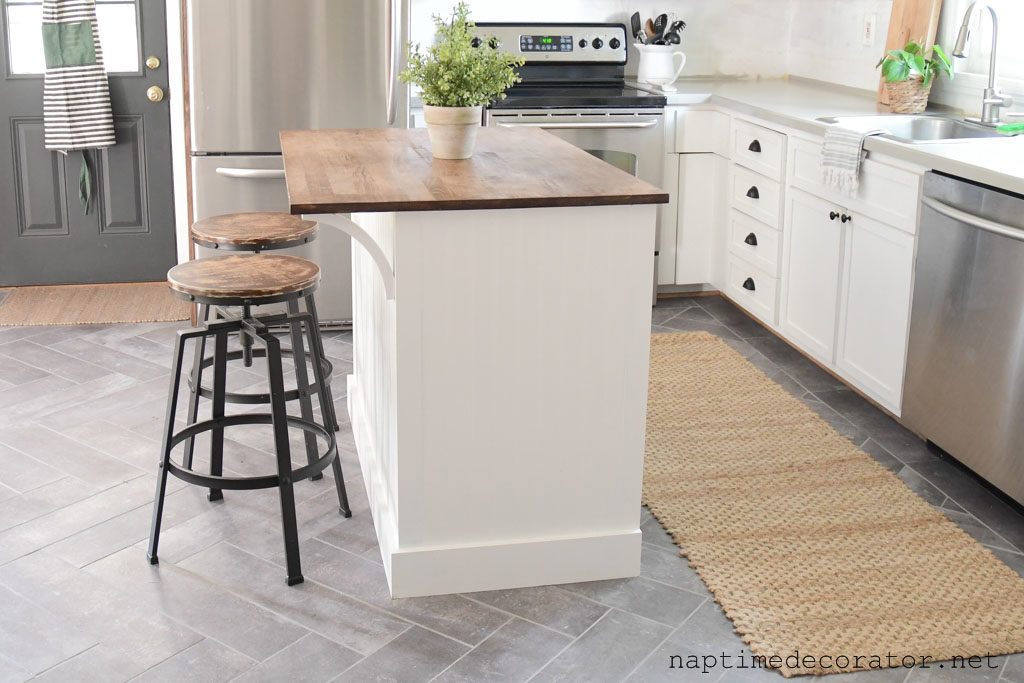
And are you ready for this – the entire thing cost $28 bucks!!
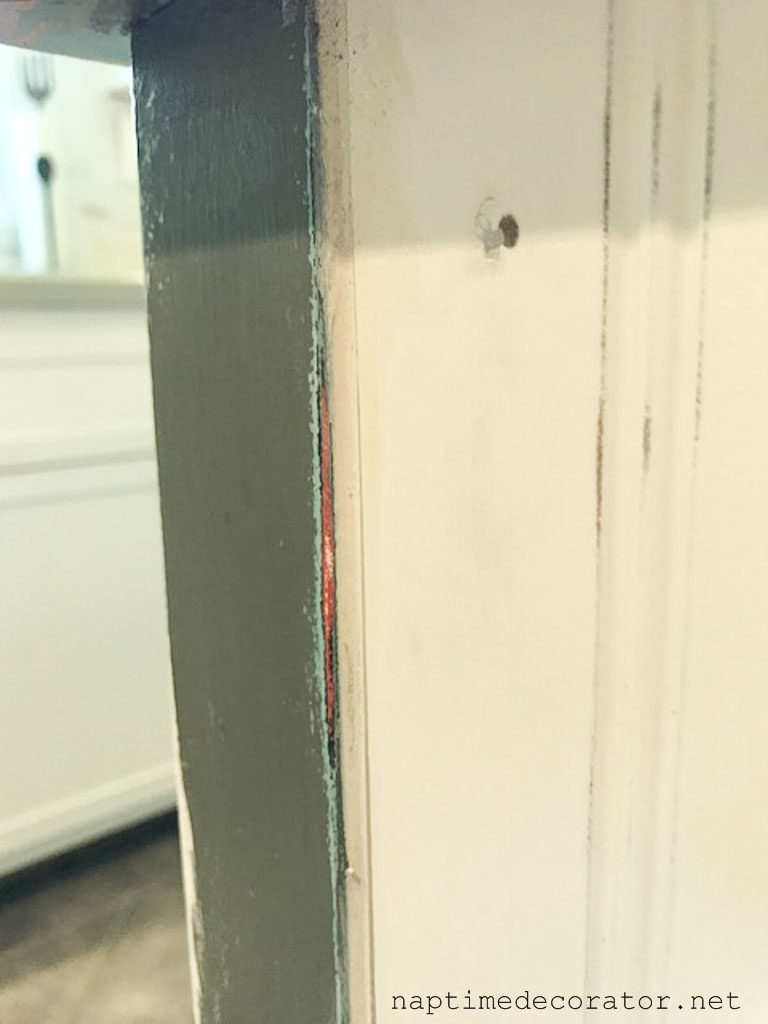
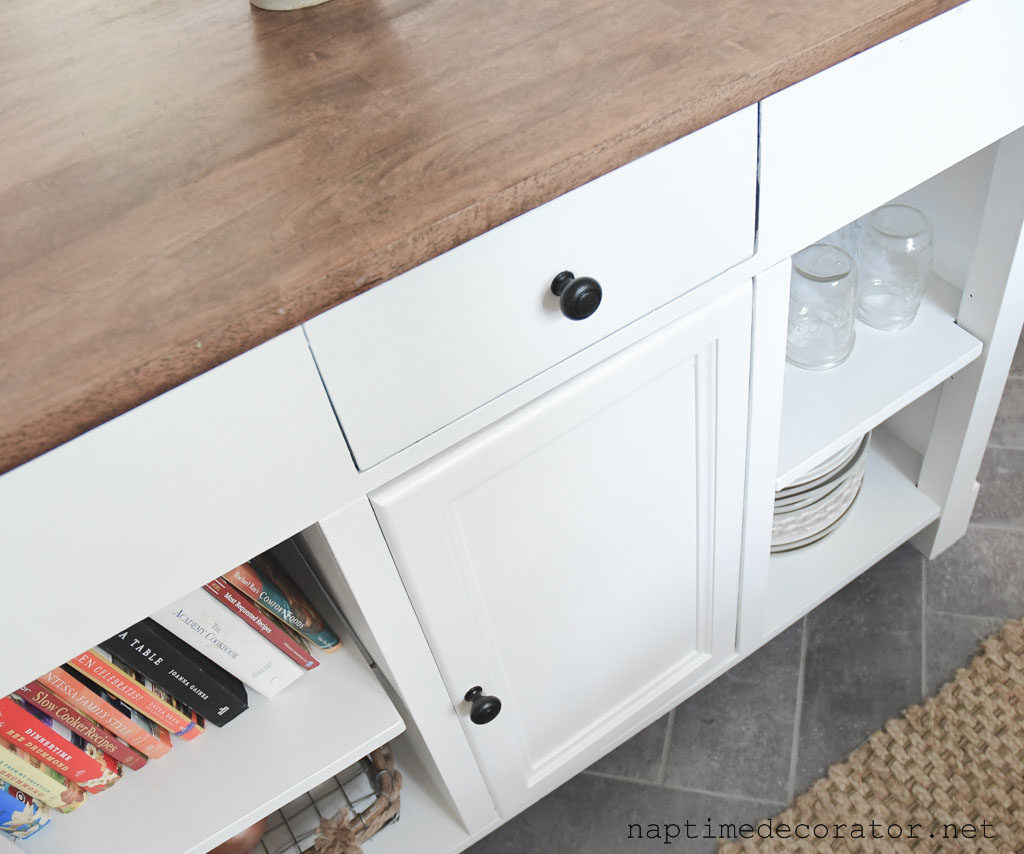
Let me preface this – I did not dislike my island necessarily – it was fine – BUT, the shelves were constantly collecting dust and dirt and food crumbs and my kids would rest their shoes on the ledges and some paint was chipping – they were kind of a pain. Also, with all the open shelving on the walls as well, it was just a lot of openness. I was ready to close it all off, but always thought it’d be a whole thing, so I avoided it. I thought the top would have to come off the base, figure out something with the posts, and just, well, it sounded like a lot of work to just close off the shelves. Until recently, when I really looked at it and a lighbulb went off! See where the posts jut out juuuuuust a wee bit? Right here where my thumb is:

Well, I had a crazy wacky idea that the depth of a piece of beadboard looked pretty much the same as that space there.
So naturally, because I have no patience when I have a wacky idea like this, I ran out to Lowes and grabbed a piece for under $20. I measured the the distance from indent to indent, cut it with my Dremel hand saw, and thought OH MY WORD THIS MIGHT JUST WORK!
I put wood glue on the back, where the back touched the island, and taped it up for a while. I had marked first where the shelves were, so I could nail into them. So basically I nailed a few on the top section, the middle shelf, and the bottom shelf.
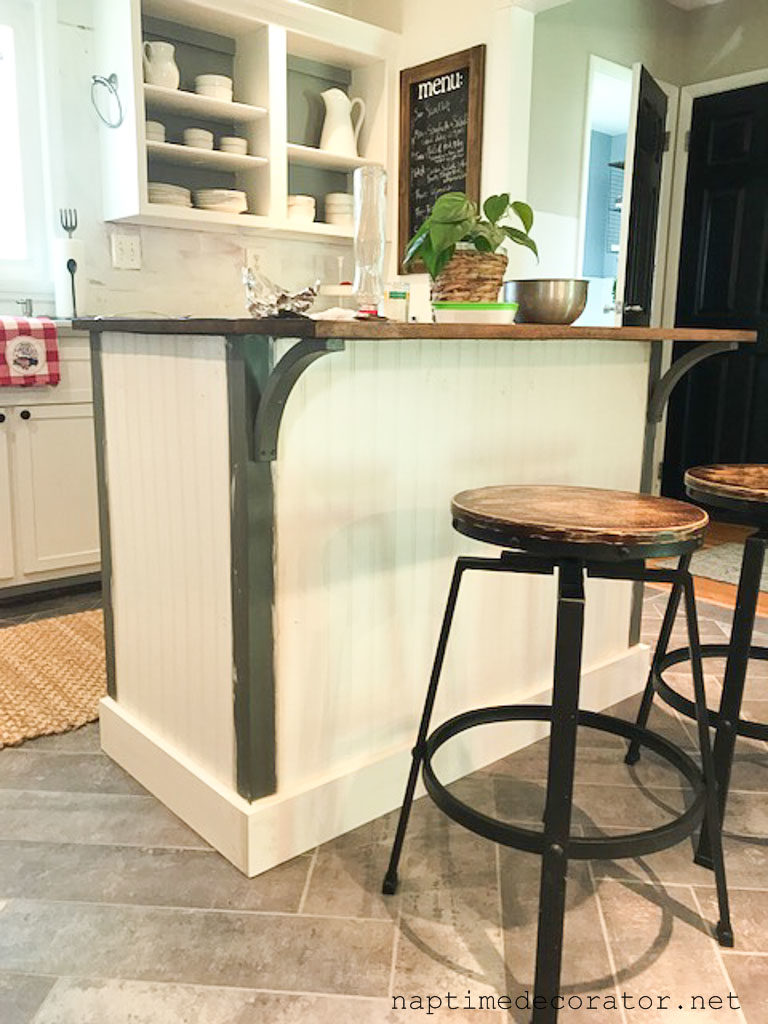
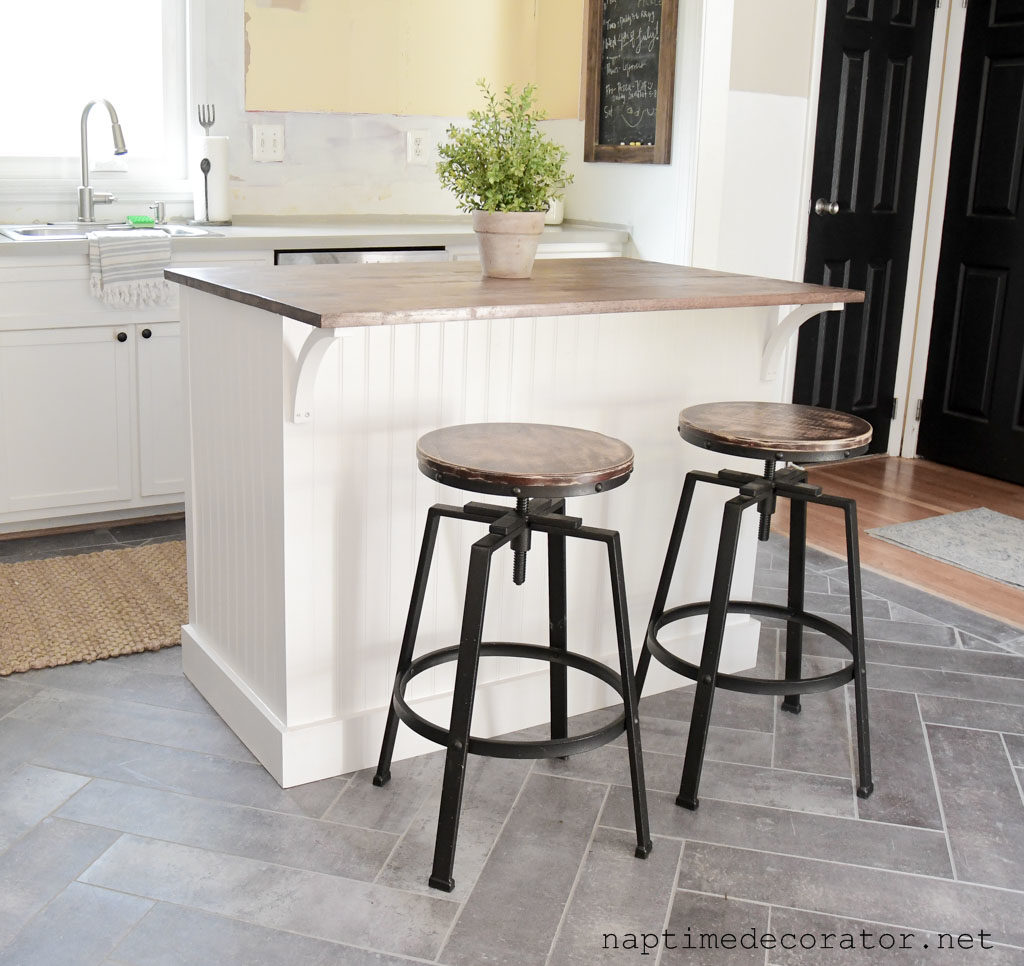
It definitely needed some bulky trim at the bottom, so I picked up one 8 foot piece and didn’t even miter the corners – just left them straight cuts and the one piece was all I needed because I left the one side open:
This way I can still use storage!
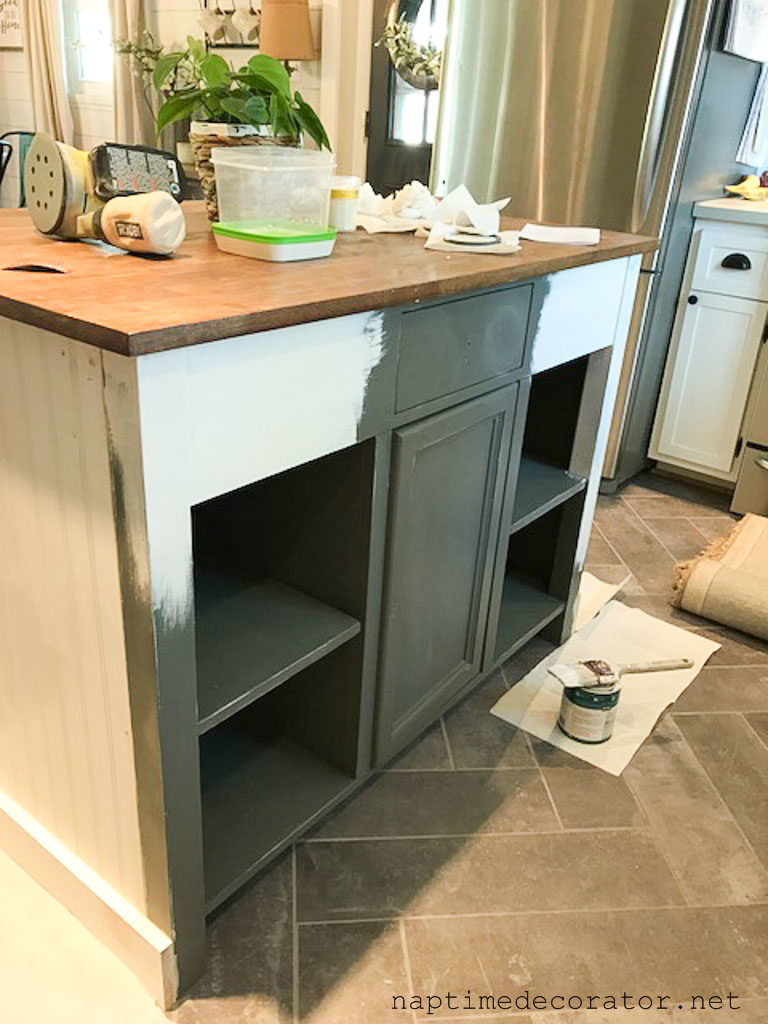
I spray painted the knobs black (they were silver), and caulked the nail gun holes and edges. When that was dry, I lightly sanded it and painted it with Behr Primer and Paint in One in “Bit of Sugar.”
So funny – when I was sanding, I noticed the layers of colors this island has been:
First, red. Then black. Then aqua. Then grey. Now white. HA!
Within no time, my island makeover was done and I was in love!
I am honestly in shock that it worked out, and how quickly (and smoothly?!) this island transformed. I truly am.
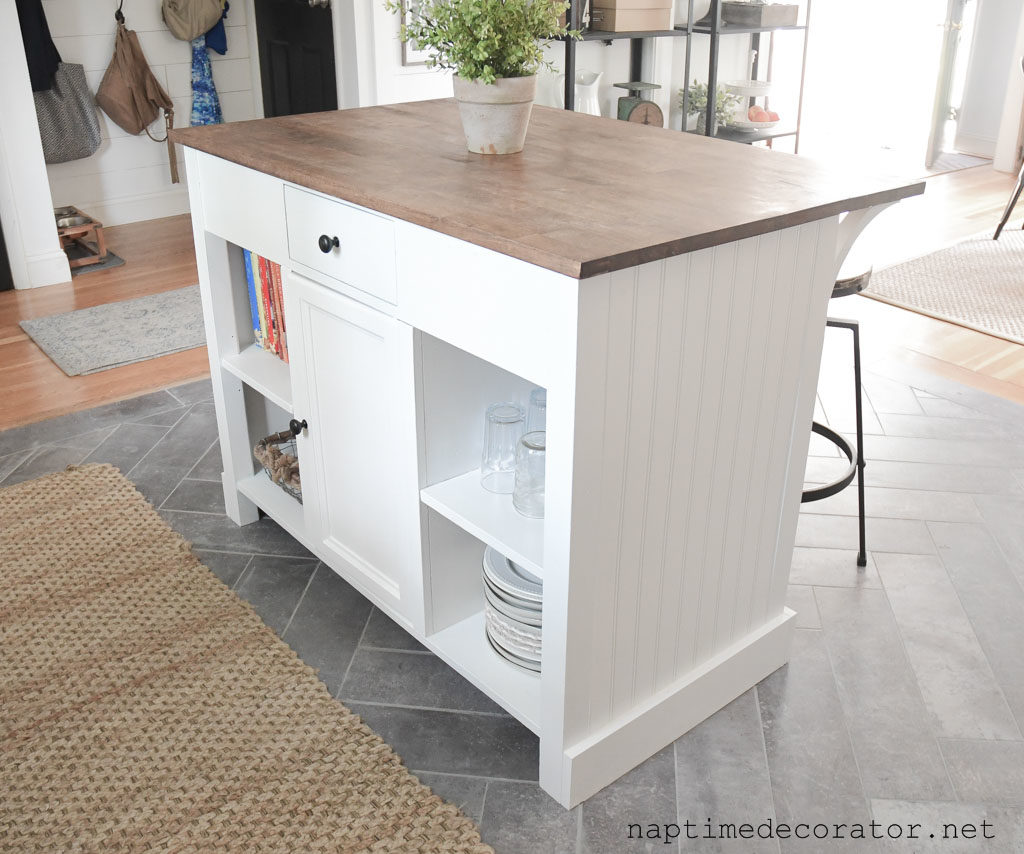
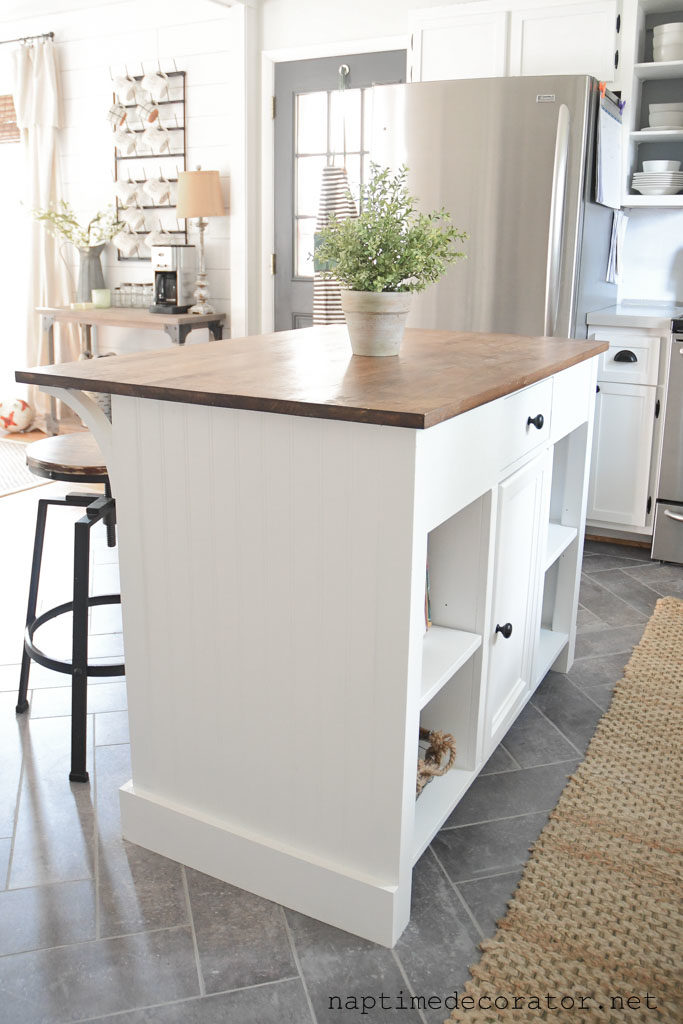
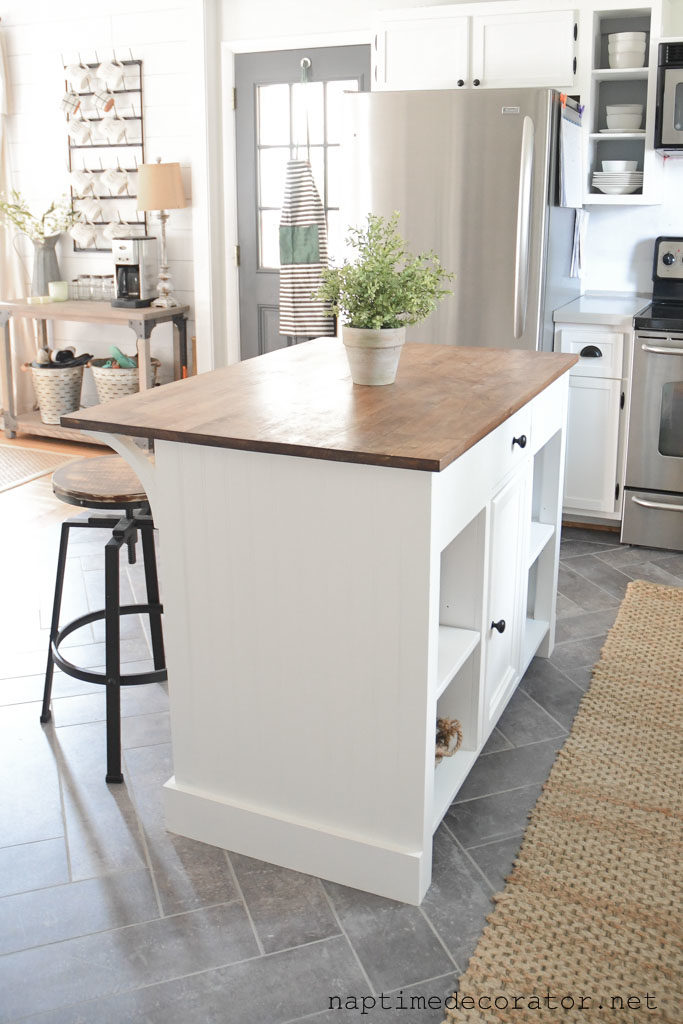
Now I feel like it really looks like a permanent part of our kitchen. Like it was custom built just for this space, not a movable piece, like it was before, you know?
We did lose two drawers (one on each of the shorter sides), but honestly, I am happy about that. Less drawers, less junk. We can definitely downsize to one.
We’d really love to beef up the top slab of wood and get a thicker piece of butcher block, but maybe down the road. That was actually my husband’s idea. I think that would look awesome. Maybe it’s the thick trim at the bottom, but the top does look a little skinny now;)
As for the open shelving side, I’ve got cookbooks, some dishes in there (since we’re ripping down cabinets and could use the storage!), and the kids are loving having the glasses there – they said it feels like a cafe!? Too funny.
In the little door, I’m storing small kitchen appliances that I use a lot but not enough that they need to eat up counter space. Like our toaster, blender, waffle maker…that kinda stuff. I’m so glad I left that side open. I was thinking about it when the wheels started moving, and then when a few readers also suggested it on my Instastories, I knew it would be smart to keep it!
Next up, shiplap! Check out the yellow in this photo below – we’ve ripped out our uppers and that was the color behind the cabinets! 50+ years old!
So lots of fun stuff going on over here. It’s a bit of a hot mess at the moment, but I am certain I will LOVE it when all is said and done!
Now, I’m off to paint some little girls’ toenails red, white, and blue for tomorrow – hope you all have a happy 4th and see you for Favorite Things Friday!

 Hi there! I’m Liz, a former teacher-turned-stay-at-home mom to three kids, with a passion to create a warm and inviting home on a budget. This blog all started when I’d put the babies down for a nap, and squeeze in a project during those precious couple of hours! My hope is that you visit this page and feel inspired to do a little “naptime decorating” of your own. Thank you so much for stopping by!
Amazing!!! Can’t wait to see the kitchen finished!
I have a similar island with open sides and I kept thinking I should do something like this. You have given me motivation to go through with it. Thanks!
What an amazing transformation, absolutely gorgeous. I love your style
Looks great! Can you just please come and re-do my whole house? Please and thank you! 🙂