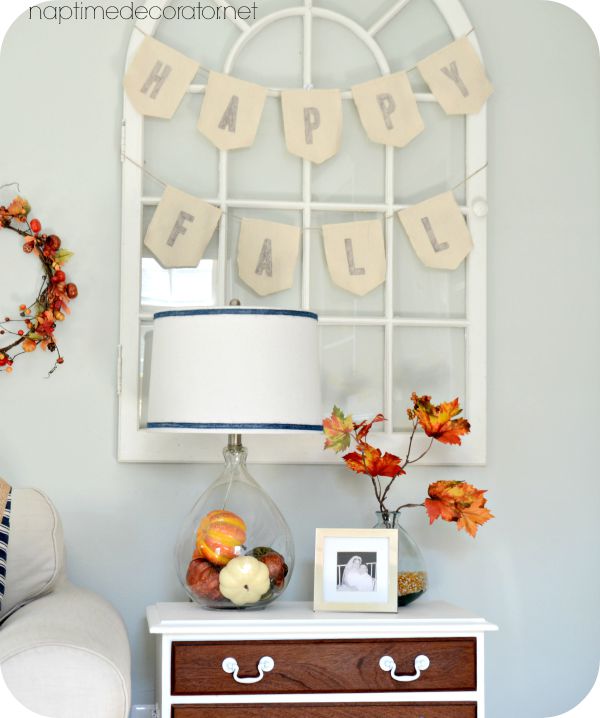
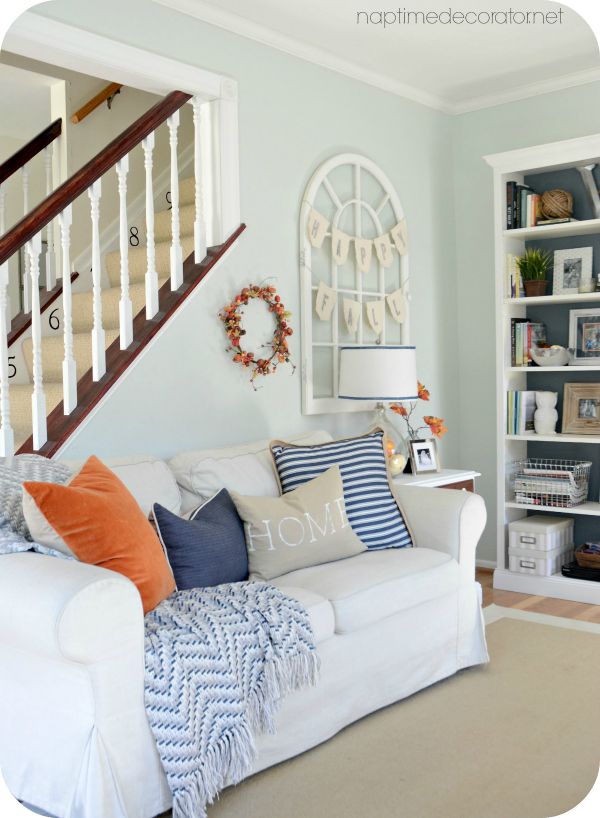
You might remember that amazeballs old window my friend just GAVE me earlier in the year. I couldn’t believe my luck when she told me she had a window and would I want it? Ummmm…YES PLEASE! It’s been a lovely addition to our family room, and something I love changing up with seasonal stuff – usually in the form of a wreath. But I had a different idea for Fall…a banner!
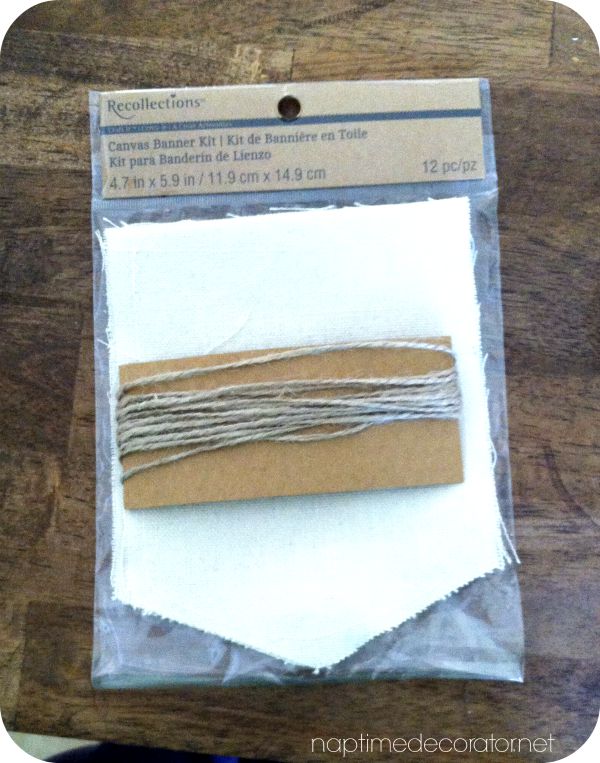
So I went to Michael’s and spotted this canvas pocket banner kit.
I looked at my window and decided the words “Happy Fall” would be the perfect size. So I dug out my stencils and went with these block letters – they actually aren’t even stencils – they’re stickers I think I bought from Lowe’s a couple years ago?! Like in the section with mailbox numbers and stuff? I liked the block-iness of them so I bought them and trace them like you would a stencil. It’s just that you’re tracing the outside instead filling IN the inside!
I used pencil, then filled them in with a Sharpie black marker.
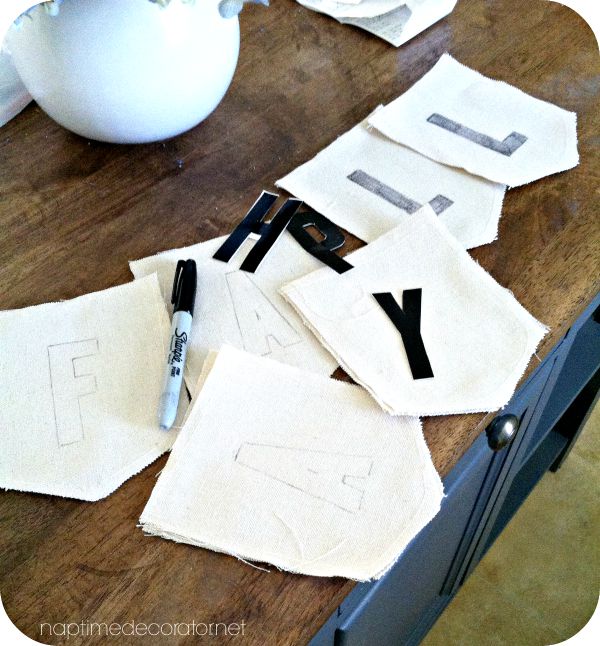
As it turns out, my Sharpie was running low on ink…which actually made me happy. The letters turned out a little faded/grey looking. Gave it a vintage vibe. I was digging it!
The kit comes with twine, so I just dabbed the slightest bit of hot glue on the back of each letter and stuck it on the twine string. Secured it with a little masking tape on the back of the window, where you can’t see it…and here it is!
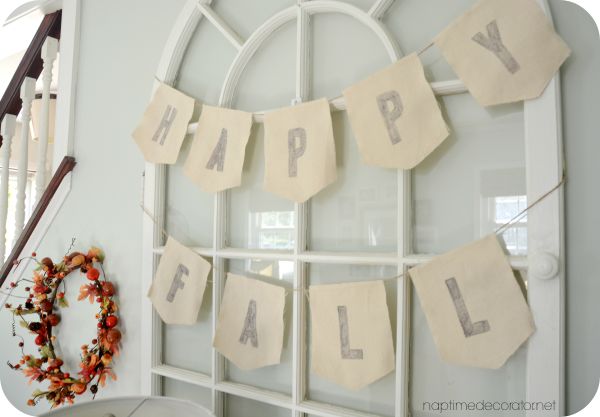
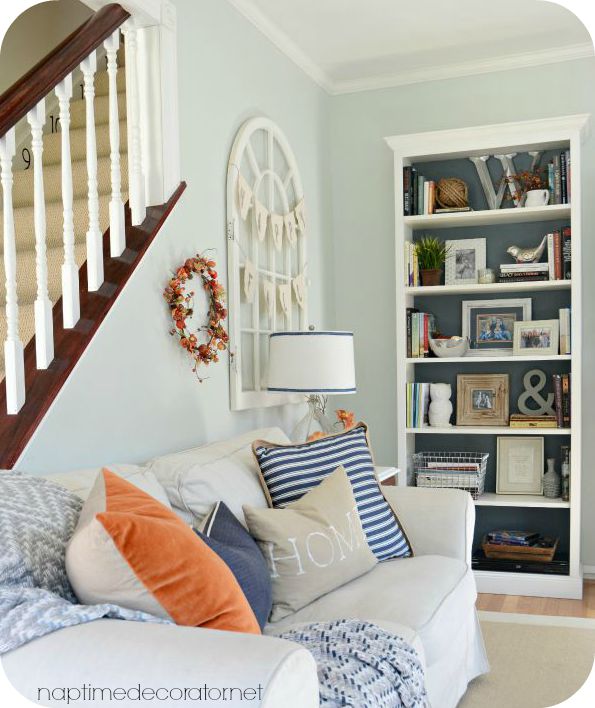
And since I have a little Fall wreath hanging to the left of it, it’s the perfect non-wreath solution! Oh, and did I mention it was $7.99 plus a 50% off coupon?! Four bucks for decor? I’ll take it!
Happy Fall, y’all! Now where’s my Pumpkin Spice Latte?!

 Hi there! I’m Liz, a former teacher-turned-stay-at-home mom to three kids, with a passion to create a warm and inviting home on a budget. This blog all started when I’d put the babies down for a nap, and squeeze in a project during those precious couple of hours! My hope is that you visit this page and feel inspired to do a little “naptime decorating” of your own. Thank you so much for stopping by!
I’m in love with your blue and orange colors and the window. It looks great decorated for fall!
Thanks, Nicole!