So I’ve been working on my girl’s room, as you probably know by now. It’s coming along, and the end product in my head could be my favorite room I’ve ever done. SERIOUSLY. She might come home from school to see me just hangin’ out in here.
So far, I’ve painted her room with yellow and white stripes.
I’ve made a gallery wall.
I’ve painted a new (to us!) dresser for her.
Next up on the list was a Dry Erase Board. This is ALL SHE EVER TALKS ABOUT.
Bed? Who cares! But Dry Erase Board – now, THAT was a necessity. She HAD TO HAVE IT.
The girl plays school all the live long day. It’s really quite cute, actually. Following in Mommy’s footsteps and all. And her teacher writes on a white board, so she wanted one in her room. Especially after seeing her brother’s giant chalkboard I recently made him. At first she wanted that too, but then the dry erase thing popped in her head and there was no turning back.
But I didn’t want to just buy a white board and stick it up there. Looking all office-y/business-like. This was a little girl’s room. A cute, fun, playful little girl’s room.
Hmmm….
THEN. Oh, my friends, THEN. It hit me like a ton of bricks. Ever have those ideas that wake you up in the middle of the night and you can hardly wait until the morning to get working on it, and/or tell every poor neighbor at the bus stop who will listen!? Or is that just me?
Here’s where it was like this was allllll meant to be.
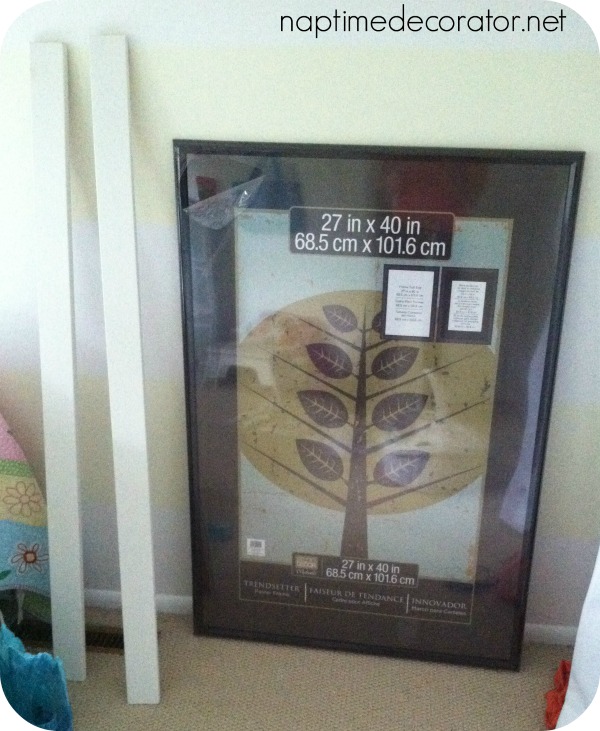
I head over to Michael’s to take a look at their giant poster frames. You know, those kind that have plastic instead of glass inserts? The frames kinda pop out of place? Yep, those.
THEY WERE ON SALE FOR THAT DAY ONLY?!!! $45 marked down to $11.99.
It was like all the stars were aligning, people. JUST FOR ME. Ok, and my daughter…
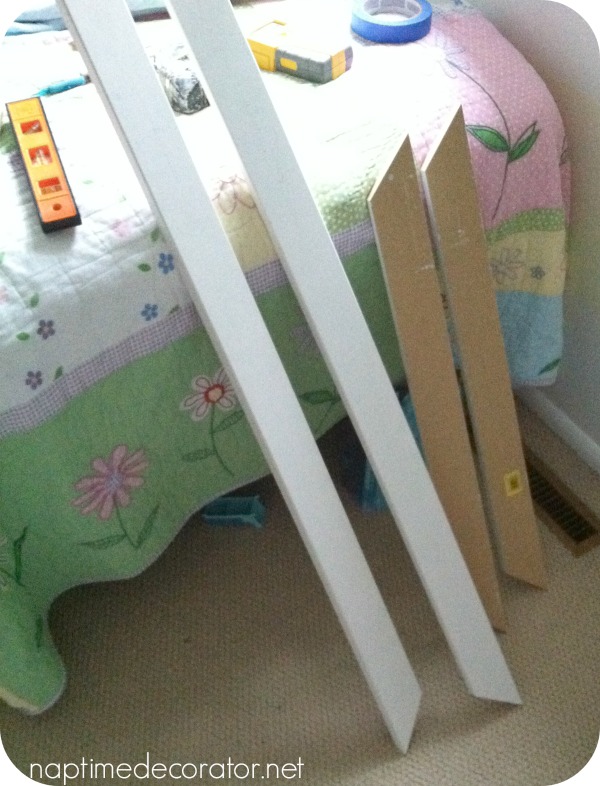
I bought that frame and left Michael’s faster than I’ve ever left that store before, went home, ran downstairs, and noticed we ALREADY HAD TWO PIECES OF MDF for this project, leftover from our board and batten office!! Ok, maybe I should stop shouting at you and explain what’s running through my head at this point:
1. Paint a rectangle on the wall in a pretty color, same size as the frame.
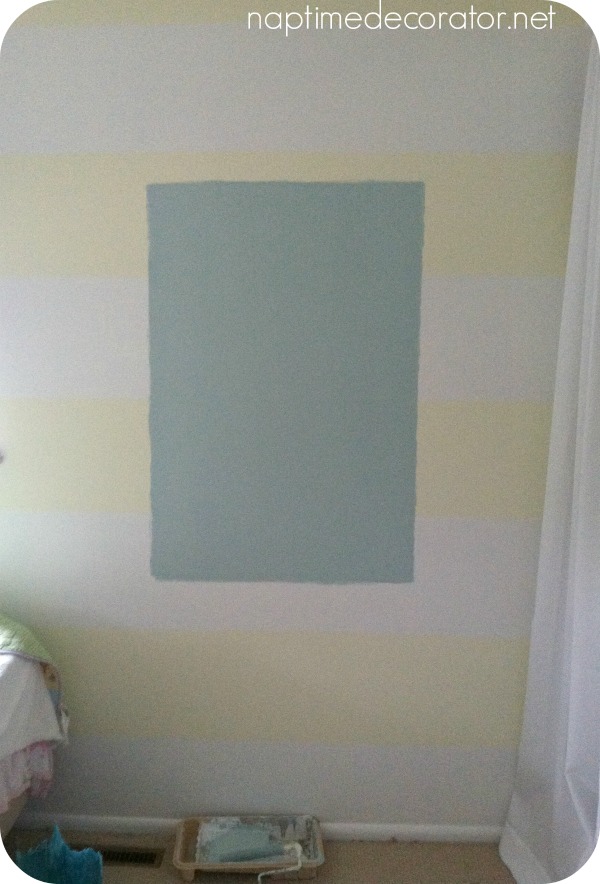
2. Tape the plastic insert only, over the rectangle. (I’ve got big plans for the empty frame, by the way, don’t worry. No wasting going on here!)

3. Miter the corners of the MDF at 45 degrees (I used 2.5in MDF) and nail it over the tape to create a frame. (Using a level to make sure it’s straight!)

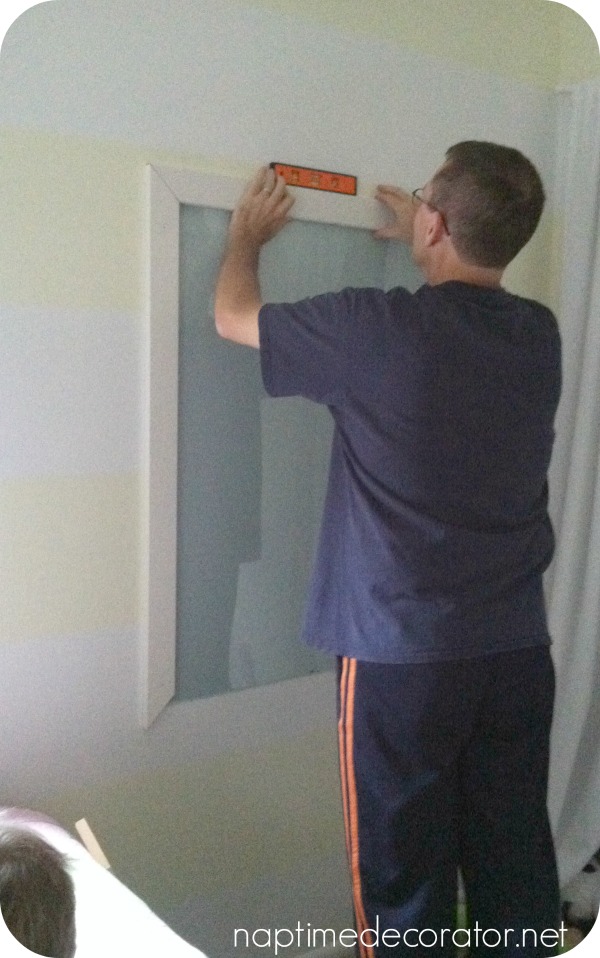
Some caulk, some white paint, and we have ourselves a fun dry erase board!
BUT…
The fun doesn’t end there, friends.
It needed something else…I knew just the thing.
A WORD!
CREATE! Yes!
Went to Michaels (different day;)). Picked up the letters to spell out CREATE – in all different sizes and fonts.
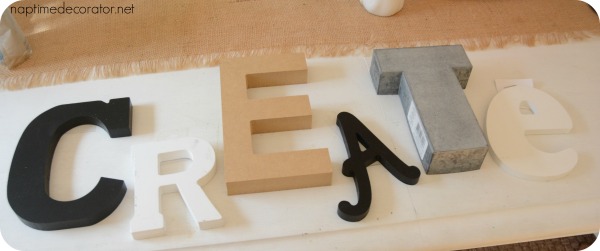
I decided what to do with each letter – the R, A, and e were spray painted. The T was left alone (how cool is that galvanized look?!), and I mod podged some yellow and white polka dot scrapbook paper onto the E, just for something different. I put my daughter to work on the C – I had her paint it a lighter pink that the spray painted A, and then I sanded it up to give it a different look.

Don’t you just love how kids paint with their tongues out?
So here it is now, all hung up over the dry erase board!
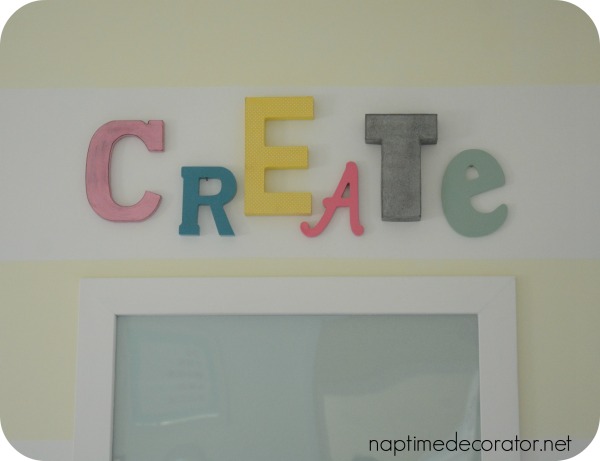
We are officially done this project now, and my little girl is having a BALL…
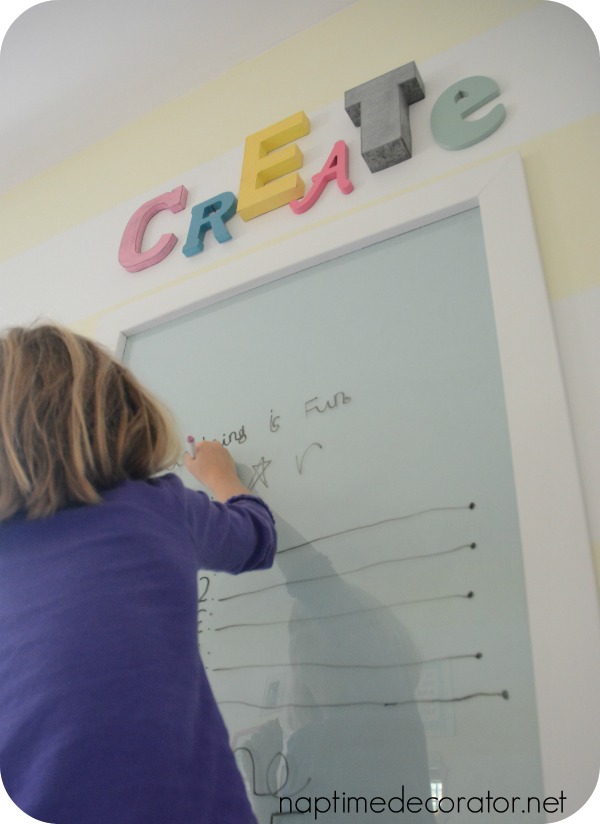
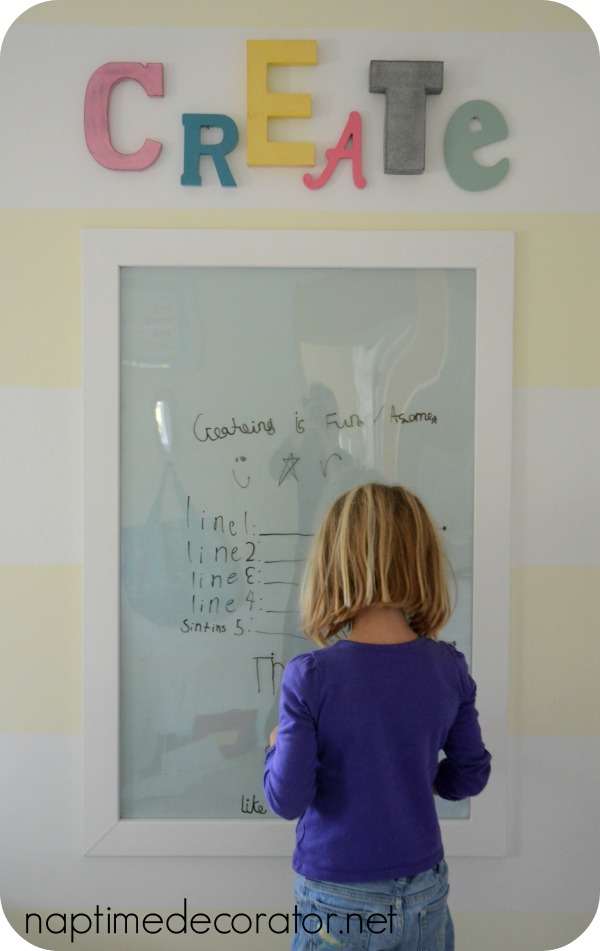
The plastic insert to that frame worked out perfectly – the markers erase great, and I love how the blue picks up her dresser (I used the same SW sample – Watery). So all I needed to purchase for this huge dry erase board was the $12 frame, and an 8 foot long piece of MDF since I already had some on hand. Not too shabby!
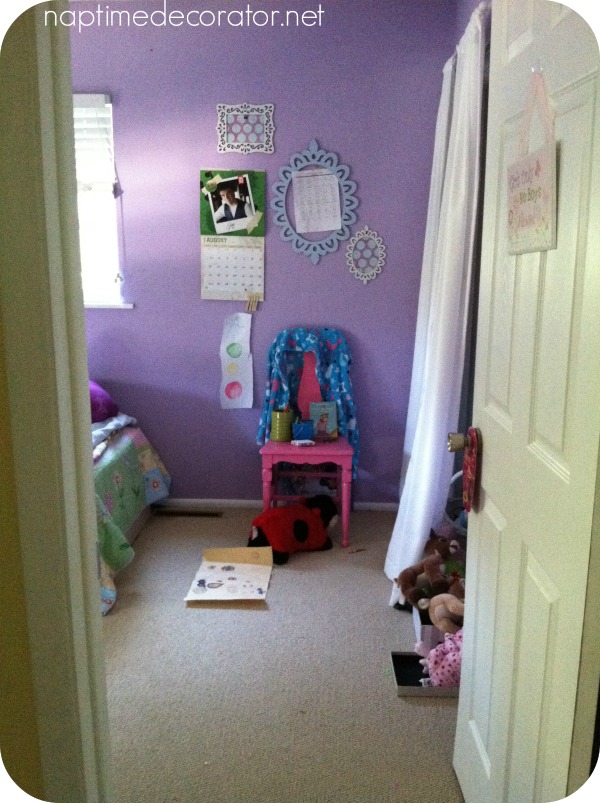
Here’s the view from the hallway before:
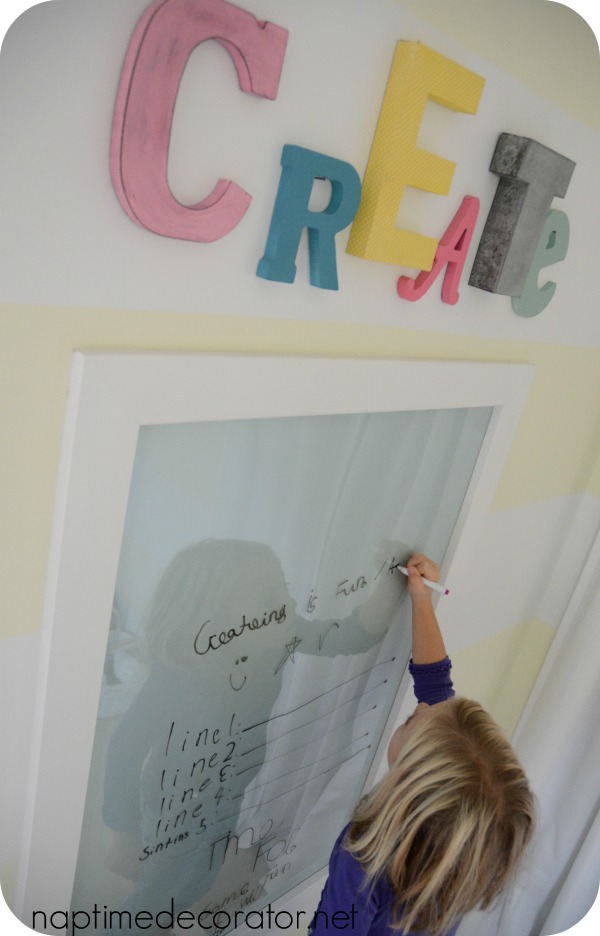
And here it is now…
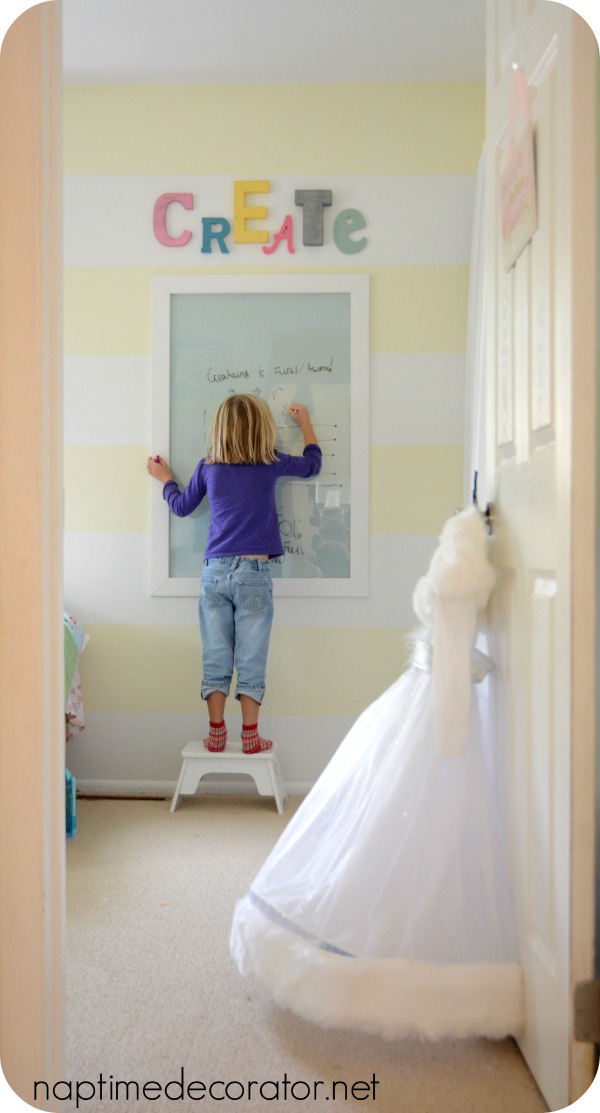
I’ve got a few more projects up my sleeve for this room, so stay tuned!

 Hi there! I’m Liz, a former teacher-turned-stay-at-home mom to three kids, with a passion to create a warm and inviting home on a budget. This blog all started when I’d put the babies down for a nap, and squeeze in a project during those precious couple of hours! My hope is that you visit this page and feel inspired to do a little “naptime decorating” of your own. Thank you so much for stopping by!
Love this idea! And so many different things she can write on it, even when she gets older.
And I love how she appears to be a mini version of you – what a cutie! As they say, the apple doesn’t fall far from the tree! Can’t wait to see more!
In a word: brilliant! I love how it turned out!
“sintins” – that has to be my favorite part of this post! 🙂
Frickin’ adorable, Liz! I love the softness of the yellow and the sweet, soft colors in “CREATE”. Perfect!
Totally love it. I can’t wait to see the finished room!
With these poster styled frames and the plastic inserts – as you mentioned, in that setting, they pop out of place. Did that happen, or a wavy aspect happen even after you secured it to this spot like this?
No, I didn’t experience either of those things, sorry! We taped it first, maybe that helped? Sorry I’m not much help!
Did you happen to try chalk markers? I was wondering if they would easily erase