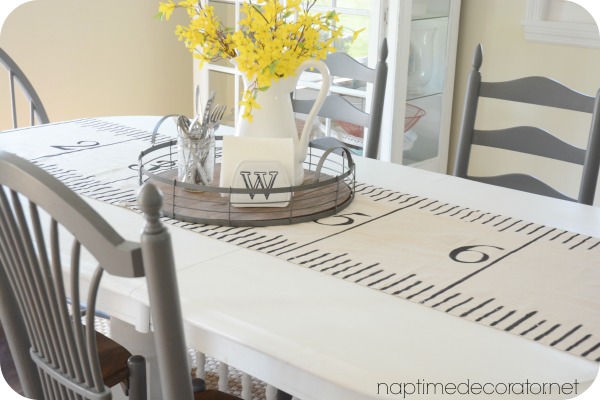
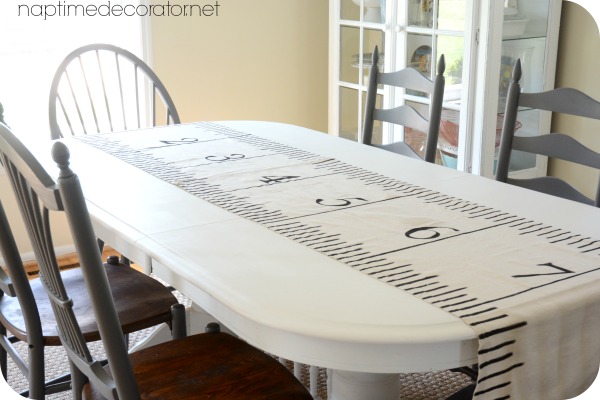
So I saw this adorable table runner in Country Living magazine a while ago – it looked like a ruler and was made from a drop cloth! I knew it would make such a cute DIY project someday.
That day finally came last week. Our burlap runner had been on the table for years, and I was ready for a change. And in the mood to get crafty. Perfect combination;)
I picked up a canvas dropcloth at Home Depot, and gathered my iron on hem tape (I may be crafty but sewing is where I’m CLUELESS), a pencil, black sharpie and measuring tape.
I laid out my big 6x9ft dropcloth (only $10 by the way), and cut a strip for my table. You can make this as wide or skinny as you want. I went wide. Didn’t measure, just kinda eyeballed how wide I wanted it.
I took this strip to the ironing table, and used my hem tape (just follow the directions on the back – this stuff is so easy!) to create a “hem.”
I only had to do one long end, and one short end because the other edges were already a nice finished edge out of the package.
The whole thing was pretty wrinkled, so I gave it a good once over, then started with my lines.
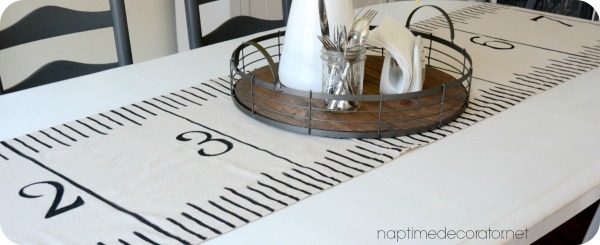
I just made some marks using the measuring tape as a guide. I wasn’t overly concerned with being exact, since this is decorative, and not actually used as a ruler – but it ended up being pretty darn accurate anyway. Just don’t need to stress yourself out or anything.
For the numbers, I used the same technique that I love to use for freebie stencils – it’s in this post in case you want to check it out, or feel free to use your own stencils (that’s definitely an easier route;) ).
I thought going over the pencil lines with my black Sharpie marker would work, but it wasn’t showing up on the canvas as dark as I envisioned, so I ended up grabbing my black craft paint and tiny brush to fill in all the lines…
You can see in this photo, I followed the lines on my measuring tape – and did them on both sides of the runner, with a line from top to bottom for each foot.
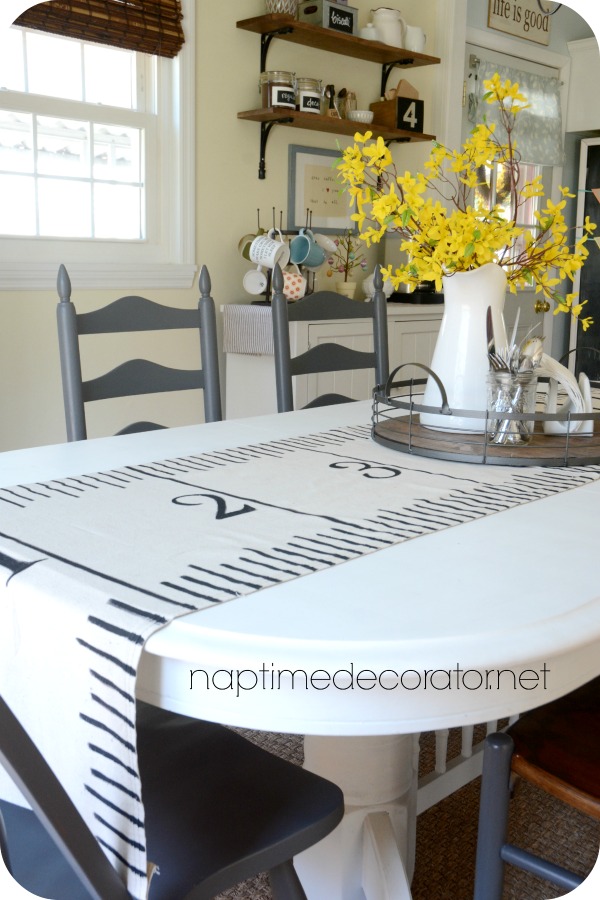
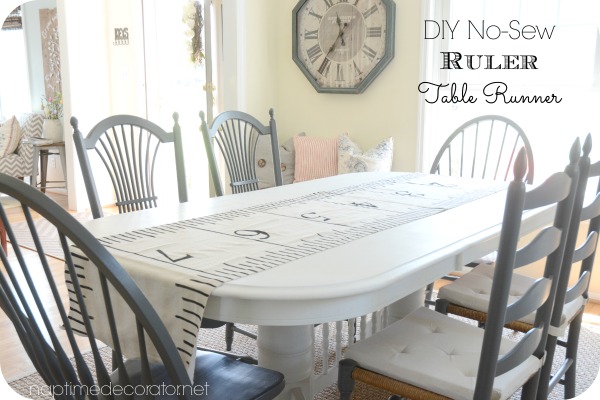
And we’re done!
You can see it is a wide runner, but the tray I use on that table is a big one, so it works well —
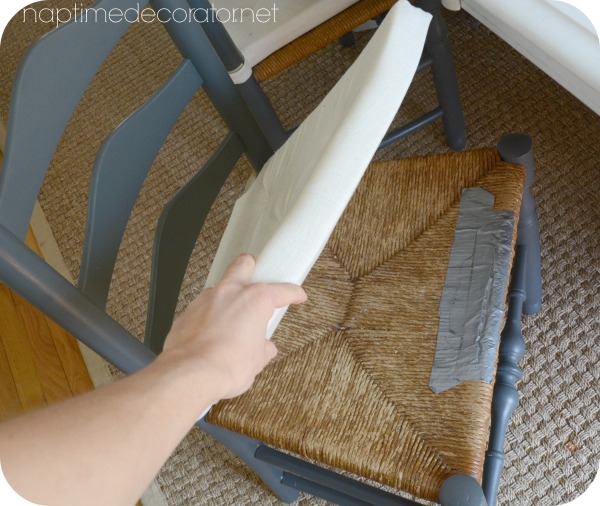
Oh! In other news – for those of you who remember when I got those freebie chairs, but had a little duct tape action goin’ on in the seat – I remedied that problem. I told you I’d keep you posted when I solved my dilemma, so here it is:
Ikea for the WIN! $3 chair pads?!!! Discovered them last week when I was there and they are THE perfect size and solution. Probably not the greatest color with young kids, but at $3, I can stock up and if one gets ruined, I’m covered! 😉
So that’s the story of my DIY No-Sew Ruler Table Runner…I think it’s a fun addition to our dining room! And I’ve still got probably a good TWO more runners I can make with what’s left of the drop cloth…I’ve got a couple ideas up my sleeve for that – ten bucks for three runners? Not too shabby, huh?!



 Hi there! I’m Liz, a former teacher-turned-stay-at-home mom to three kids, with a passion to create a warm and inviting home on a budget. This blog all started when I’d put the babies down for a nap, and squeeze in a project during those precious couple of hours! My hope is that you visit this page and feel inspired to do a little “naptime decorating” of your own. Thank you so much for stopping by!
What a super cool idea – especially with 3 little ones, numbers and all – (they can count “5, 5 1/4, 5 1/2, etc…..). The chair cushions are cute too – maybe spray them with some Scotchguard to extend the life abit…..but like you said – at $3/cushion, easy enough to replace.
I ry love this one – goes with the rest of your quietly industrial room perfectly
Really cute!! I think the chair pads tie in with your new table runner. Your dining room looks great!
Thanks for sharing…
Sherri
Thanks, Sherri!
I would get so nervous using a sharpie! Ugh.
Using a dropcloth for a table runner for a party would be a great idea. You could make 4 or 5 with one $10 drop cloth !
And you DIY? Wow