Are you sick of hearing about my daughter’s room yet? If so, might wanna skip this post.
Or WAIT!
This idea could lend itself to other ideas, so stay with me – it’s so thrifty, and so fun.
Let’s get right down to it, shall we?
I needed something to put above her bed. Didn’t know what…
…but I knew I didn’t want to go spending a lot of money.
So I went down to my infamous Stash of Stuff (yard sale finds, older things I don’t use anymore but might have a use for someday, hand-me-downs from friends and relatives – all that good stuff).
I discovered an old canvas that used to be in her nursery, above the changing table. One of my very early attempts at getting crafty – I took a roll of masking tape, and painted the inside of the circles with colors from her bedding.
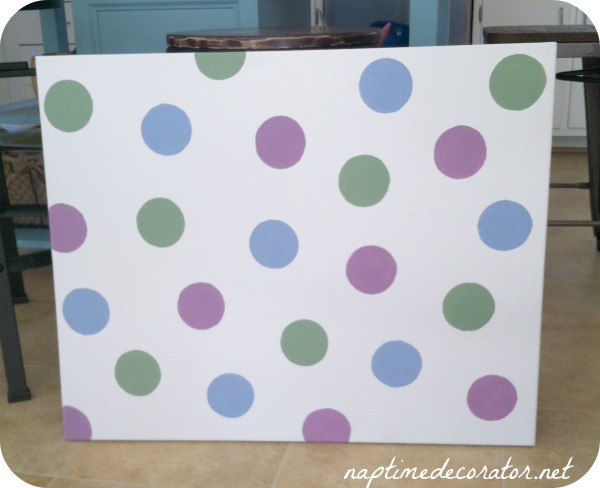
I loved the idea of using this in her room again, and it was perfect for what I had in mind. I took it outside, laid it on an old sheet, and spray painted it white.
Then…
I wanted a cute saying or word on it, but didn’t know what.
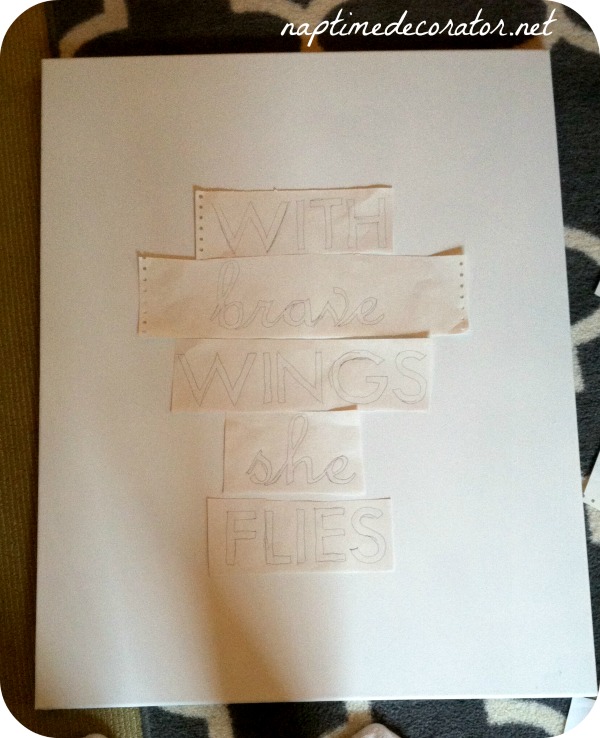
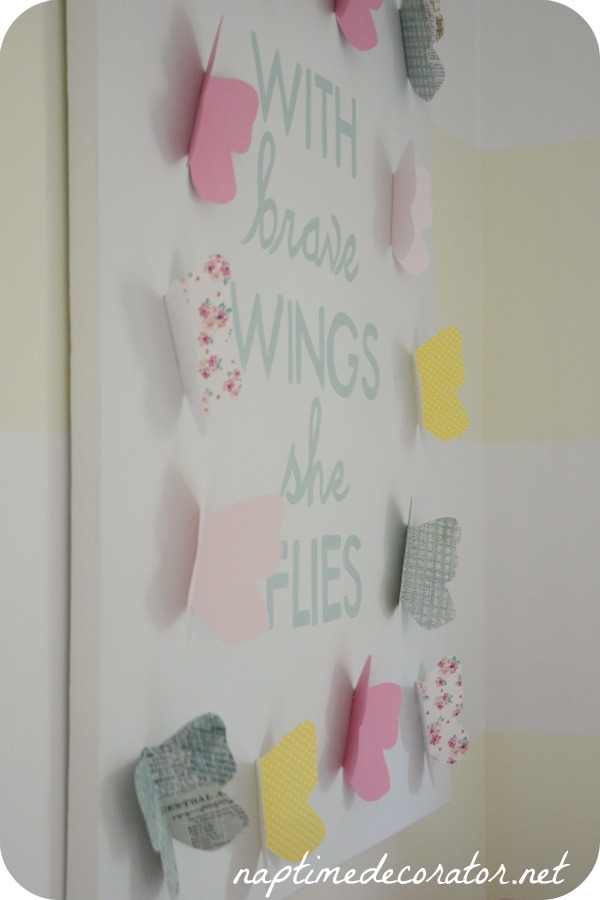
I saw these words online “With brave wings she flies.”
I MEAN. COME ON! This was PERFECT.
Then it all started coming together and I couldn’t work fast enough!
I started seeing this canvas, with those words, and butterflies all around it. Yes!
Love it when I get smacked in the face (not literally, of course), with an idea.
So off to the craft store I went. I thought about buying one of those cool craft punch thingys, of a butterfly. But A) they’re kinda pricey – especially since I probably wouldn’t use it a whole lot after this project.
B) they were kinda smaller than I wanted them to be.
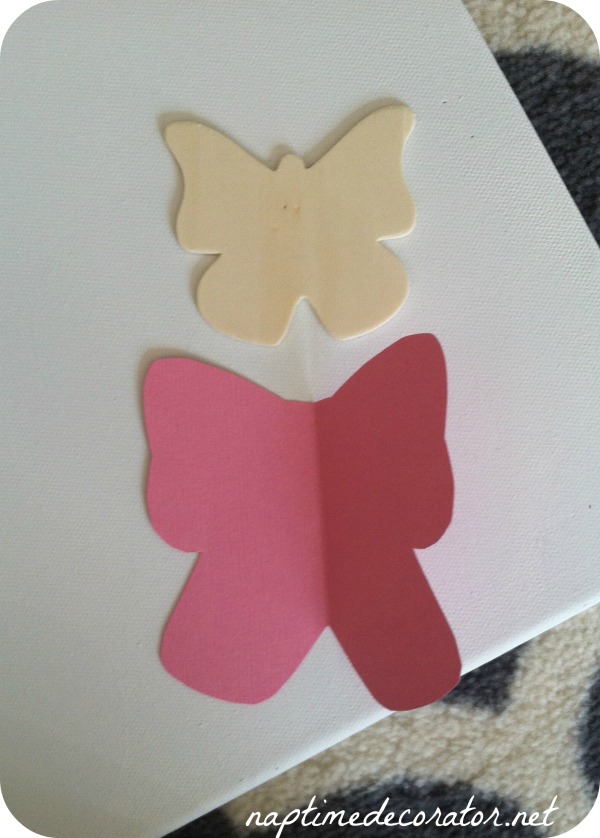
I spotted a wooden butterfly that was 29 cents. BINGO! It was small, but I figured I could try to draw a bigger scale butterfly, using that as a guide. For that price, why not?!
And I looked at stencils, and found awesome ones – but they were $20! Which isn’t all that much, I know, but I only needed them for this project.
I decided to go home and attempt “my own” stencil…here’s how it went down.
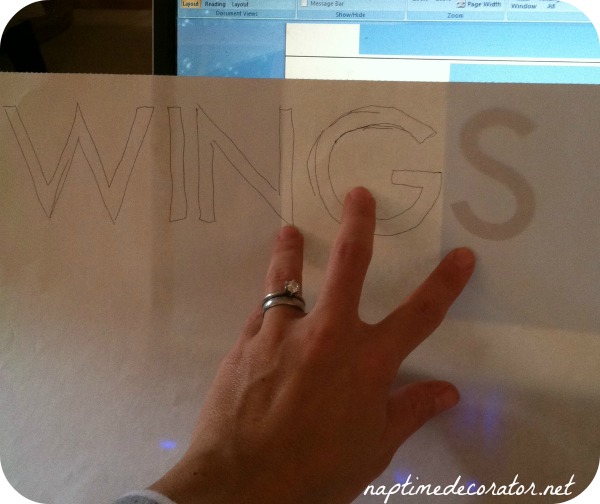
I found a font I liked. I blew it up to 250 size. I traced it right from the computer screen.
Then I laid the whole saying out on the canvas to see what it looked like.
This next part was tricky, not gonna lie. I cut OUT the inside of the letters, so they were stencil-like.
I filled them in with some blue paint I had (VERY little amount of paint on the brush, and I dabbed lightly).
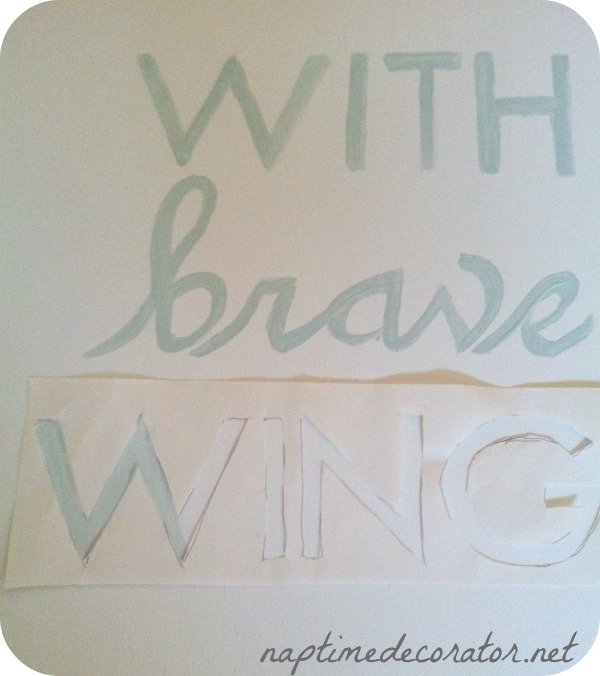
The letters did not look perfect, but I carefully went over each one with a tiny brush and fixed them all up.
So that part was done.
Onto the butterflies…(do you see where this is going yet? Is the suspense killing you?) 😉
I drew and cut out a butterfly on scrapbook paper I had, using my little wooden guy for help.
Once I was satisfied with the butterfly, I used the same one as a template for all the rest, and made it easier by folding it in half and just cutting out the one side – this ensured they were symmetrical too AND I needed them folded for the finished product anyway. Win!
I laid them all out around the painted words. Once I was happy with the look of it, I got my glue gun out and made a little strip of glue down the folded center, then stuck them all on the canvas.
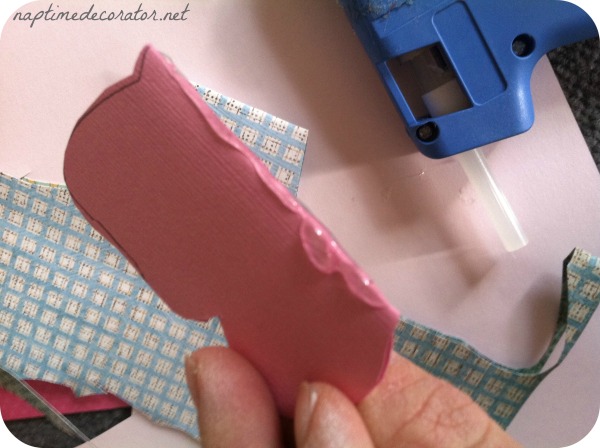
This was my extra template butterfly, as you can see the pen marks on it. Just wanted to use it to show you what this step looks like because you have to work quickly with the glue gun, and I didn’t have the time to take a pic AND get it on the canvas!
Are you ready to see the finished product?
Here it is!
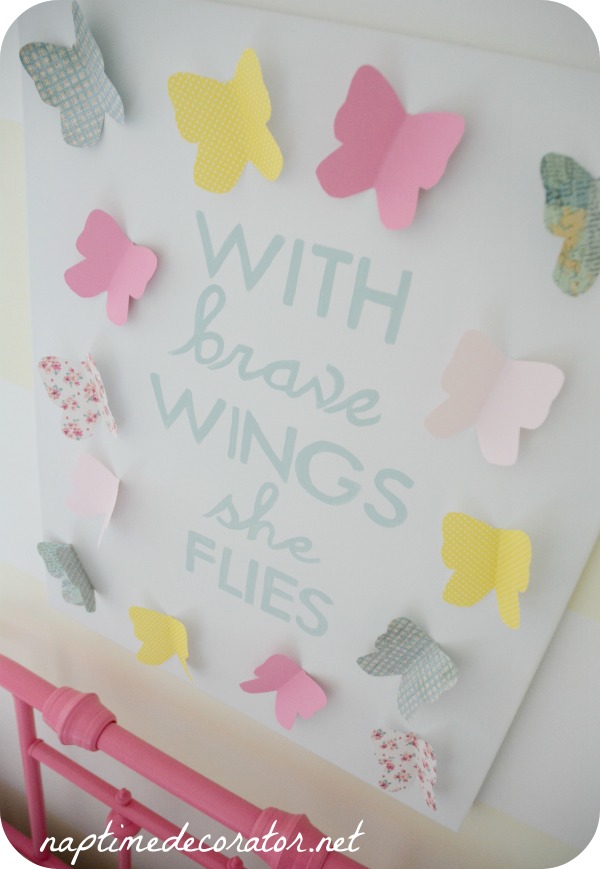
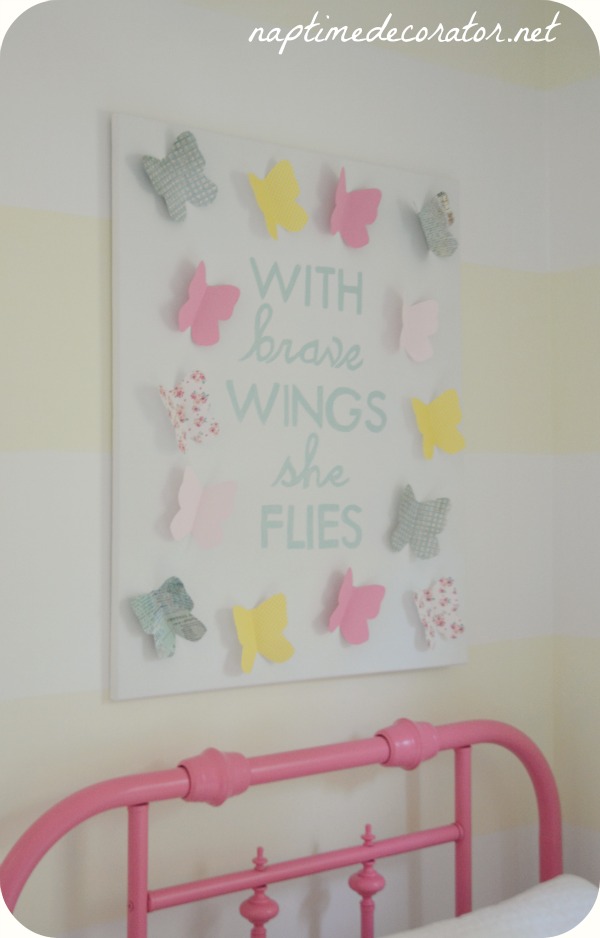
It’s so fun above her bed – which I’ll show you soon, I promise:)
And the words…I love them for our little girl.
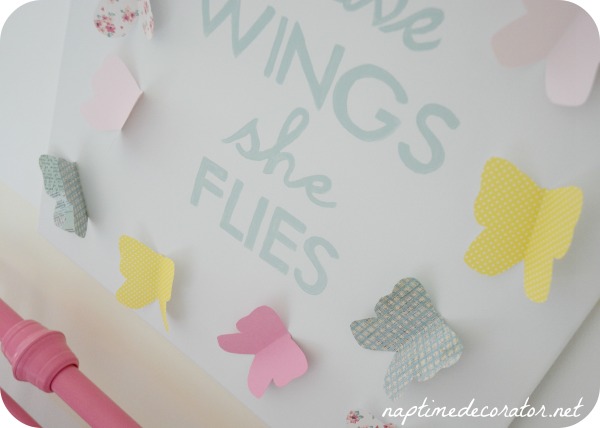
I had thought about neatly arranging the butterflies around the words, but in the end, decided the haphazard look of the butterflies was more fitting.
In the end, this project was major DIY – could’ve saved myself quite a few minutes and made it much easier on myself with the craft punch and the store bought stencils, but now I’ve got some extra bucks in my pocket for another project…I’ll take it! 😉

 Hi there! I’m Liz, a former teacher-turned-stay-at-home mom to three kids, with a passion to create a warm and inviting home on a budget. This blog all started when I’d put the babies down for a nap, and squeeze in a project during those precious couple of hours! My hope is that you visit this page and feel inspired to do a little “naptime decorating” of your own. Thank you so much for stopping by!
ADORABLE!!! Your daughter just has to be loving her new room – lucky little girl 🙂
I love it! You’re so creative!
I love it, and I LOVE how it was free, for you. I’d love to put one in my girl’s room, but then I’m not sure because she shares a room with her little brother. I am stumped how to decorate for them both. Anyway, love your art. Pinned!
Thank you so much, Heather! Maybe you could make one for her side, and a boy themed one for your son’s side?
To Heather above, maybe she could do “with brave wings they will fly” and do pink and blue mixture of girl /boy butterflies. Anyway, it’s adorable!