Seriously.
My daughter’s room really is shaping up to be my favorite room in the house.
I can’t WAIT to share this one with you guys.
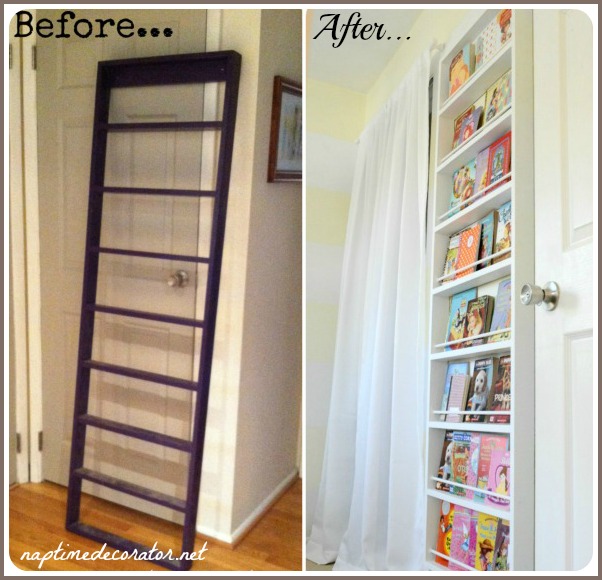
Facebook friends might remember that purple ladder my mom scored for me for a whopping $5 a while back?
To be honest, when she brought this over I had NO idea what in the world I’d turn it into. Didn’t know if it’d end up vertical, horizontal, or WHAT.
THEN!
Then, I had one of those ‘hit-me-like-a-ton-of-bricks’ ideas and couldn’t wait to get started. LOVE it when that happens.
This was also one of those ‘I-have-no-idea-if-this-is-actually-going-to-work-until-it’s-completely-done’ jobs too…which are a little scary.
But, lucky for me, it did!
Or should I say, lucky for my daughter, because it’s a super fun addition to her room.
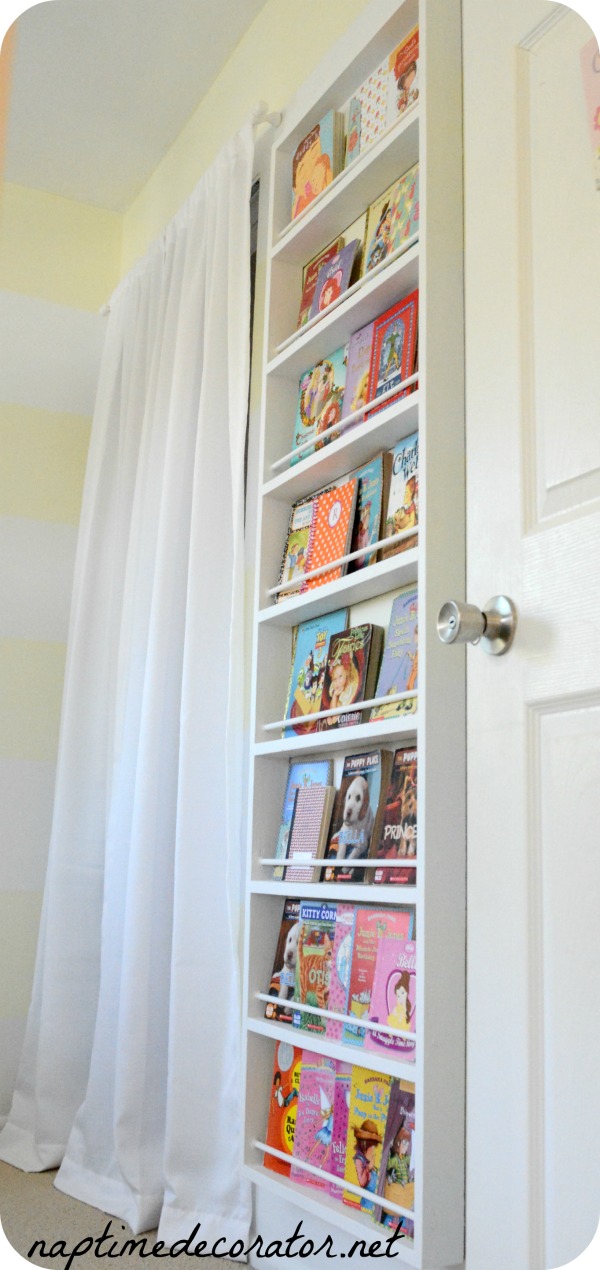
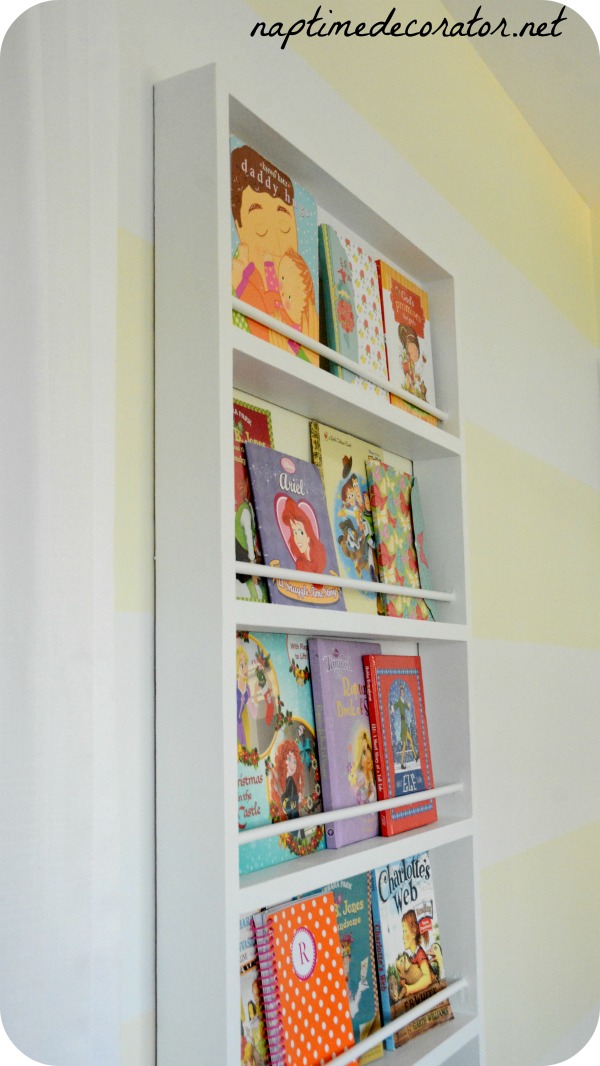
Best part? I spent an additional $2. So for $7 TOTAL, I turned that purple ladder into a fun new bookcase for her!
I just need a few wooden dowels from a home improvement store, and they cost like 50 cents or something. That, and some white paint and we were in business!
Here’s how it went down:
First, I got rid of the purple. I wiped down the ladder (oh the DUST!), and mixed some plaster of paris into white paint I had. I read a few years back somewhere, that if you add just a little spoonful of plaster to paint, you can skip the sanding and priming part. Works like a charm. I save old yogurt containers, whipped topping tubs, etc just for times like these.
Then I painted the wooden dowels with the same paint.
Oh! I should tell you – I bought 3/8 inch dowels, knowing we had a 3/8 drill bit. The dowels were much longer than the width of the ladder, so I knew I’d get a couple shelves out of each one. I bought four, and there are eight shelves. Perfect!
Once everything was dry, we did some measuring and got out the drill (I say “we” because I call in the big guns when power tools come into play. That, and logistics. I’ve got the big ideas, my smarty-pants husband helps me bring them into reality. Works well;)).
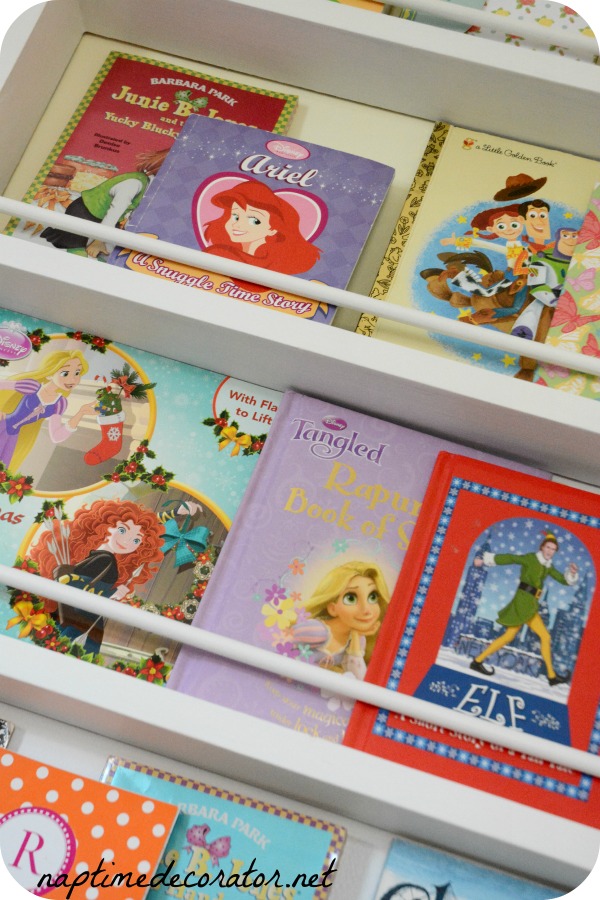
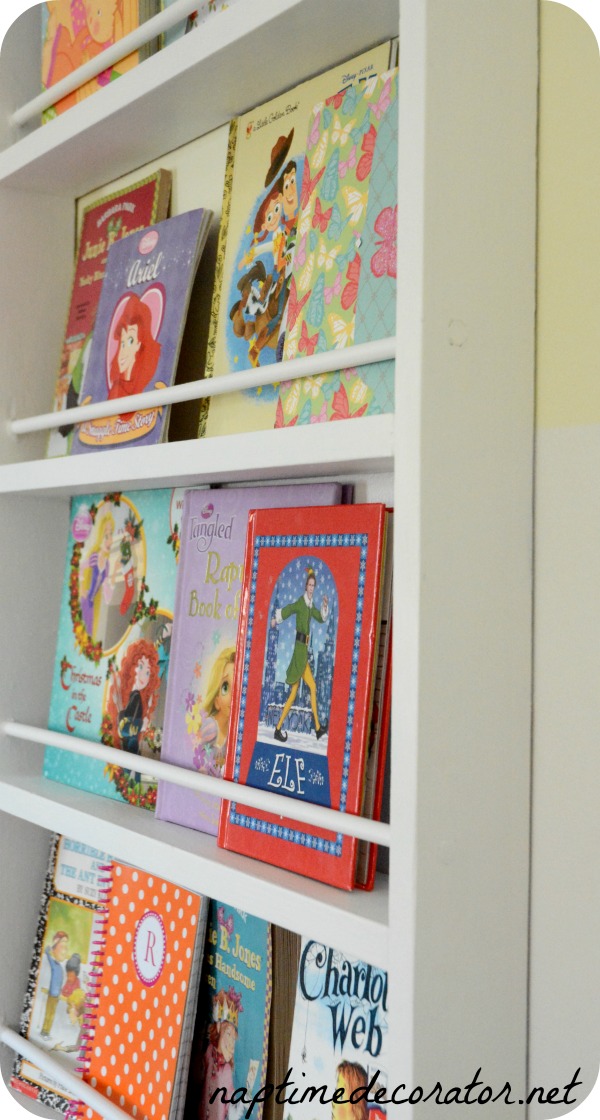
We decided where to place the dowels on each ‘rung’. The job of these dowels is to make sure books would stay in place. We measured 1 1/4 inches from each shelf base and 3/4 inch in. That looked like a good spot. Marked it with a pencil, and drilled using the 3/8 bit.
Then we slid the dowels in. Those suckers were hard to get through, so I know they aren’t going ANYWHERE. I had originally thought I’d use some glue inside the holes, to secure the dowels, but they fit so snugly, there’s no need.
We pushed each one through, then cut them. Just used a small handsaw…
I needed to go over the whole thing one more time with a little white paint, because some places had chipped or scratched during the process, and I wanted to go over the dowel ends with white paint. But when it was all done, we hung it up using the two holes already at the top (when it was in its purple state). Used some heavy duty dry wall anchors, and that was all she wrote!
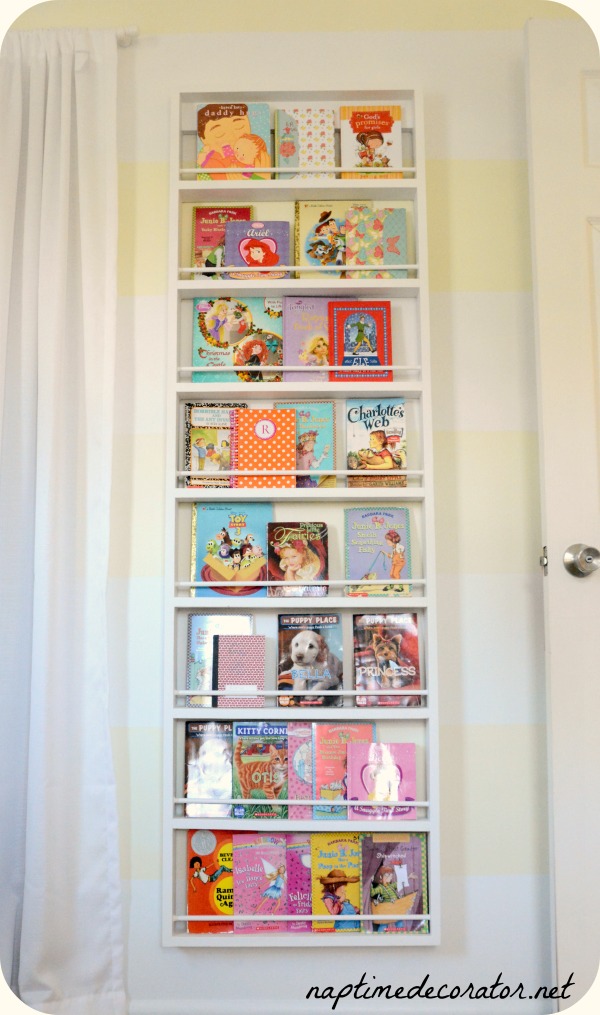
Now, the shelves aren’t super tall, so only shorter books, like her chapter books, small journals, etc, will fit. But we’ve got a big basket in her room for all the rest!
I like how it’s just the right size between her closet and door. Speaking of closet – I’ve got some fun stuff up my sleeve for those white curtains that hide the mess the is her closet!
It’s also the perfect wall because it’s on the wall as you enter her room, so the thinness of it is just right. Wouldn’t want anything super big jutting out, to block you as you come in, you know?
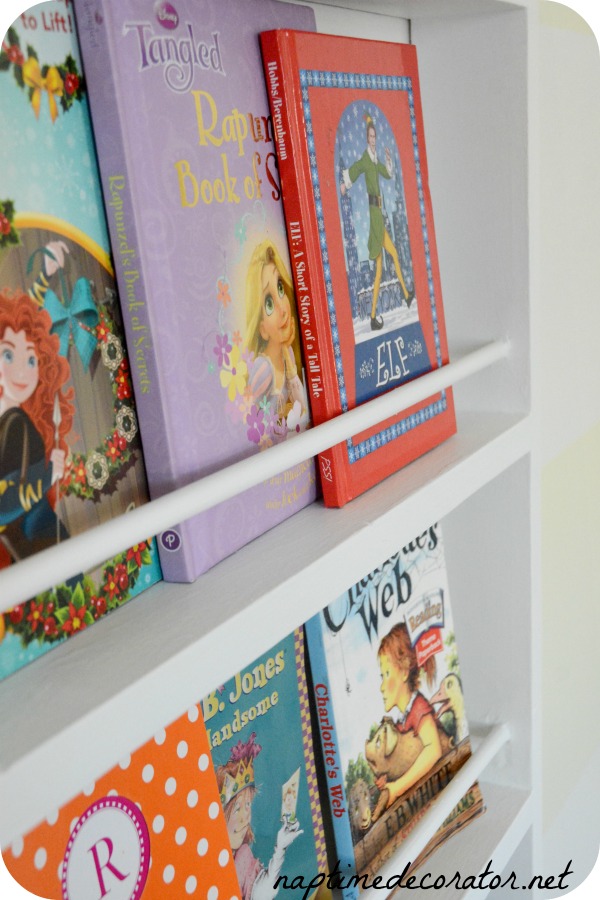
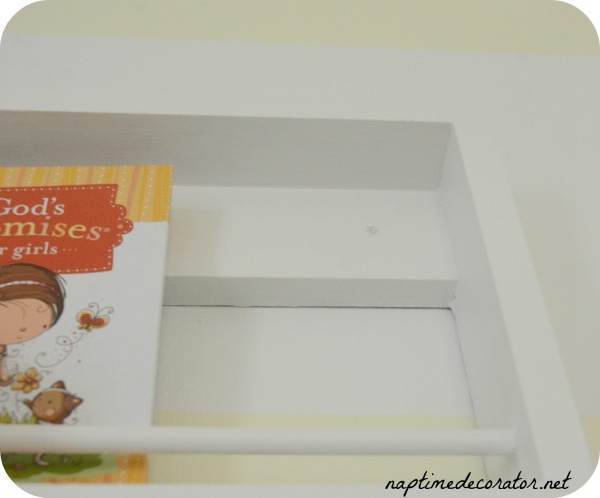
I also went over the screws with white paint so you REALLY can’t see anything. I mean, books are going to be in front of them anyway, so I didn’t really have to, but had the paint out, so why not?
Can barely see the screw, right?!
My daughter is thrilled with the new addition! Not as much as her Dry Erase board...but then again, to Little Miss Teacher, nothing is;)
Getting soooooo close to the reveal, I can almost taste it!
Stay tuned…



 Hi there! I’m Liz, a former teacher-turned-stay-at-home mom to three kids, with a passion to create a warm and inviting home on a budget. This blog all started when I’d put the babies down for a nap, and squeeze in a project during those precious couple of hours! My hope is that you visit this page and feel inspired to do a little “naptime decorating” of your own. Thank you so much for stopping by!
Wow Liz! This is amazing! It really looks great! =)
Thanks, Jess!
Amazing idea!!!!!!!! This is great, Liz 🙂
Hope your having a wonderful week!
~Sherri
Thank you, Sherri! You too!
Very handy I like that you can see the covers of the books ,so nice for little ones . I recently did ladder thing too found an old one at a barn sale flipped the flat rungs so the width was vertical . Some stain a little paste wax and voila rustic quilt ladder.
So cool – and kudos to your mom for finding such an awesome “ladder”! Just a thought as time goes on (as we know how you like to change things up) – maybe take one “shelf” and you could add some cork to hang necklaces, etc and hang her headbands on the dowels.
that’s what I was thinking…..jewelry, flip flops, scarves, framed pics ….awesome job Liz