If you’ve followed me for a while, you know I love nothing more than decorating on the thrifty side. When I can create something for a fraction of the cost of buying it at a store, I get so excited. This project is one of those. And I can’t wait to share it with you, so let’s dive right in!
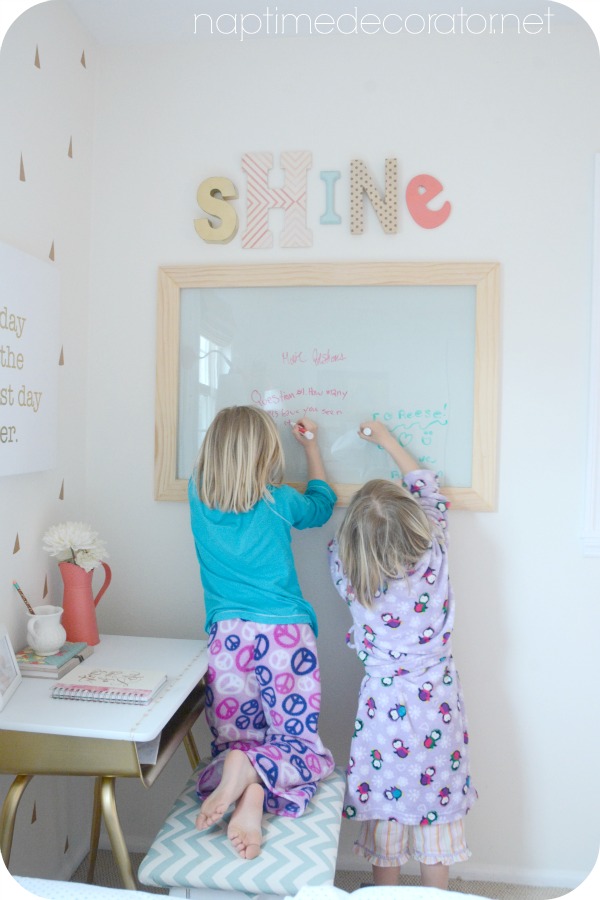
I’ve been working on a little makeover for my oldest daughter’s room lately. She used to have this dry erase board we created (you can check out that post here) in her former room. When we took the wood pieces down to put up her Sea Salt Shiplap Wall, I saved them, just having a hunch we’d find something to do with them.
To freshen up your memory, here’s what that dry erase board looked like…
That day came sooner than I thought when I had this bulletin board idea! My younger daughter’s room is ALSO getting a new look (I know, I’m a hot mess. Nothing can stay the same for too long around these parts!). Remember her yellow and white striped room? Welllll, that is now Sherwin Williams Tradewind at 30% – and it is DREAMY. It’s a gorgeous lively light blue. I lightened it to 30% because I wanted it to have a super light and airy feel. And this is PERFECT. And since she’s my Fixer Upper fanatic, we’re going rustic in here. She really wanted a bulletin board for all her favorite photos and drawings, etc. I couldn’t find any I loved, so I had the idea to DIY it. And use that wood from big sister’s dry erase board! YES!
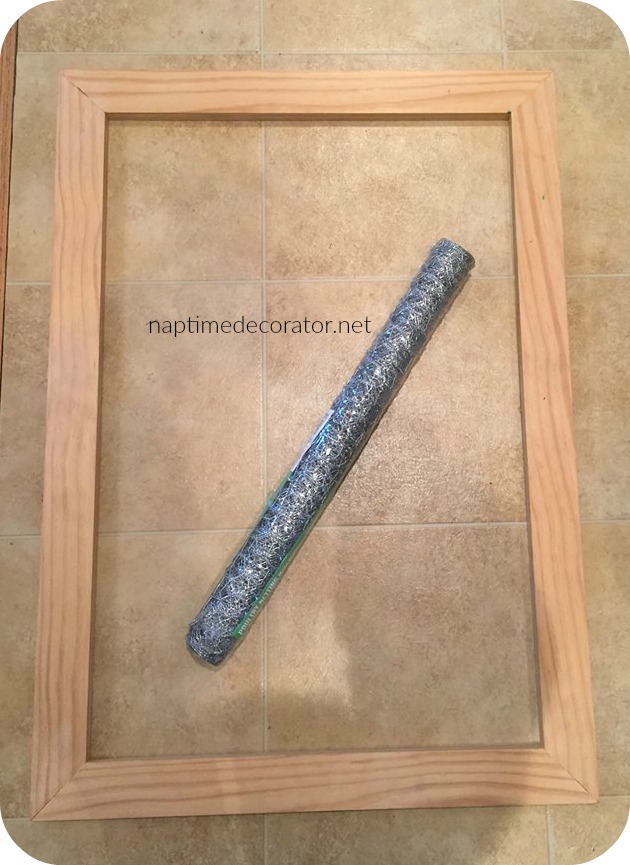
I removed the nails that were still in the wood, and used wood glue to secure all the four corners. I taped them so they’d be nice and tight and let it get good and dry. I ran out to Home Depot to pick up some chicken wire (that was only $6!), and when the wood was ready to flip over, I stapled the wire to the back:
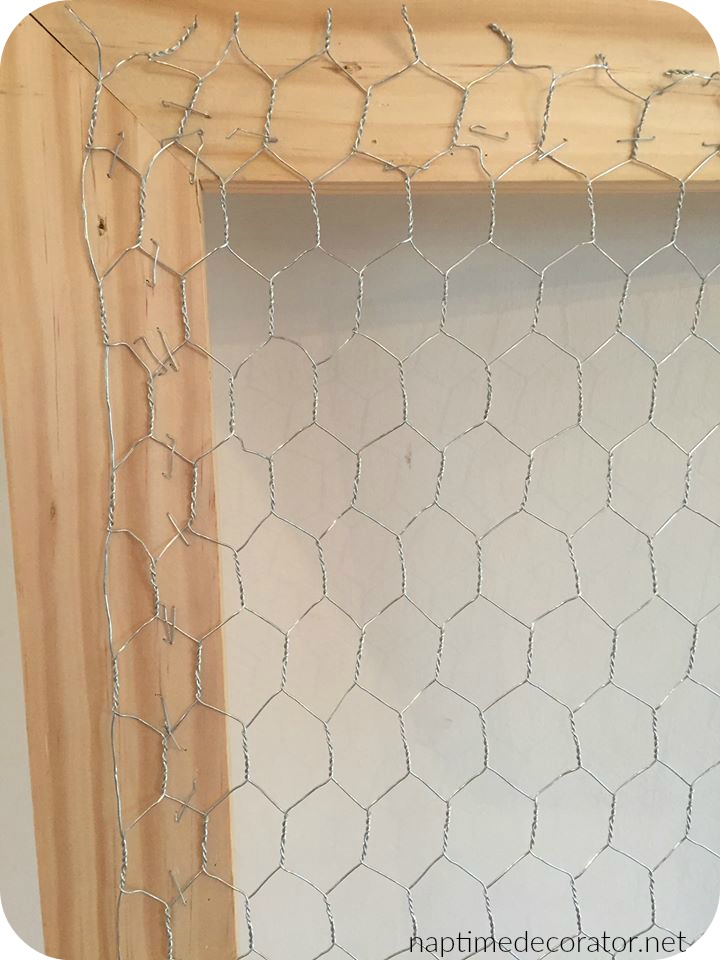
PSA for the day: Be careful when using this stuff – it is SHARP!
It ain’t pretty from the back, but that’s ok. No one will ever see;)
I then flipped it over, and stained the wood with Minwax Dark Walnut. It turned out lighter than Dark Walnut usually does – it’s because I already had a natural stain on the wood from the dry erase board. It ended up looking like Special Walnut, and I was fine with that!
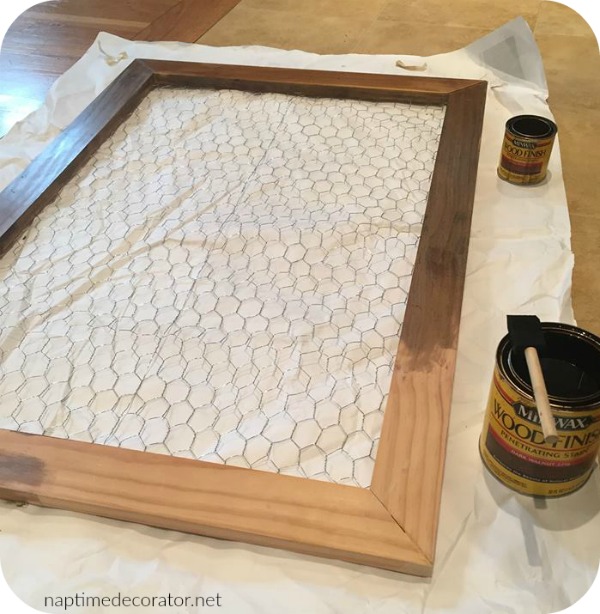
I always stain outside because of the smell, but it was windy and raining cats and dogs yesterday so I decided to do it really quickly inside and take it out under the side awning to dry.
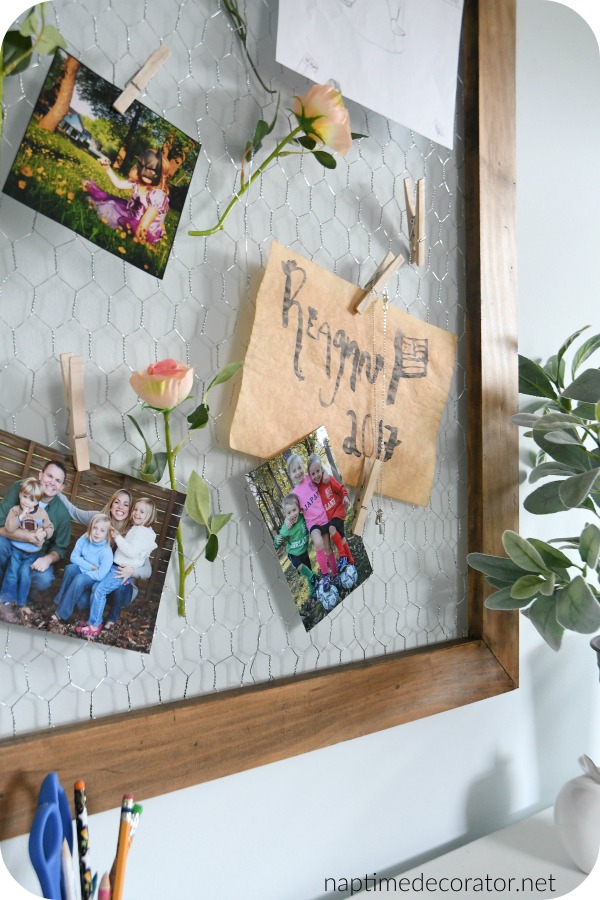
Now, as far as how to hang this thing? For the moment, I did the same thing I did on the DIY Sign for my daughter’s room – the hot glue, twine, staple method. But, I’m just not positive the wood glue will hold up forever so I’m thinking I might just nail gun it into the wall. But for now I just went with the twine…
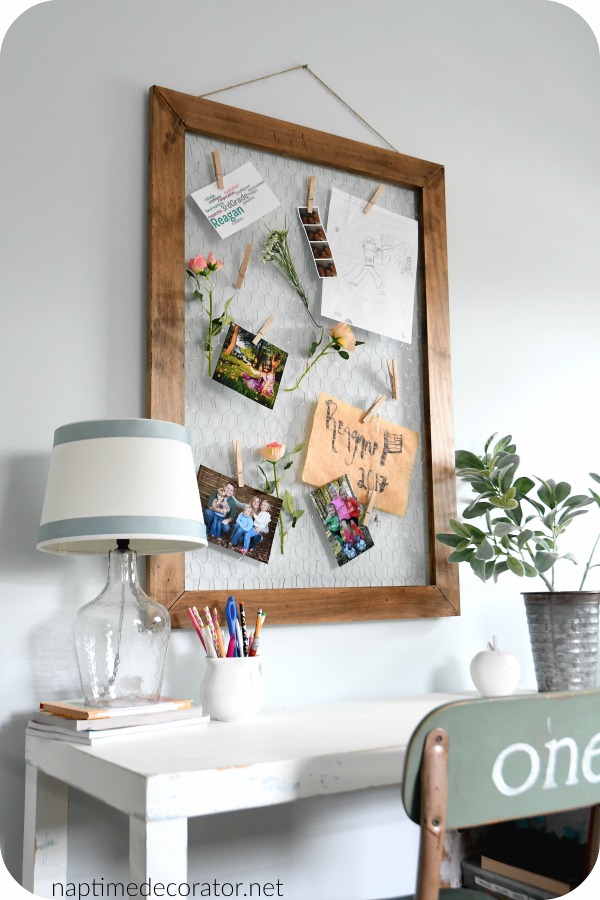
I love that I was able to reuse the wood we already had, and that this large bulletin board only cost me $6 total!

Stay tuned for more (LOTS more!) fun stuff going on in this bedroom…it’s starting to shape up slowly but surely. Key word is slowly…I mean, is May crazier than December for anyone else?! Not enough hours in the day.
Have a wonderful rest of your day, friends!

 Hi there! I’m Liz, a former teacher-turned-stay-at-home mom to three kids, with a passion to create a warm and inviting home on a budget. This blog all started when I’d put the babies down for a nap, and squeeze in a project during those precious couple of hours! My hope is that you visit this page and feel inspired to do a little “naptime decorating” of your own. Thank you so much for stopping by!
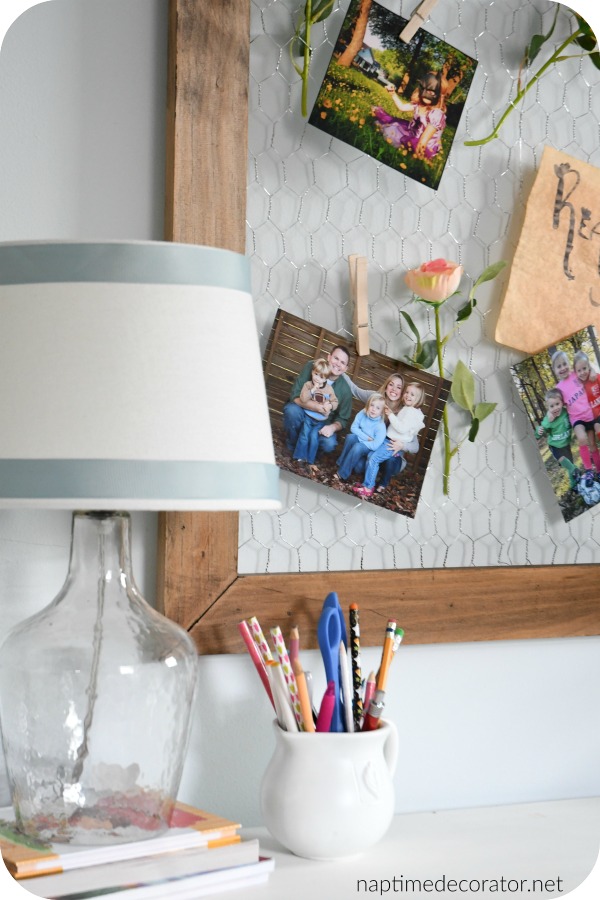
Love all things Chicken wire and this is so cute! Your lamp shade in this picture would look cute with chicken wire around the outside. Chicken wire lampshades need a backing, so I wouldn’t remove the white part.
Cute! Now you’ve got the gears turning in my head, because we have some leftover chicken wire lying around.
I love this! And you aren’t kidding about being careful with chicken wire! I found that out the hard way once.
Right?! Ouch! And thank you:)