I’m so excited to share this project with you! You know I’m a little bit obsessed with finding a way to DIY something on the cheap – and this is exactly that. The only thing I had to buy was a piece of poster board!
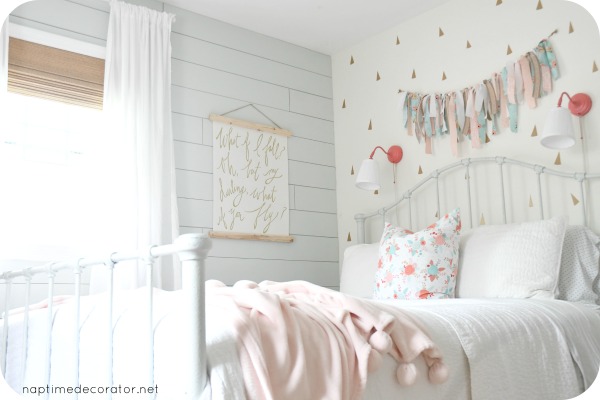
And yep, the Sea Salt shiplap wall (per my daughter’s request!) is 99% done. We need to do one last strip across the bottom, but it looks SO good. She had one heck of an idea with that one!
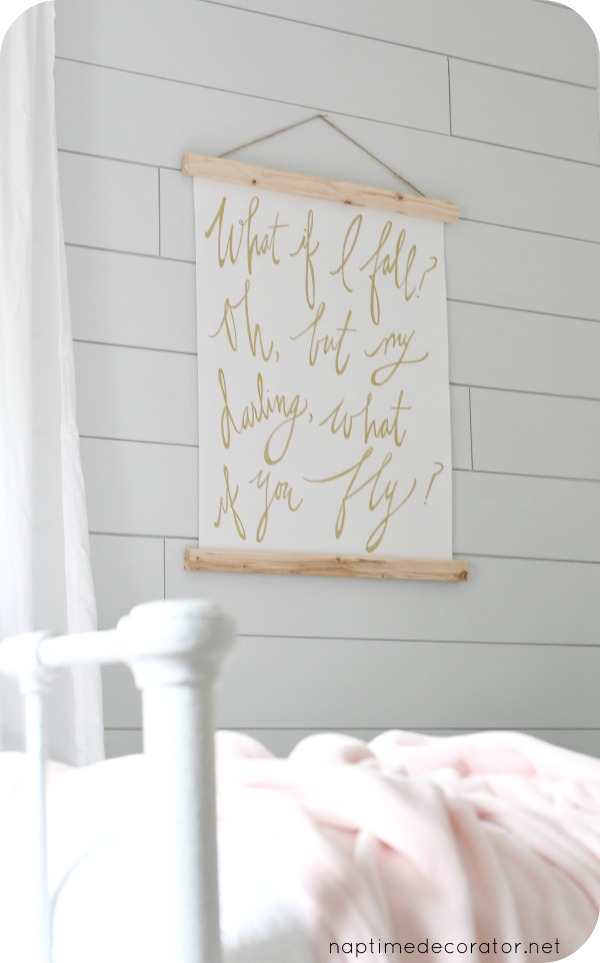
I’ve seen these words time and time again and I’ve ALWAYS thought of my oldest. It’s a phrase I’ve told her many times, and written in our Mommy and Me journal. I knew it had to go in her room somewhere. It’s just so beyond perfect for my sometimes timid, sometimes a little anxious girl. She and I have had a lot of talks lately as she’s growing up…and talk about how often times the best things in life are the things that scare us the most. She’s learning this a lot lately through her Drama class – something she was nervous about trying but ended up being OBSESSED with:) So when we started giving her room a little mini makeover, I knew I had to get these words up there somewhere.
But what color? And how? I couldn’t do my go-to white wood with black letters because black just wouldn’t work in this room. But GOLD! Yes! And I had a gold Sharpie paint marker! And maybe I could just use poster board paper!? I even had some spare pieces of wood leftover from a similar project I did for my parents’ anniversary party last Fall (just using a poster sized photo of them at their wedding 40 years ago instead of poster with words). So I had almost everything on hand – I LOVE it when that happens.
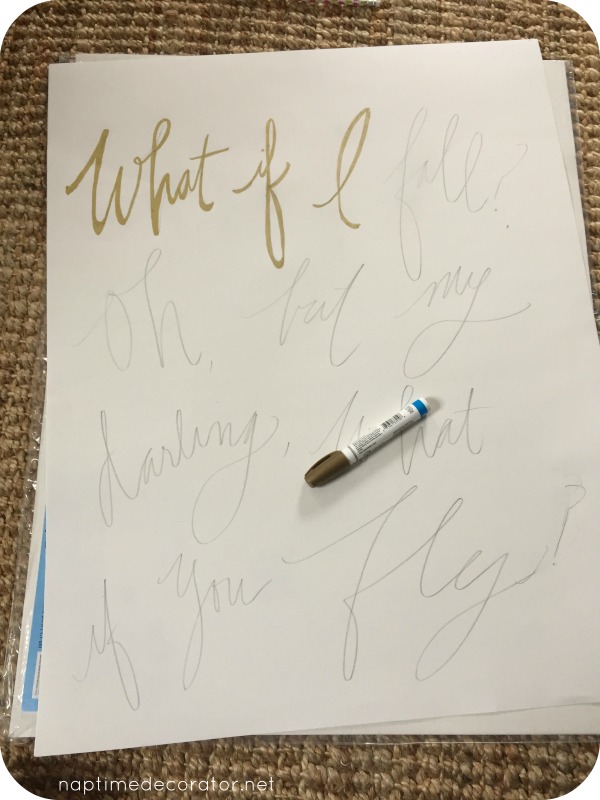
I picked up some poster board (3 pieces in case I messed up;). I practiced VERY lightly with pencil first, and freehanded the saying. I then went over it with the paint marker…
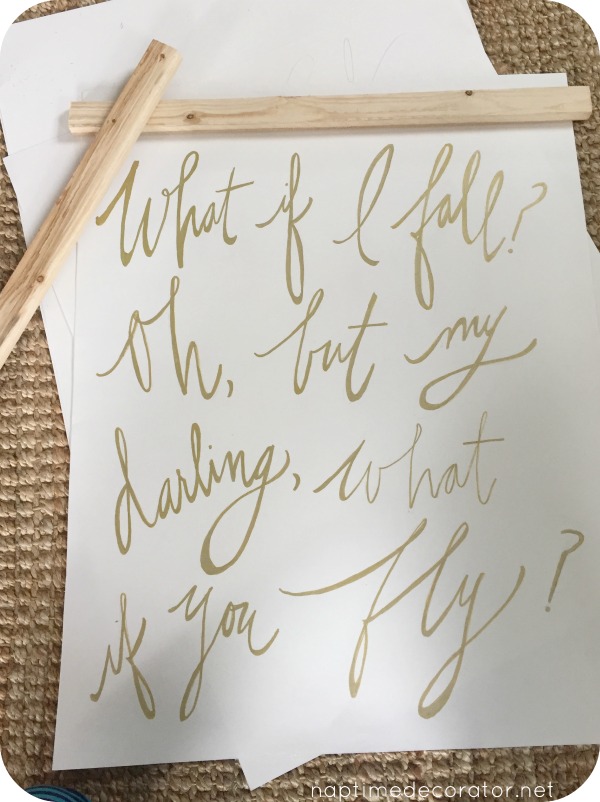
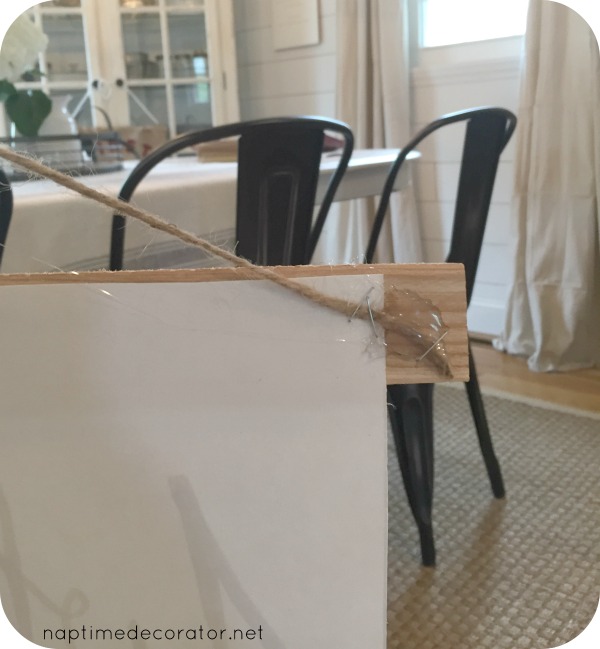
I cut the wood to the length I wanted and hot glued it to the top and bottom…
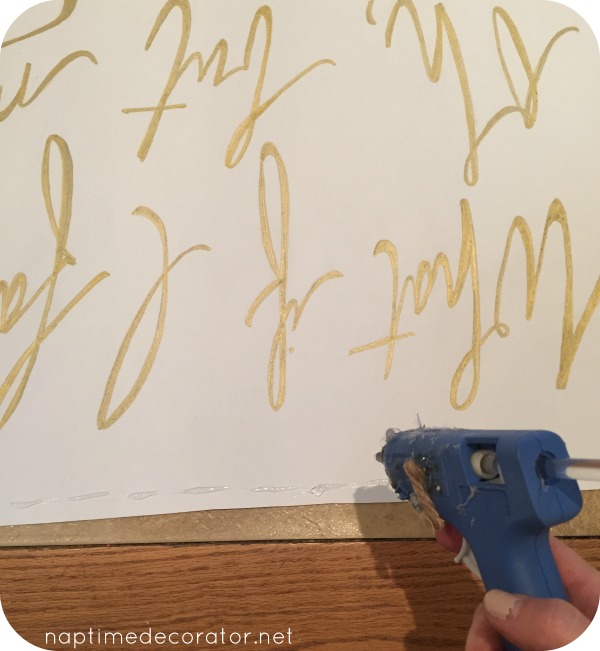
Let it dry a little while, flipped it over, and cut a piece of twine to size for hanging. Dabbed a good glob of hot glue on the back, then stapled it once the glue dried…just for good measure:) My parents’ poster is still in tact 6 months later, so this method works!
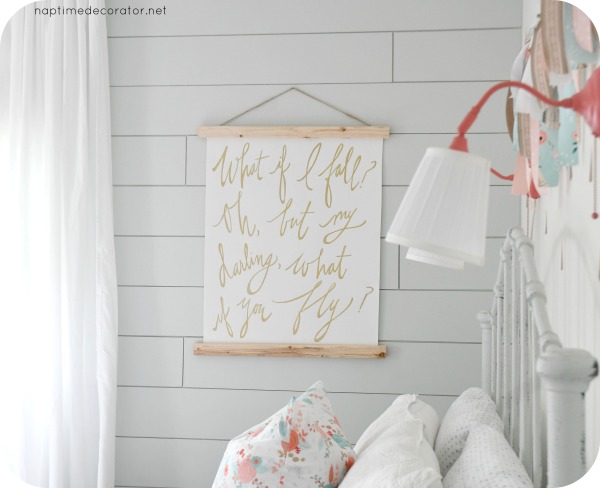
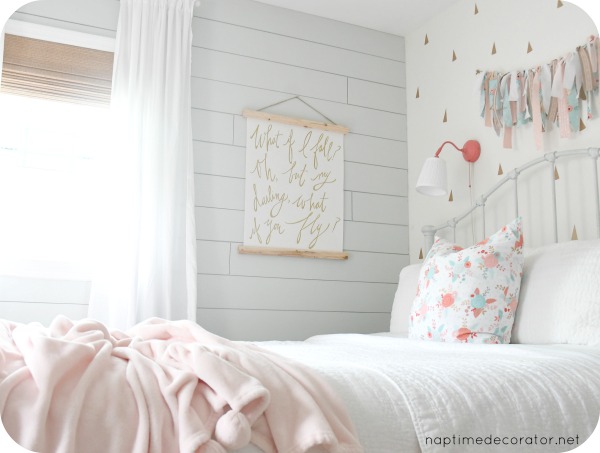
And hung it by a nail on the wall – perfect for her room!
This project was a total decide as I go deal. Wasn’t sure if I’d freehand or print out a font from the computer – you could totally do that if you don’t dig your handwriting – just print it out to size, and either press hard over it to leave a slight indentation (like I did on my bedroom sign), or color the back with colored chalk and trace it onto the poster – it’ll leave a faint chalky residue that you can follow with your paint marker. The colored chalk should wipe off, but might want to test it out first just in case.
When it came down to it, I had no patience for choosing a font, printing it out…you know how I roll. When I get a wild hair I have to get on it immediately. So I decided to wing it. And for the wood, I had every intention of staining it, but then once I saw the raw natural color, it just seemed right for her room. It’s not perfect, but in the end, I’m pretty happy with how it all turned out!
I’m so happy I finally got these words up on her wall. I hope it inspires her to keep on taking chances and risks.
And to know that sometimes yes, we do fall, and that’s ok. Just keep on jumping.
Because you never know when you’ll fly.

 Hi there! I’m Liz, a former teacher-turned-stay-at-home mom to three kids, with a passion to create a warm and inviting home on a budget. This blog all started when I’d put the babies down for a nap, and squeeze in a project during those precious couple of hours! My hope is that you visit this page and feel inspired to do a little “naptime decorating” of your own. Thank you so much for stopping by!
Love it! Gosh, I was at Hobby Lobby tonight with my creative 12 year old and while she was looking at “blending markers” I checked out the signs that were on sale and I have to say, your sign is just as good if not better than HL’s! And it will mean so much more to your sweet girl. Great job mom!
You’re so sweet, Lynn, thank you!!
How beautiful!! Her room is honestly perfect!
Thank you so much!
Such a sweet room. Your signs are beautiful and such helpful way of doing them. I am going to give it a try😊