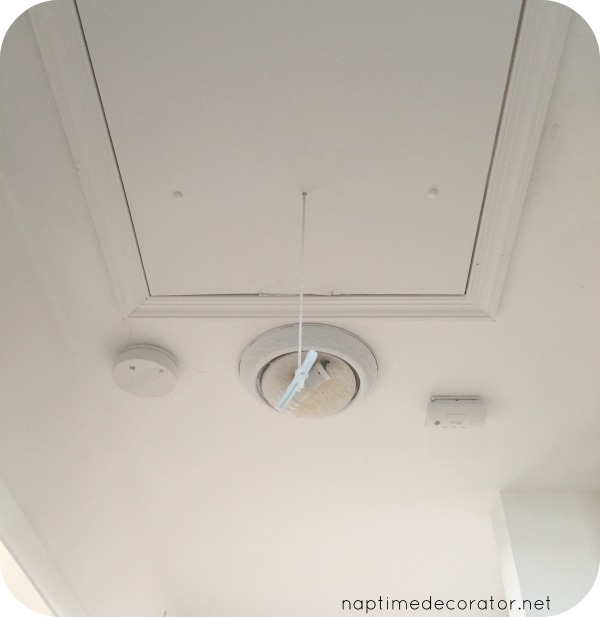
I got a wild hair about a month or so ago and decided to give some much needed attention to our upstairs hallway. I don’t know about you, but I tend to focus much more on the main floor of our home since that’s where we spend most of our time. And this poor hallway was screaming for a little love. I mean, let me paint a little picture for you: Last summer we got an attic door/pull down ladder put in the ceiling in the hallway so we wouldn’t have to crawl through my daughter’s itty- bitty-square-cut-out-impossible-to-even-get-in closet attic entry. So since we had a big piece of plywood to paint white on the ceiling where the drop down cutout was, I slapped white paint all over the hallway. I mean, the golden yellow from 11 years ago was still there and I just couldn’t do it anymore. Didn’t know what color was going up, but I figured while I had the white paint out, let’s at LEAST get white up for the time being. Months later, say at Christmastime, I hung a mirror in the hallway that I bought about two years ago (from HomeGoods) that I loved but never had the right spot for. We had the last of the boob lights hanging in there minus the boob part. So yes, a naked lighbulb for lighting.
This has been the situation for a lot longer than I care to admit.
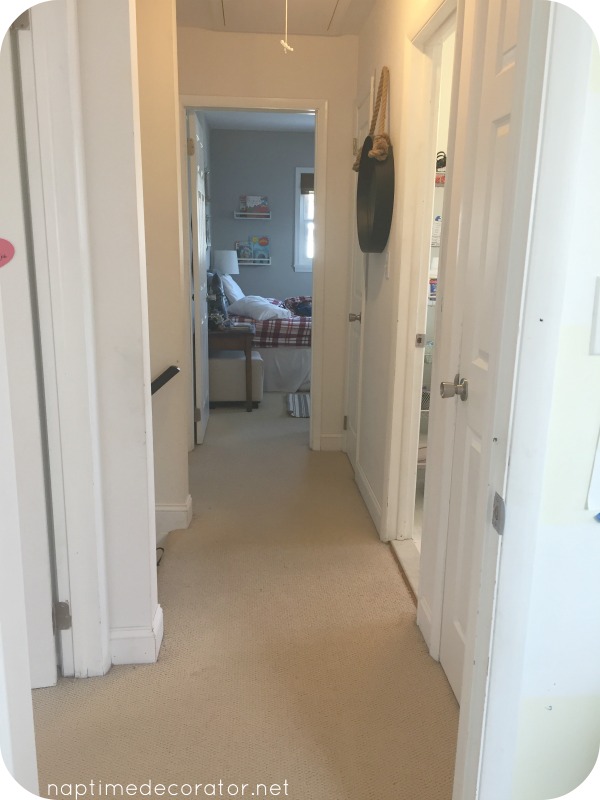
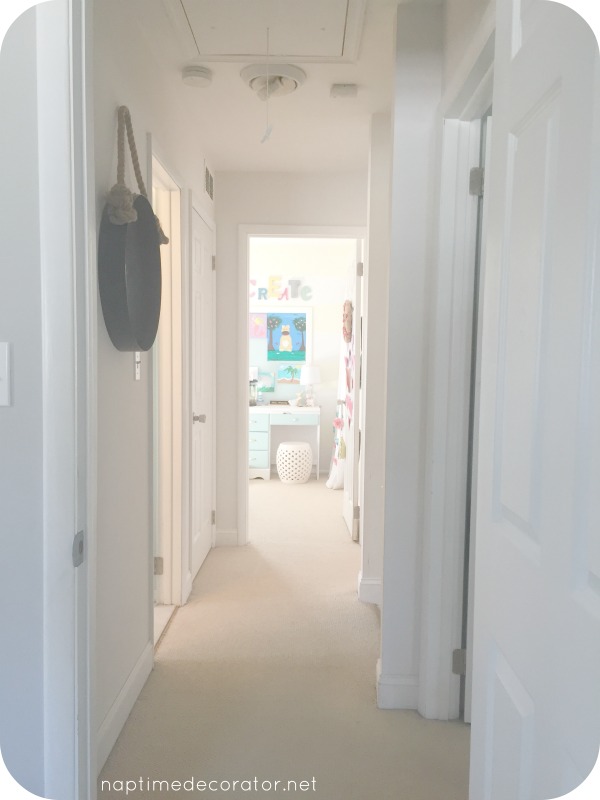
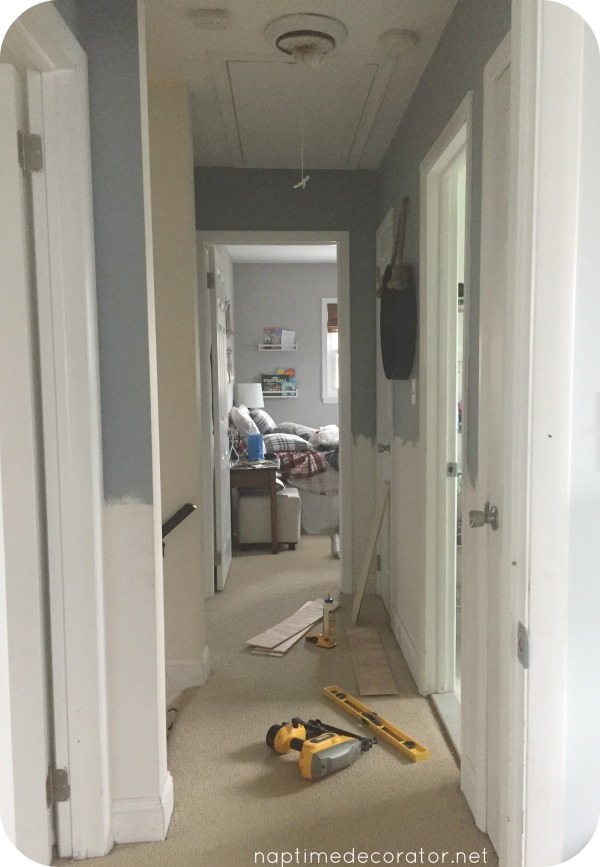
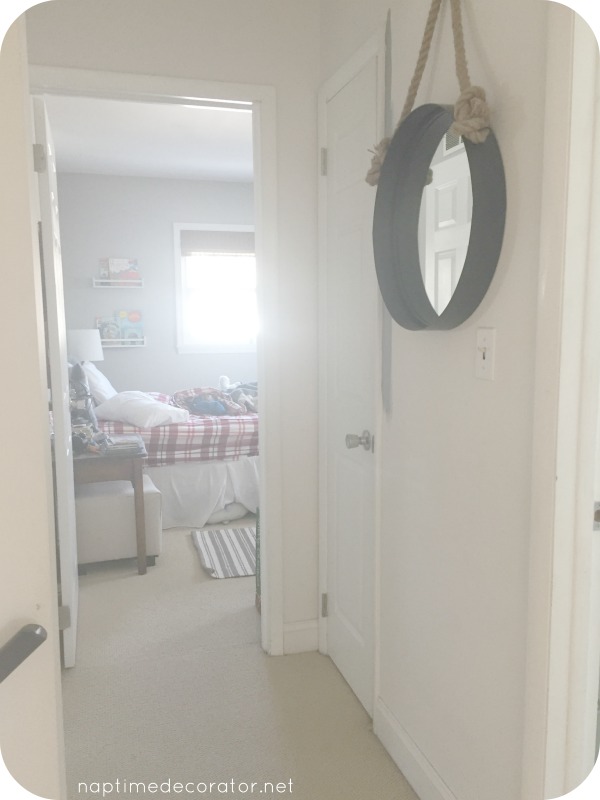
And yet, in just two days – it went from this plain white, busted up ceiling light beauty:
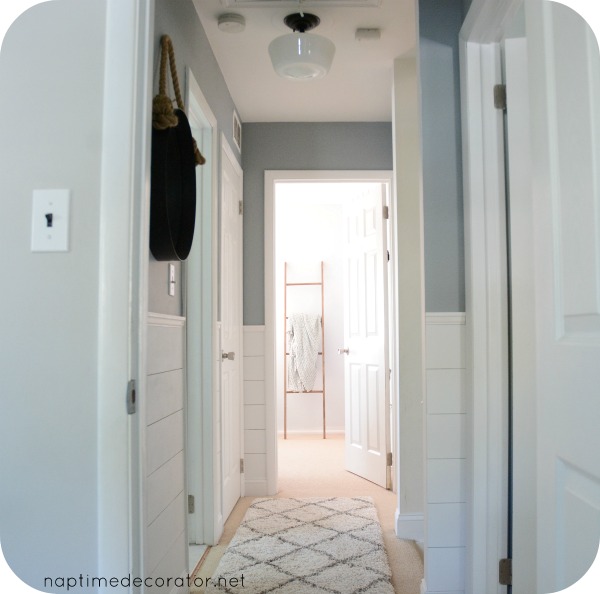
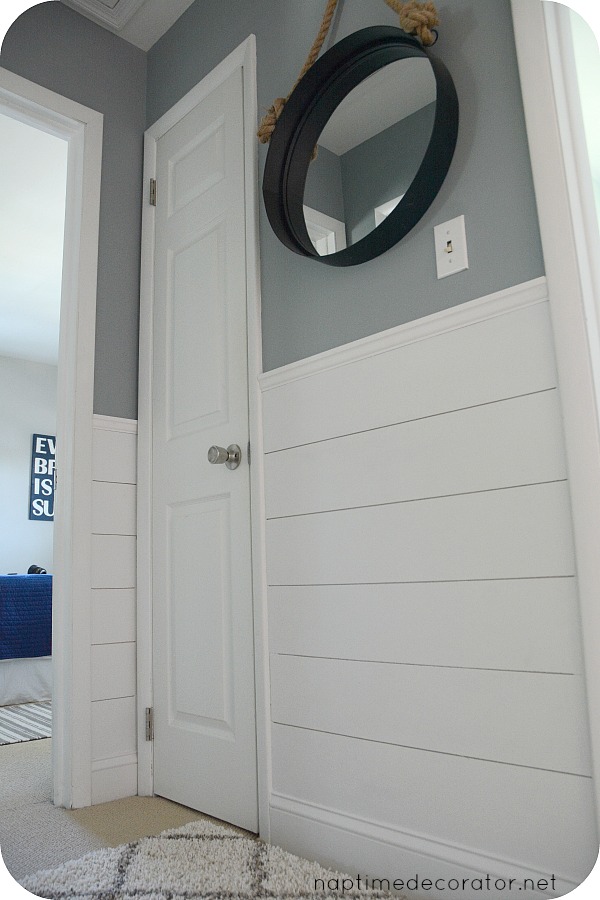
to this:
Let’s backtrack a bit. Back to that wild hair.
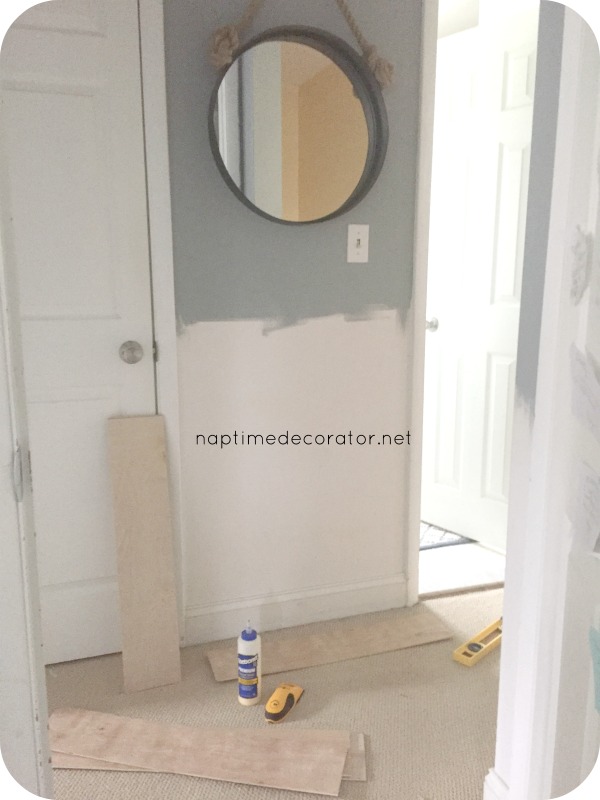
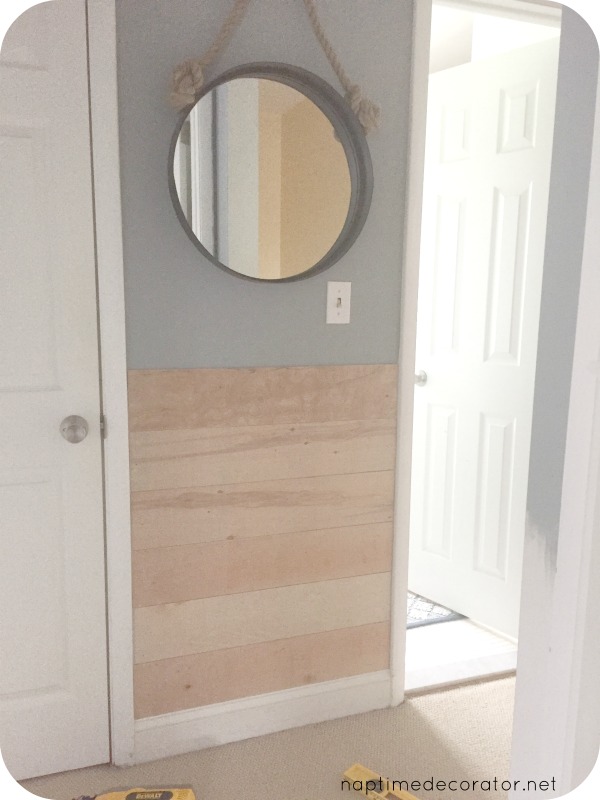
I woke up one morning and decided enough was enough. This hallway needed some TLC and it would not take much to make it look good. Since I’m obsessed with every shade of blue known to man, I picked one sample out from my stash and started painting. I grabbed Benjamin Moore’s Adagio – it’s an awesome blue gray and darker than I typically go – but since I had a vision of adding shiplap (plank wall if we’re getting technical) to the bottom, I decided to play with a bolder shade. And since it’s such a small space, one sample was all I needed!
I only painted the top part obviously. Then, I cut what felt like a JILLION pieces of wood (holy cow did I get some steps in that day!!) and started at the bottom. I did the same method I’ve done on the basement plank wall and the bedroom one and this dining room one and the mudroom one…(soooo I *may* have a problem) – just measure, cut, check for electrical, dab a little wood glue on the back, level that bad boy and shoot with the nail gun.
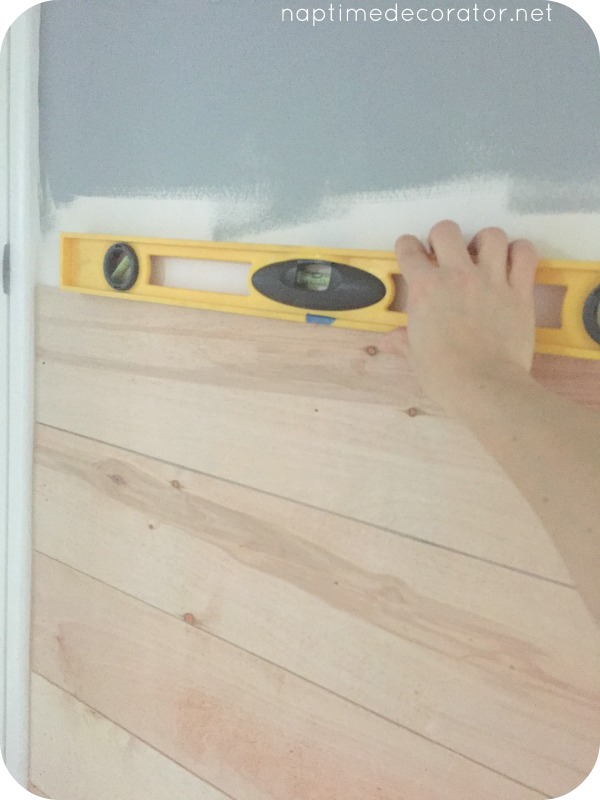
I used to do the whole nickel thing in the spaces between to make sure they’re all evenly spaced but I just eyeball it now.
And I did this on all the itty bitty walls in there. Then caulked the sides and nail gun holes…
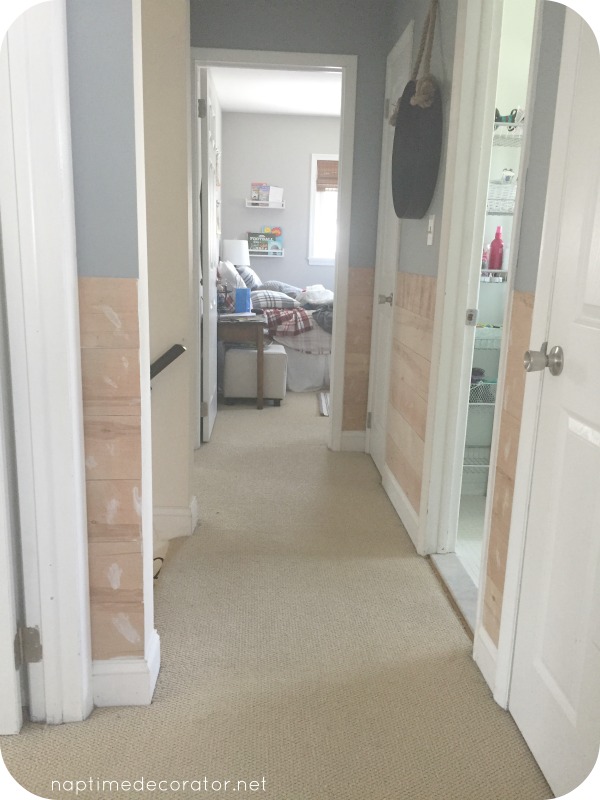
I went with the same trim I used in our powder room molding for the top – just to finish it off.
And painted with my Behr White Paint and Primer in One. I use flat finish just because I love flat paint. But that’s just my preference. And that was all she wrote!
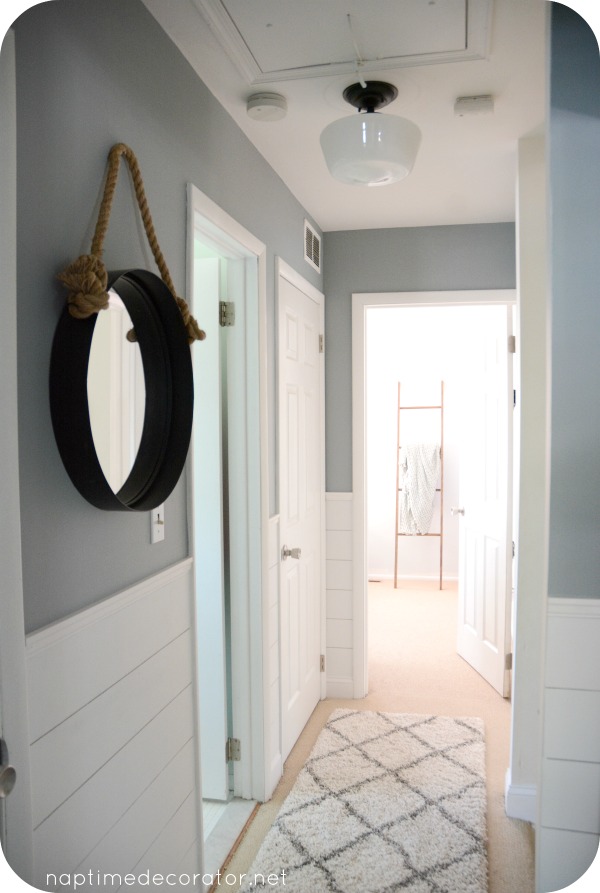
My husband hung the light fixture for me (Liz doesn’t do electrical…yet;) – I went with the Esdale model from Hampton Bay at Home Depot. I might end up putting this one in the foyer downstairs and going with the medium size though – this one is the large model and I’m just not positive the scale is 100% making me happy. Keep you posted on that;)
As for the rug – this is THE coziest thing I’ve ever laid my feet on. In fact, I’ll find my kids laying down on it reading! I got it from Overstock – it’s the Hudson Shag. It’s a lot creamier than the photos showed on the website, but I’m actually happy about that – it’s a little more forgiving. We were a little suspect at first because we thought there might be a trip factor involved with a runner in the hallway, so I wanted to live with it for a while before I posted in case I had to return it. But it’s been a month and no one has had one issue with it so far – I think because it’s such a heavy, sturdy rug – it doesn’t slide around like say, a thin indoor/outdoor with no backing would, you know? Actually, the thick, heaviness of it does have one drawback though – it’s so plush you can’t open the doors;) This is only an issue for the linen closet (well, the other spare hall closet too but we hardly ever open that door except for get the ironing board out…so basically never- ha!). All the other doors open from the inside so they aren’t an issue. So when we need to to get in the linen closet, I have to lift up an edge. Not the end of the world;)
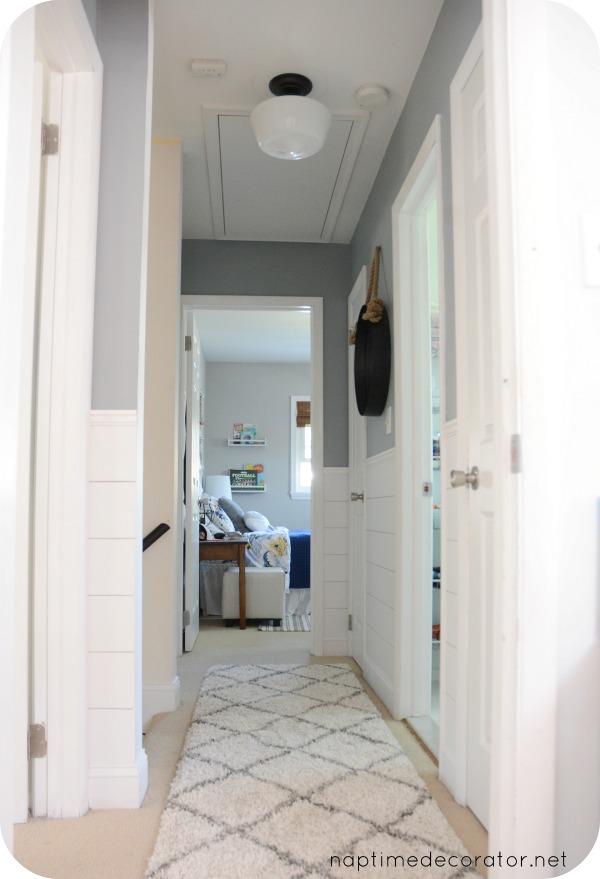
I’m just amazed at how just in a couple days this hallway went from drab to fab. Shows you what can be done when you decide to just bite the bullet and go for it!
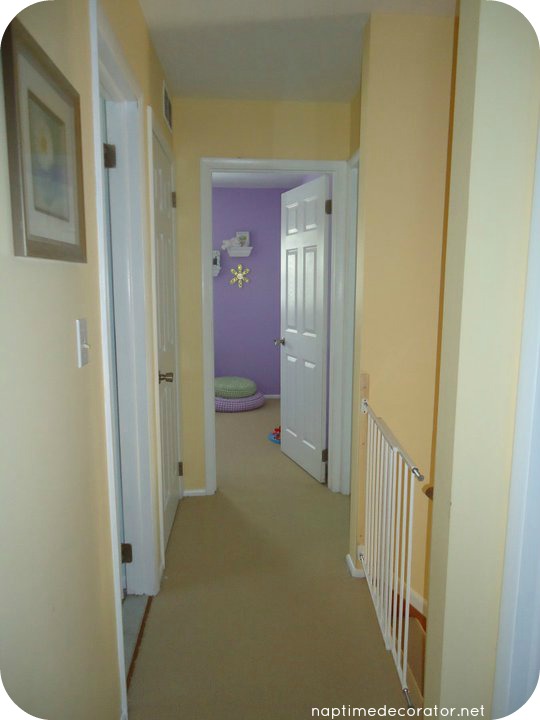
Here’s a fun trip down memory lane just for fun…
The same space when we were in the process of moving in 11 years ago:

A couple years later:
And now:
I always love seeing how our home has evolved:)
Now…stay tuned, I’ve got about five wild hairs in the works as we speak – can’t wait to share with you!
Have an awesome day!

 Hi there! I’m Liz, a former teacher-turned-stay-at-home mom to three kids, with a passion to create a warm and inviting home on a budget. This blog all started when I’d put the babies down for a nap, and squeeze in a project during those precious couple of hours! My hope is that you visit this page and feel inspired to do a little “naptime decorating” of your own. Thank you so much for stopping by!
Gorgeous!! I love it. Indeed what a difference a weekend makes. Wonderful job.
Thank you so much, Cheryl!
Awesome!!🤗
Thanks, Cin!
Looks great! I know its not new to the space but where did the big rope mirror come from?
Thanks so much! It’s from HomeGoods.
Love your decorating and DiY journey!!! Girl… you got talent! I. Get. You. ❤🏠🔨
You’re so sweet, Kim, thanks so much! XO
I love it! I’ve really been into blue paint lately. Love the color!
Meeeee too! 🙂 Thank you!
Very nice
Thanks, Kattia!
You are truly amazing! While I’ve been happy with just painting walls, after seeing this I’m now thinking I need to learn how to install shiplap!! Can you please direct me to your post on how to do that? I guess I need to buy a whatchmacallit saw!
Thank you so much, Lynn! Search “DIY Plank Wall” on my home page search engine – there’s a tutorial!
Looks AMAZING Liz! Love how you show easy, inexpensive tweaks here & there can make a HUGE impact in your home. You are inspiring.
Hope you are feeling better every day. Prayers & positive thoughts coming your way!
Thank you so much, Michelle! You are so sweet! I’m feeling good, thanks:)
Sounds like a dumb question, but how the heck did you hang your mirror? I own one and I’ve been toying with various ways to hang it.
PS- I live in MD too and just found your blog…OBSESSED! We are renovating not 1, but 2 foreclosures **read :::we are insane:::**
Hi Amanda! Thanks for reading! So the mirror came with a thing on the back to hang it. Then I added a nail for the rope to hang on, but that’s purely decorative:)
I love this shiplap look! Help though as I am confused even after reading the tutorial. If you started some at the top walls and worked down how do you overlap them by the one above? And what is the overlap measurement? Also I couldn’t figure out what you meant by using the nickels? I really hope to do this on one of my walls in my home in Florida as it looks amazing!
Thanks, Janet! I’m not really sure what you mean by the overlap measurement? There isn’t any overlapping, each piece of wood is separate. For this half wall, I started at the bottom and worked my way up (but for whole walls, I start at the top). And the nickels are used in between each piece of wood, to ensure you’ve got the same amount of space between each piece. Hope this helps! Good luck!