I big fat love my family. For many reasons of course, one of which is that they ALWAYS think of me when they see any wood scraps laying around. I’ve made enough signs in my day that no piece of wood is safe from a little paint and stencilin’. They know this. They also know I love to make boxes out of this stuff, like my mantel box. So when my dad had a few pieces in his shed not too long ago, he dropped them by…and I knew JUST the thing to make!
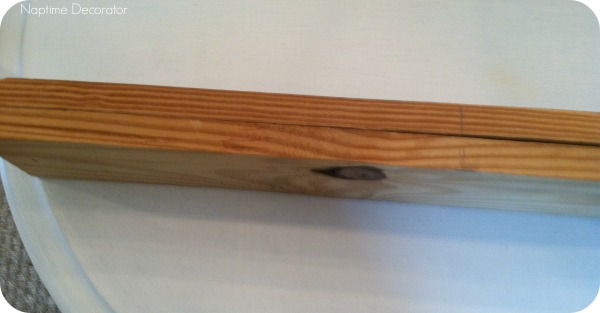
Here’s the story of how these two pieces of wood…
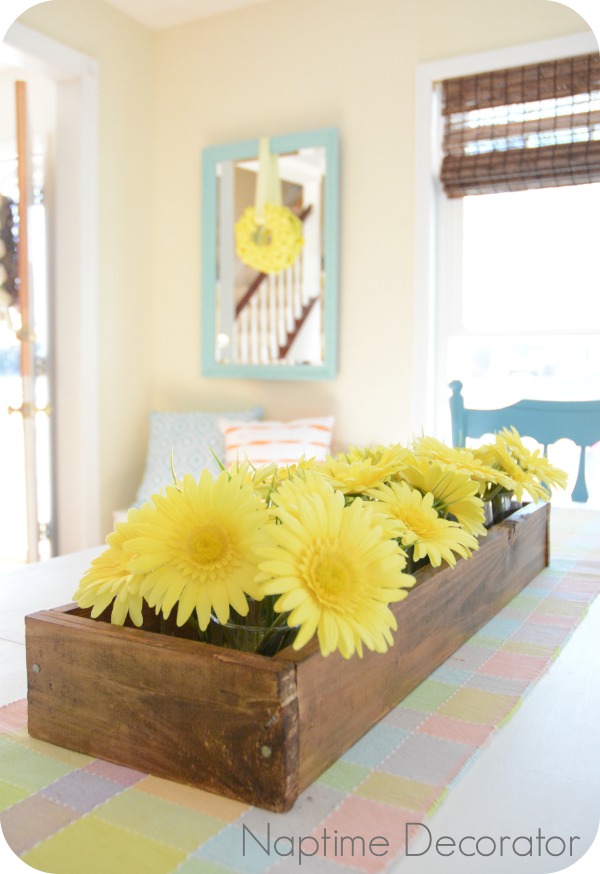
…made this dining room centerpiece…
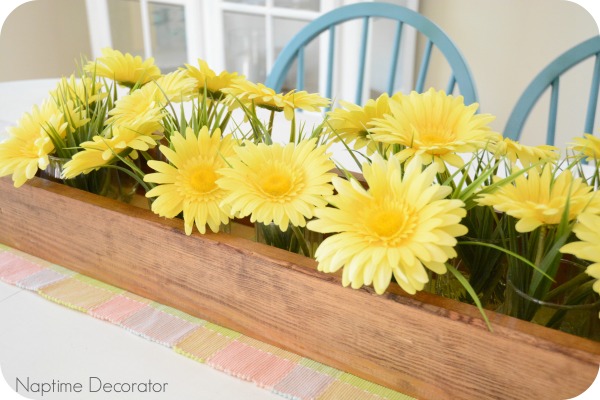
…and all I had to buy were the flowers!
So if you look closely at the photo of the two sad pieces of wood, you’ll notice two pencil lines. That’s where I guesstimated the length I wanted for this centerpiece box. If you know me, you know I’m not about exact. It ain’t perfect, but it works for me. I like to call it the ‘rustic look.’ 😉
Then I got out my trusty, uber-fancy hand saw (power tools scare me…working on that), and got down to business.
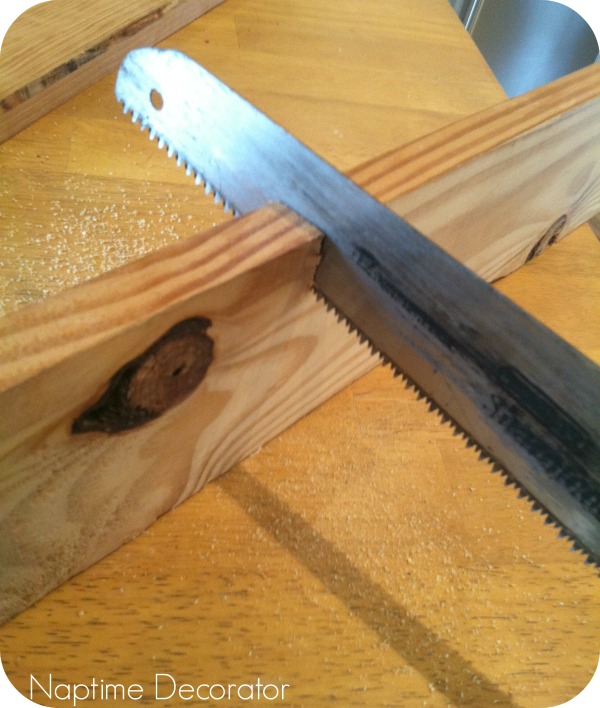
And yes, on my kitchen island. I’m not your go-to expert by any means, and you should probably be much more careful than I am…just throwing that out there.
Once I had those two pieces cut, I laid it down and marked where the remaining pieces would need to be cut to fit on the ends:
I should apologize – I do this EVERY time, I know – but I took all these ‘during’ shots with my phone camera. Bad little blogger! I oughtta know better, I know. But it’s just when I’m in the zone, it’s just so much easier and quicker to grab my phone and snap a quick pic! I’ll stop one of these days…or not.
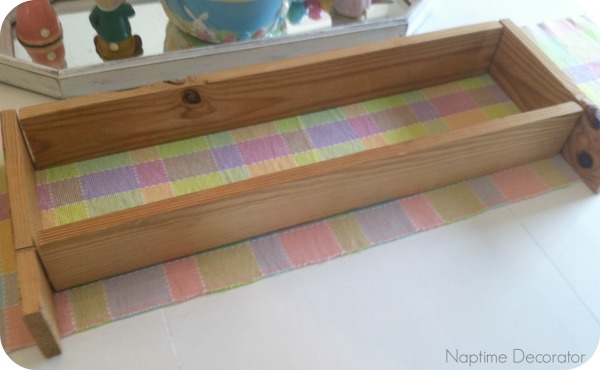
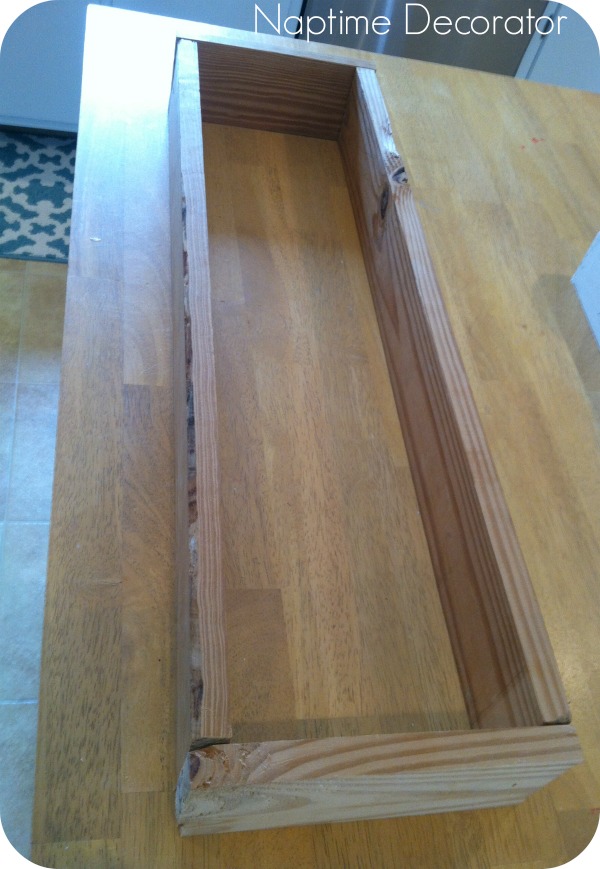
Then I nailed the ends onto the long pieces with some sturdy nails I had around the house.
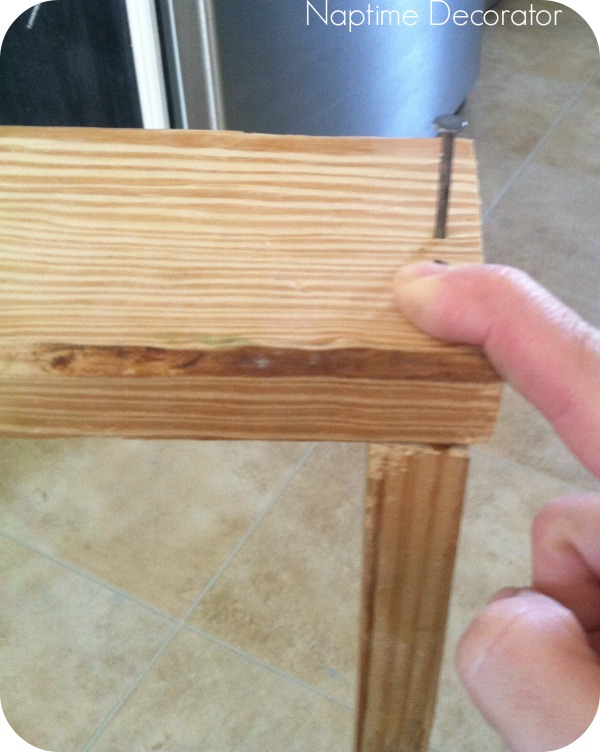
And we have a (bottomless) box! I decided to skip the bottom because, a) I didn’t have any more wood! and b) sheer laziness – it will always be filled, so no one has to know, right?!
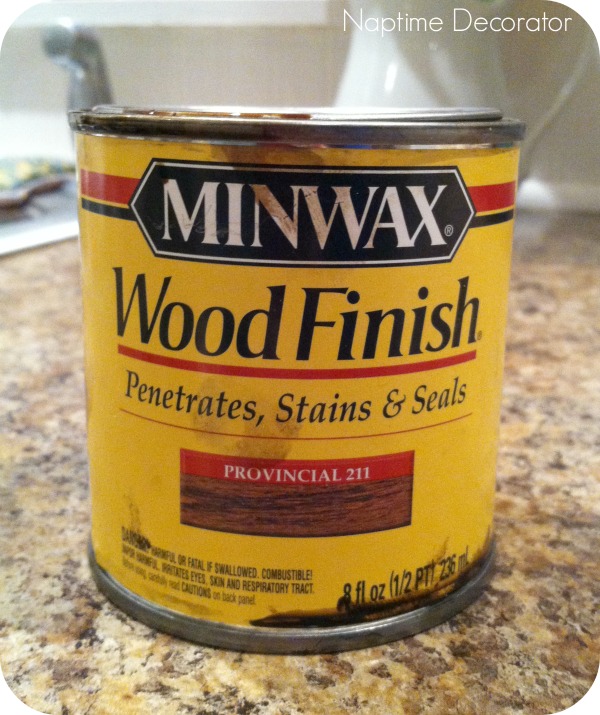
Now, I totally spaced and didn’t take any photos of the staining step, but basically, I took my box outside, laid it on some old newspaper, and used a cloth to wipe some stain on it – this kind:
Now here’s the part I actually had to pay for – imagine that!
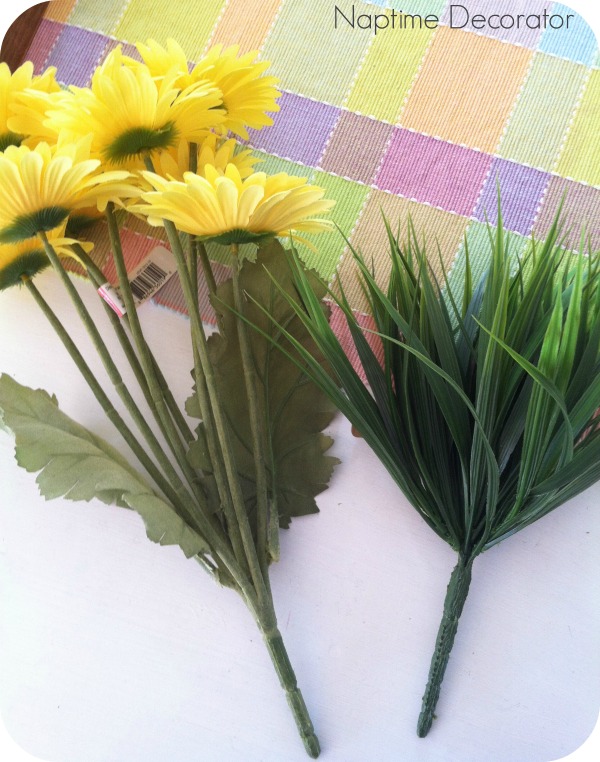
I bought some flower picks from Michaels – two of the daisy bunches, and two of the grass bunches. Turned out to be JUST the perfect amount!
Then I raided my kitchen cabinets, and I happen to have a LOT of the same height glasses – I grabbed a few stemless wine glasses, a few orange juice glasses (don’t think that’s their official name, but we call them that?!), and I started breaking apart the flower/grass bunches, putting a couple in each glass…Guess I’ll be using my stemmed wine glasses for a while, and we’ll need to grab a couple more juice glasses! If you want to try this project and don’t have glasses the same height, hit your Dollar Tree and grab a bunch.
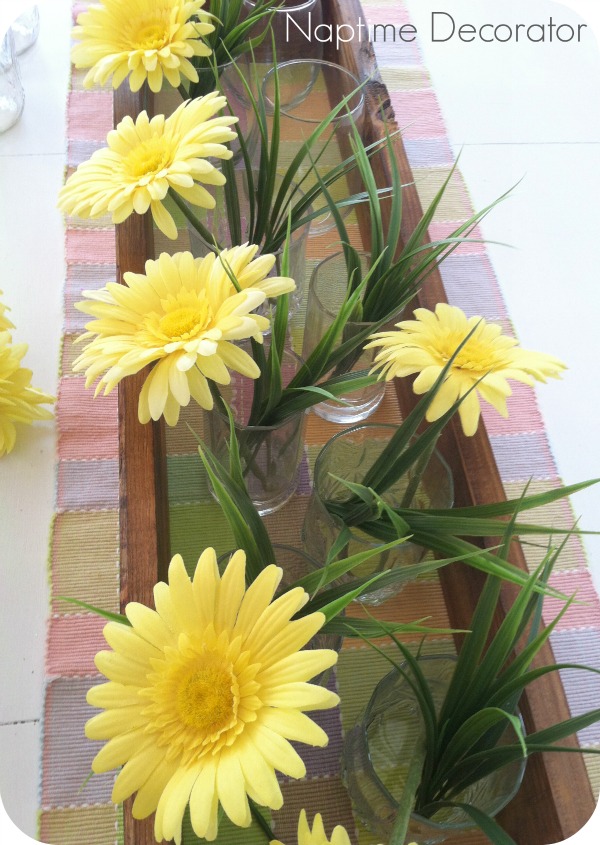
And here it is!
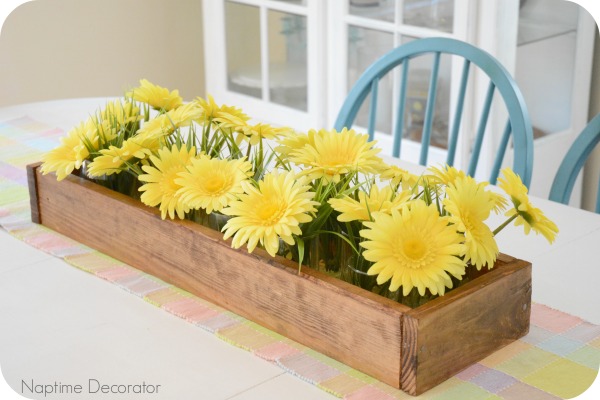
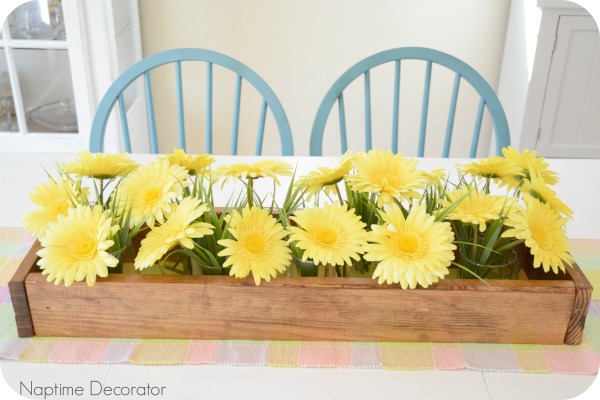
So I’m kinda in love with this thing. So springy, right?? And just like my mantel box, I can use it for different seasons, just switching out the daisies for other seasonal decor.
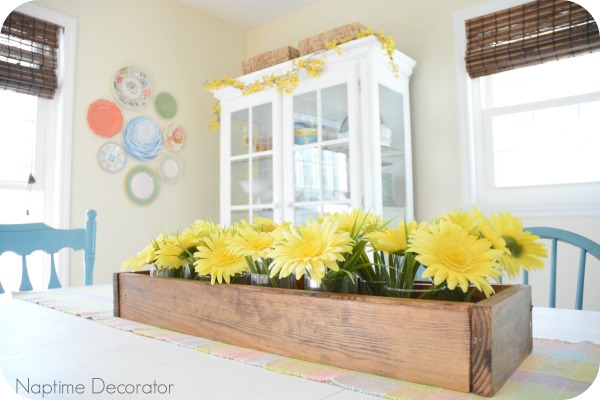
And I really love how it grounds the blinds and chandelier. Just brings a darker, more natural element to the light and bright table and chairs, you know?
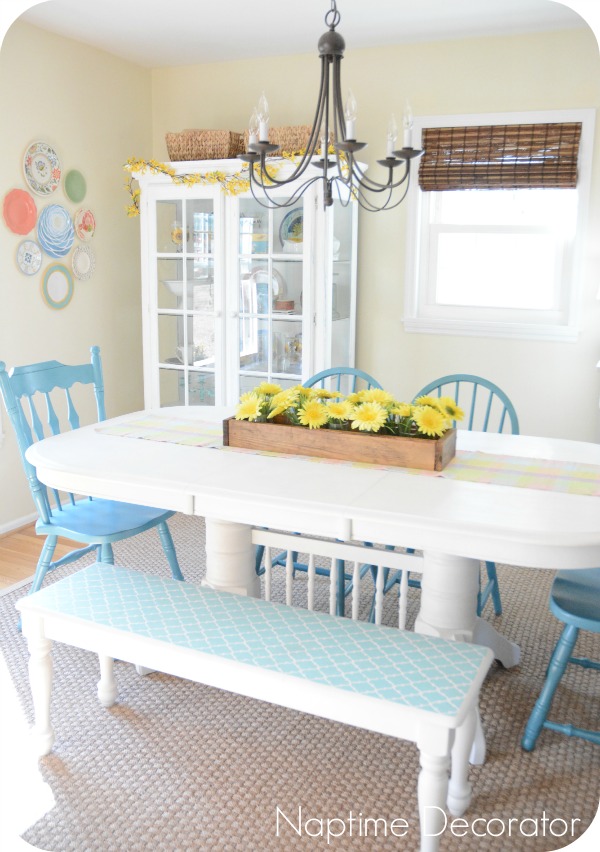
Pretty cool for a couple free scraps of wood, some nails, and a little stain, right?
Thanks, Dad! 🙂

 Hi there! I’m Liz, a former teacher-turned-stay-at-home mom to three kids, with a passion to create a warm and inviting home on a budget. This blog all started when I’d put the babies down for a nap, and squeeze in a project during those precious couple of hours! My hope is that you visit this page and feel inspired to do a little “naptime decorating” of your own. Thank you so much for stopping by!
Love it! Great job!!!
Thanks Pam!
Perfect! I agree, it ties the darker elements together. Goes perfect with your peep wreath too 🙂 your dining room is perfectly springy!
Blessings!
~Sherri
Thanks, Sherri!