Soooo close to the end of my daughter’s room YOU GUYS!!!
Here’s one of the final touches we worked on last week – turning these sad, void-of-any-and-all-character windows:
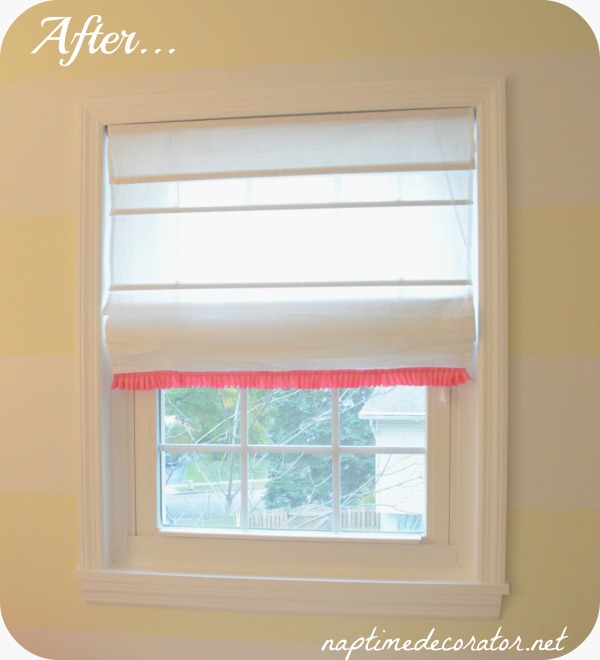
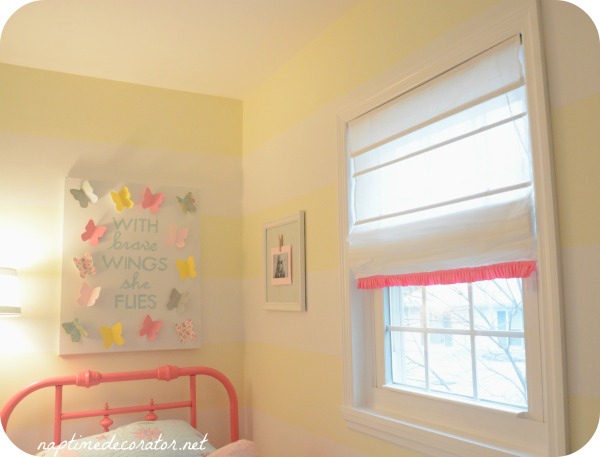
…into these framed out, fun, girly ones!
A litttttle bit better, wouldn’t you say?
First, Mr. ND cut some molding and nailed it up. Slowly but surely, we’ve been doing this to all the windows in our house (gotta love the style in the ’60s!). Once upon a time, I did an entire post with all the deets on this, but it got lost in the Great Blog Hack of 2013, unfortunately:(
Then, we hung the same shades we used in the Master Bath Reno. They’re a gauzy, airy, lovely white shade from Lowes (Style Selections). Not a lot of room-darkening quality, but this is our #1 sleeper’s room, and nothing phases her so I went with it;) ‘Cuz they’re just plain purdy.
But I also bought them with the vision of adding some pop of color somewhere, somehow.
I wanted to glue pom-poms to the bottom. Thought that would be fun. But the colors at my fabric store were all wrong.
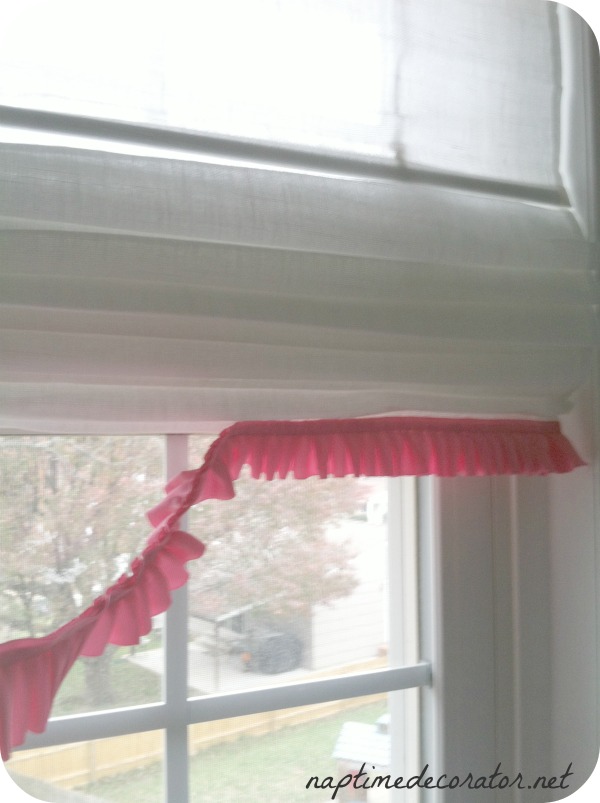
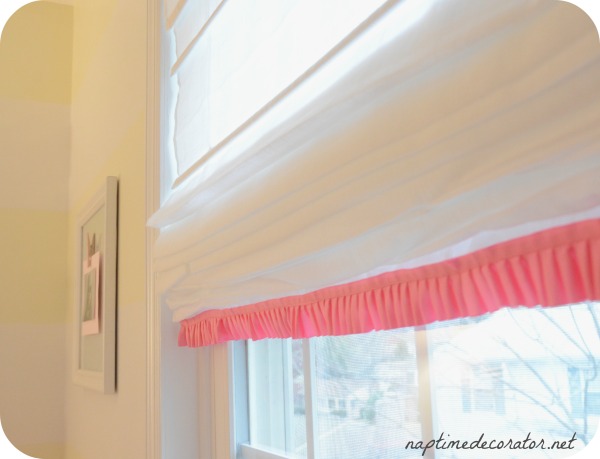
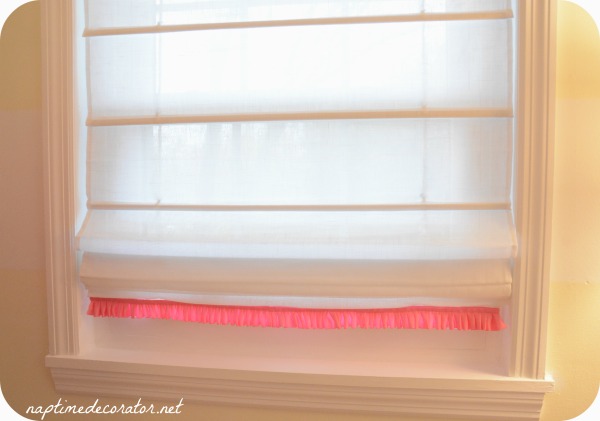
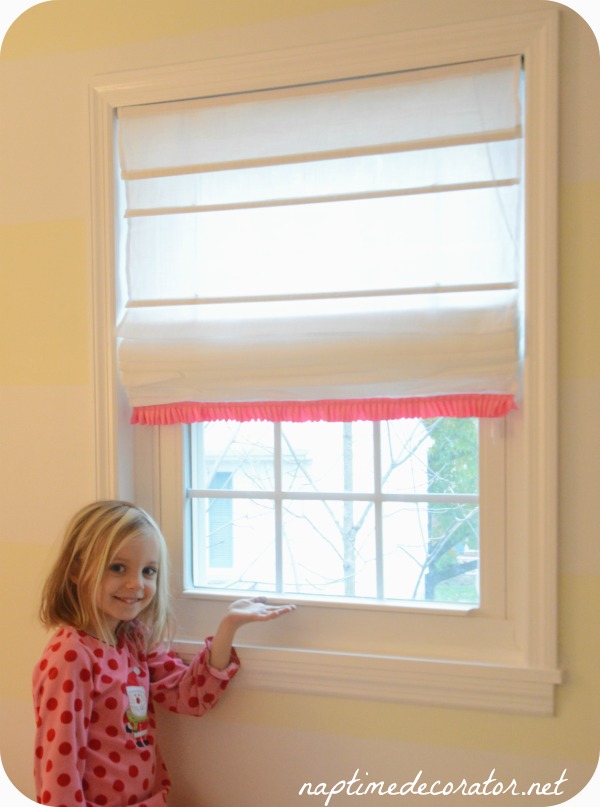
Then I spotted this lovely pink ruffly goodness in the ribbon aisle and knew immediately that was going home with me! It’s the same color as her pink bed, and would be just the right touch. Just cut it to size, and used my hot glue gun to attach a few inches at a time, pressing it firmly as I went…
And that was all she wrote!
I checked before I did this important step: that the ribbon wouldn’t get all messed up when I pull down the shade at bedtime – this was a perfect spot to glue, as it was completely unaffected. Wherever the shade is, it’s fine!
Somebody is loving the finishing touches to her room! Even wanted to model for the blog…
We’re in trouble with this one! 🙂



 Hi there! I’m Liz, a former teacher-turned-stay-at-home mom to three kids, with a passion to create a warm and inviting home on a budget. This blog all started when I’d put the babies down for a nap, and squeeze in a project during those precious couple of hours! My hope is that you visit this page and feel inspired to do a little “naptime decorating” of your own. Thank you so much for stopping by!
She is adorable! I know she must LOVE her room! So pretty and girlie. You have done a wonderful job.
Happy Thanksgiving…
~Sherri
Thank you, Sherri! Happy Thanksgiving to you and yours!