Who wants some free swag?! (see what I did there?) 😉 Now, I know Christmas is just a few days away now, but I am not your typical blogger and seem to do these projects in ‘real time’ – aka I’m decorating with the rest of you, not months early like I should if I want to give you fine people enough time to use my ideas! Sorry ’bout that, but maybe you can pin it for next year? 😉
I’ve always wanted to hang beautiful garland from our banister. However, I’m picky about garland. I LOVE the real deal, and if it’s not going to be the real deal, I want it to be the reeaallly good stuff that looks real. I just can’t see shelling out the money for real garland year after year, and I can never justify buying the expensive real looking stuff. I mean, we’d need a good four strands of garland at least, and that’s pretty pricey.
So naturally, you know me – I will find a way to beat the system;) Instead of the green kind of garland, I went with a Christmas card kind, and just made some FREE swags to hang at the base of the banister! Win!
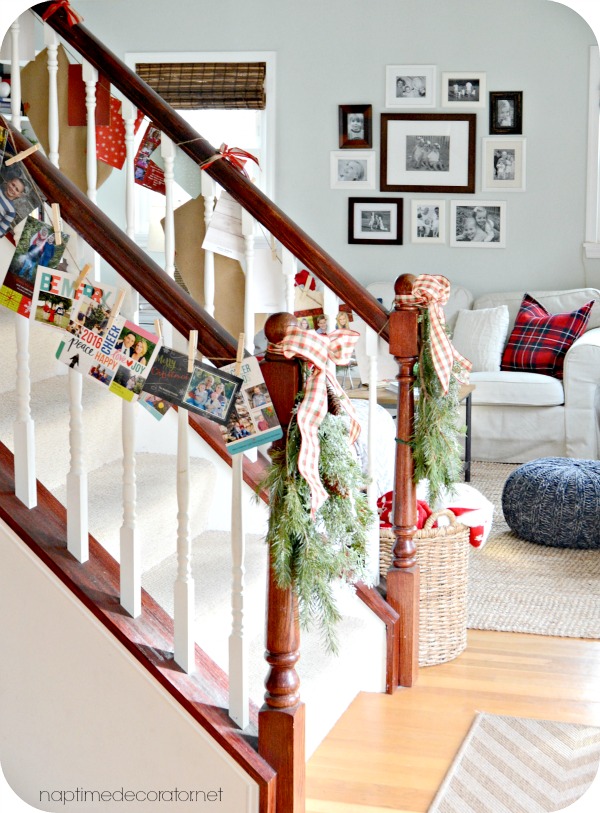
To attach the cards, I simply knotted one long piece of jute around the top, the middle, and the bottom. Clothespins to attach the cards, and BOOM! You’re done.
Now, for my free swags.
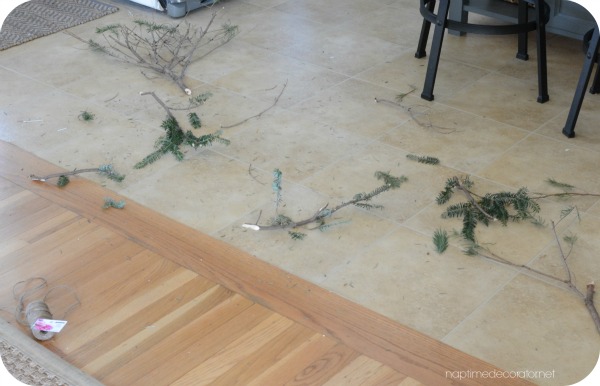
Every year, when we go get our tree, the lovely people at the tree stand have a huge box of free greens for the taking. I always grab a heap, and my husband makes the annual joke that most of these will remain outside on the side of the house until he gets rid of them in January. Welp, that’s not the case this year!
Turns out, these free extra greens make the PERFECT swags. I brought them all inside and made a ginormous mess in my kitchen…
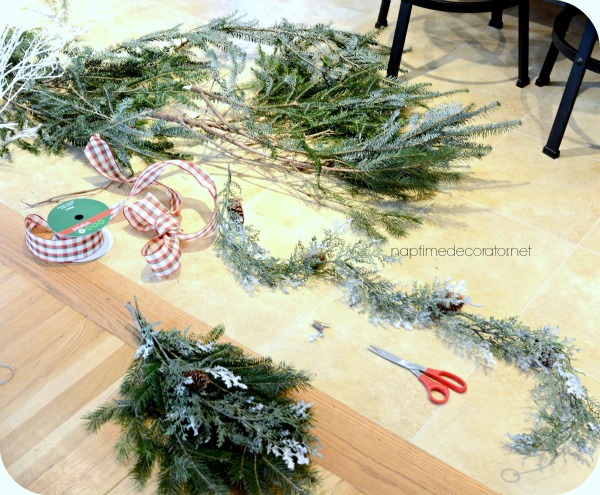
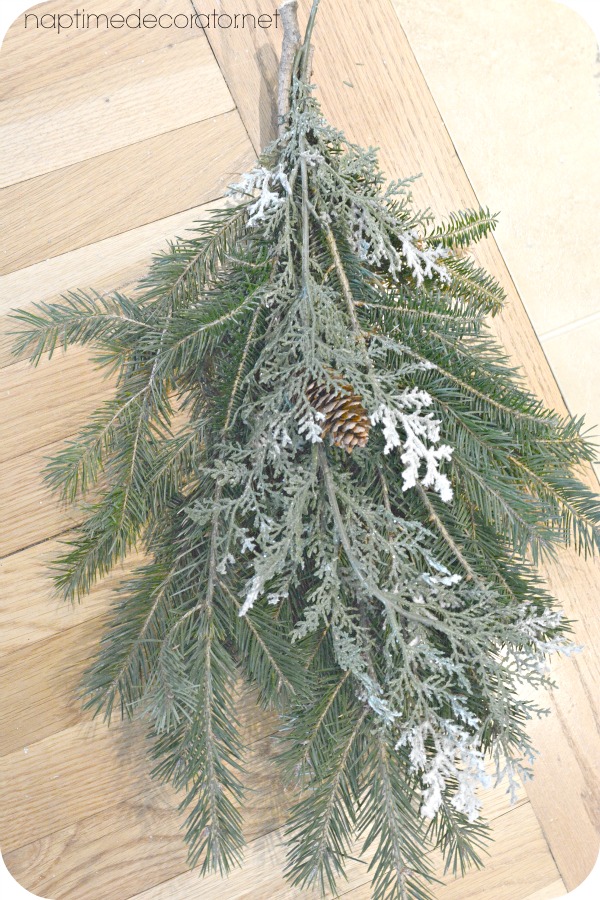
I just gathered a few and laid them on top in a swaggy style. Yes, I’m about to make up all kinds of words. I cut them if they were a little straggly. I had one leftover garland from last year that wasn’t being used, so I decided the pinecones and frosted greens would be the perfect accent. I snipped a small piece and laid that on top, then just wrapped them all up with wire at the top.
Then I took that bundle and wrapped it all around the banister.
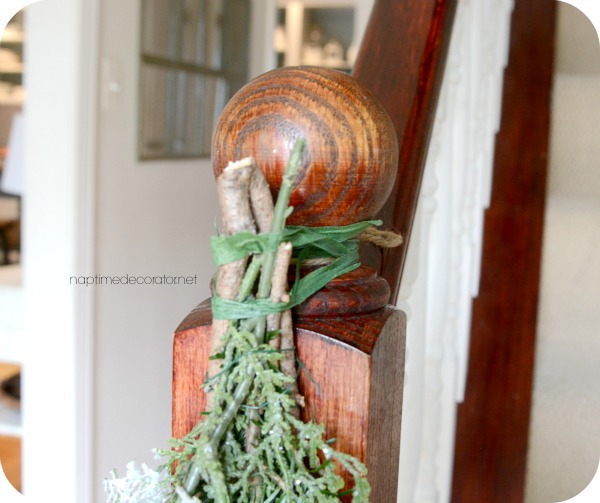
I used some of that floral tape to help secure it. Then, I had to hide this mess somehow…
I took a piece of ribbon and tied it around there, like this:

All that was left was to tie a bow around it!
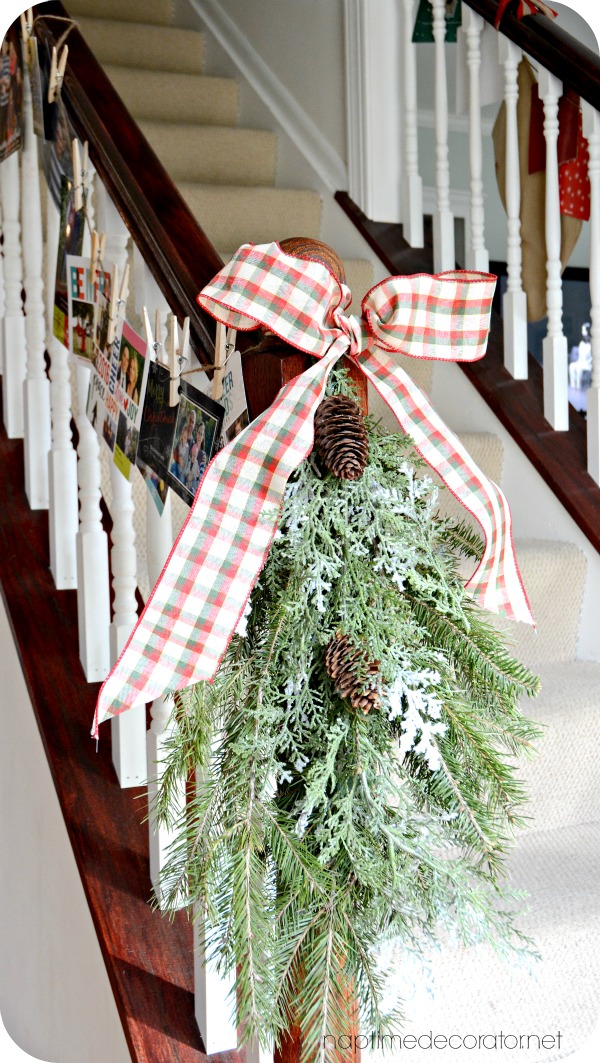
And check that mess out now:
Not too shabby, eh?! Think that’ll quiet the hubs on that little joke;)
And since I had the ribbon, the jute, the wire, the tape, and the cards, this banister project was 100% F-R-E-E! Oh man, I just love it when that happens!

OH! Almost forgot. you can’t really see it at all, but I did secure the swag near the middle-to-bottom section. It tended to stick out a little too much, so I gathered up one of the layers and used some floral tape to just keep it closer to the banister. Since it was an underneath layer, you can’t see it except from the back, and it did the job beautifully. (If you look hard enough, you can see the green tape in the some of these photos).

Added bonus: you get to see all your favorite faces all season long, instead of just sticking them in a basket. The kids have really loved seeing all their cousins and friends’ faces all the time too!
I hope you have a wonderful week, as we prepare for the big day. I hope to squeeze one more post in on Wednesday! XO

 Hi there! I’m Liz, a former teacher-turned-stay-at-home mom to three kids, with a passion to create a warm and inviting home on a budget. This blog all started when I’d put the babies down for a nap, and squeeze in a project during those precious couple of hours! My hope is that you visit this page and feel inspired to do a little “naptime decorating” of your own. Thank you so much for stopping by!
Leave a Reply