Recently I was at a client’s house, and she asked what she could put on the side of her fireplace. There’s an empty spot that could use something tall(ish), and she already had a floor plant in a nearby corner. I suggested a ladder to hang throw blankets on – they’re so cozy, super cute, and had the height she needed.
I have a similar situation in my bedroom – to the right of my dresser…there’s a little spot that needs just a little something. I’ve been looking for a fiddle leaf fig tree. I want a faux one because as you know, I KILL ALL THE THINGS. But the faux ones are pricey. To get a good one, at least. Some weren’t as expensive, but they were pretty fake looking. I was about to bite the bullet and order one, until I realized I have about eleven-jillion green plants in my room already (only a slight exaggeration). So maybe I should rethink the whole fiddle leaf thing. The wheels started spinning to try and fill that space with something else.
And then it hit me. DUH Liz! Take your own advice! Get yourself a cute rustic ladder – it’d be PERFECT in that spot. I googled and found the Pottery Barn one right away…ummmm $249 though?! That ain’t happenin’. I found cute ones elsewhere that were much more affordable, but the shipping made them still too expensive for my cheap thrifty taste.
So I did what I always do. Brainstormed how to make my own. I mean, can’t be that hard, right?!
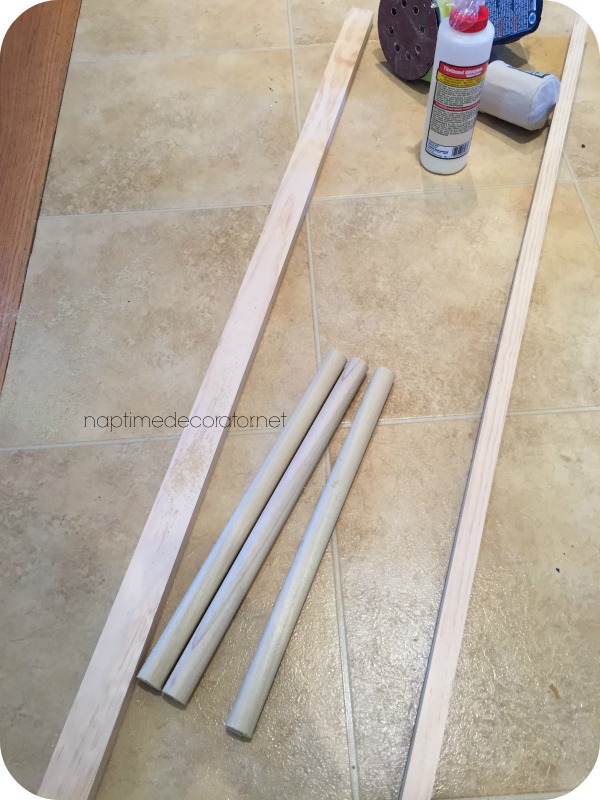
I went to Lowes, and looked around the wood section…I always feel like a kid in a candy store there. So many things! I decided on a couple 6 foot thin pieces (1x2x6′ Select Pine) for the outside, and I couldn’t decide if I wanted flat rungs or rounded ones…in the end, I thought round would be cute. I picked up two dowels (7/8 x 48in poplar) – I wasn’t sure how many rungs I’d need, but they were only a few bucks so I bought two just in case. The total, with tax included was $15. (Ok, ok, and some change;) ).

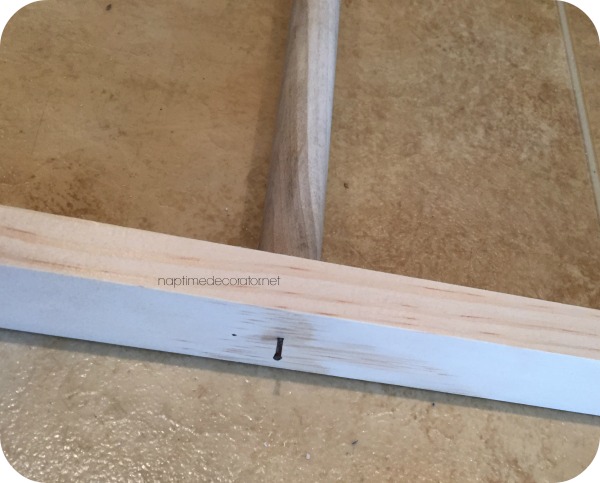
As you can see in this pic, the baseboard on this wall in our bedroom hasn’t been replaced yet…so I staged it in our office for the “after” pics;) Just wanted you to see how it all began. I took the wood upstairs to gauge how wide I’d want the rungs, and marked one in pencil. Then, I cut that one (using just a plain ol’ hand saw), and marked the rest that size and cut them as well. I sanded the edges after I cut them, using my nifty Ryobi cordless orbital sander.
Now, this was a total trial and error project. I honestly didn’t know if it was going to pan out until the very end, and I’m not gonna lie: there was some happy dancing going on over here. By myself. In my kitchen. Perhaps some cheering, some patting myself on the back. I’m not too proud to admit it.
Moving on…
Like I said, trial and error. I was hoping wood glue would be all I needed to secure the rungs in place to the side pieces. Since I used a hand saw, the dowels weren’t EXACTLY the same size. Very, very close, but when gluing four rungs to something, even just a hair off made a difference. So I had a big ol’ mess of wood glue on my floor and rungs that were not staying in place….
So I went to the toolbox, found some nails and the hammer and decided I had to try this route. I started nailing…
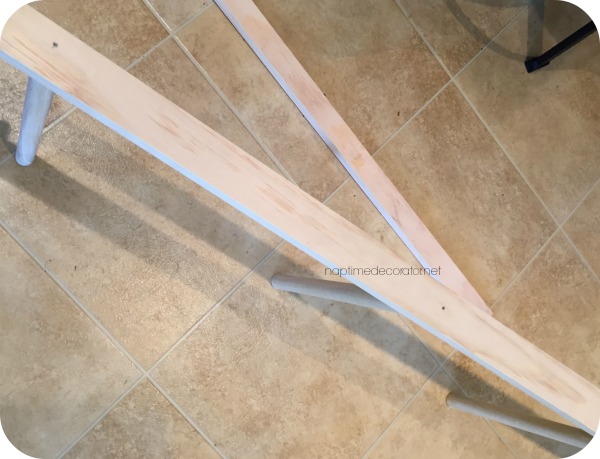
…and since it’s very awkward to nail sideways, once it was in place, I lifted the ladder on its side to complete the banging of the nail:
I mean, seriously. I’m a hot, hot mess. I kept thinking, if my husband were here, he’d be having heart palpitations. My “winging it” attitude makes him crazy;). This was awkward, not precise, or exact in any way, shape or form, but hey, that’s how I roll. It worked, didn’t it?!
I had my measuring tape out and *roughly* measured that they were all about the same distance apart from each other. See, honey, at least I did that! 😉
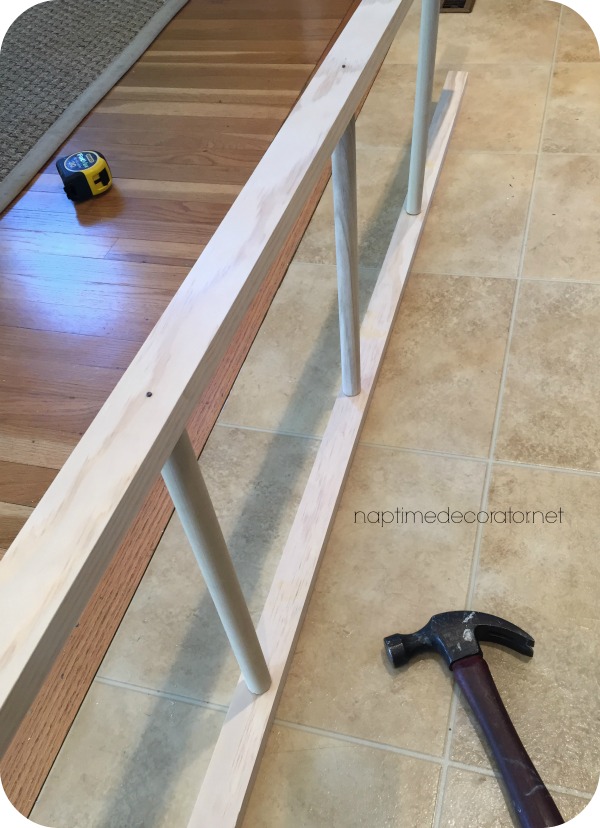
The reason I wasn’t worried too much if the distance between the rungs was off my a quarter inch or so, was because I knew you’d never see all of them at once – this is for our throw blankets. So it’s all good.
Once I lifted it up and noticed the dowels were shockingly even and I realized I JUST MIGHT PULL THIS THING OFF, I headed outside to stain it, using my go-to, Minwax Special Walnut.
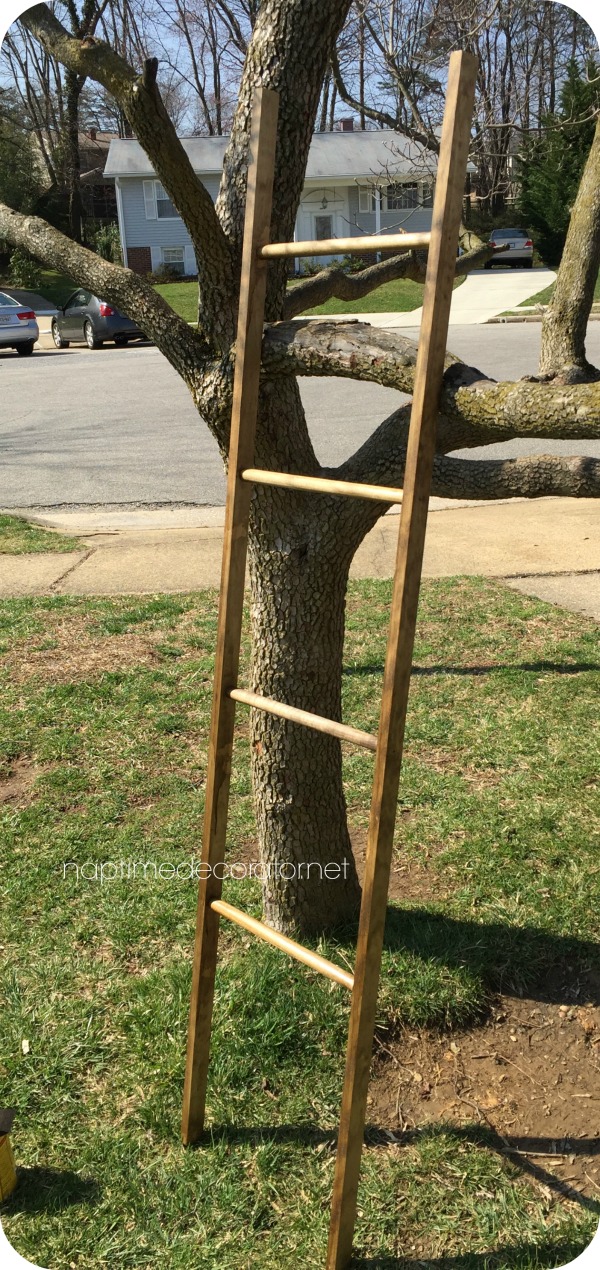
There *might* have been some happy dancing going on outside right at this point as well…
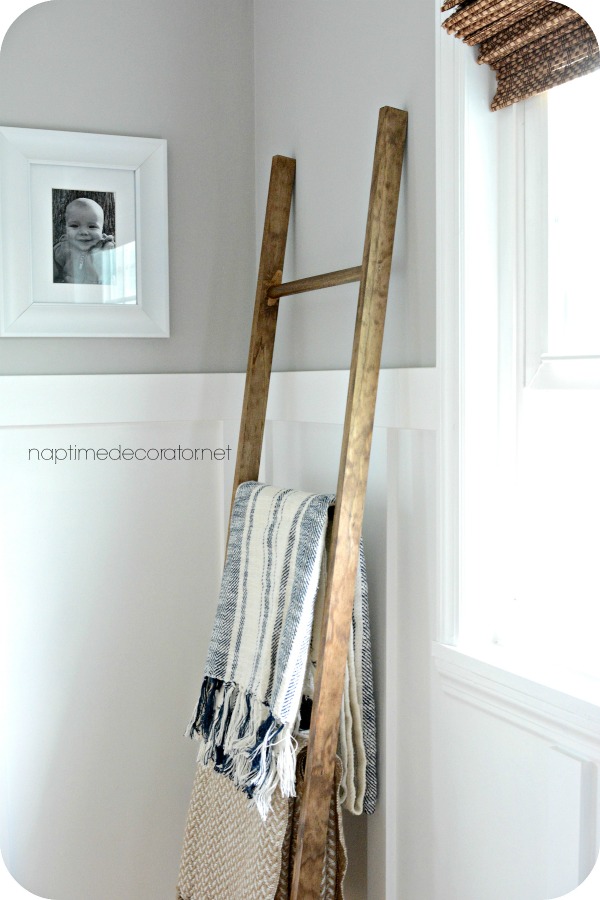
I let it hang out outside all day (stain is stinky), then brought it in to test it.
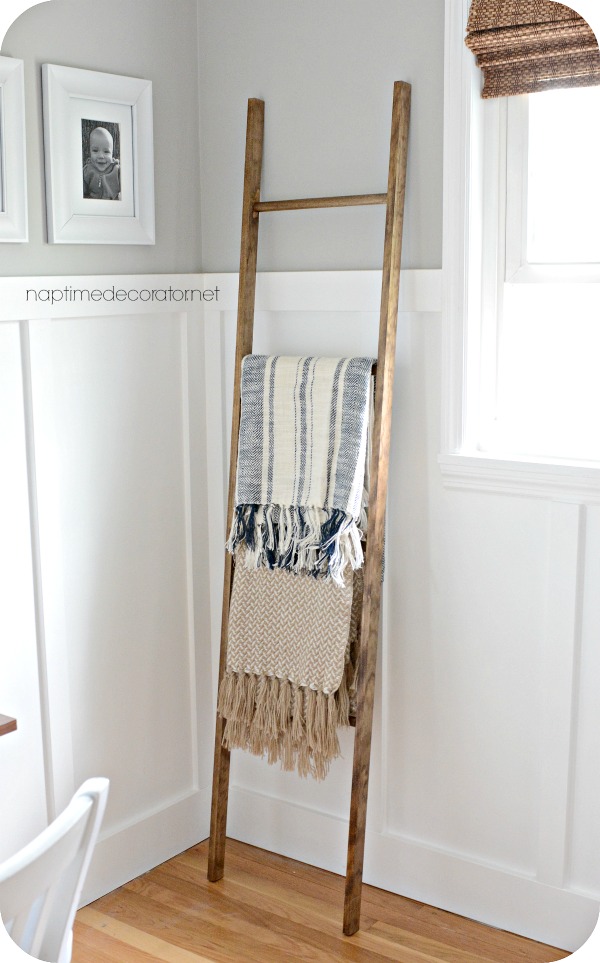
Goodness gracious, it worked!!!! Now, it’s totally not sturdy or anything, and no one should ever attempt to climb this thing, but to hold a couple throw blankets, it’s perfect. 😉
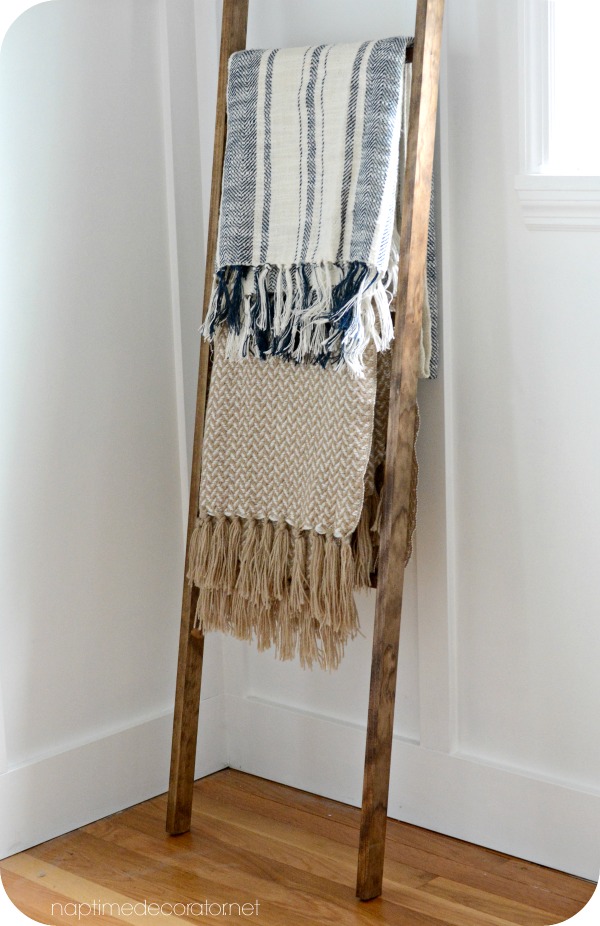
And can we just talk about those blankets for a minute? Thank you Marshalls, for having THE EXACT ONES I pictured in my head!!! Love love love them.
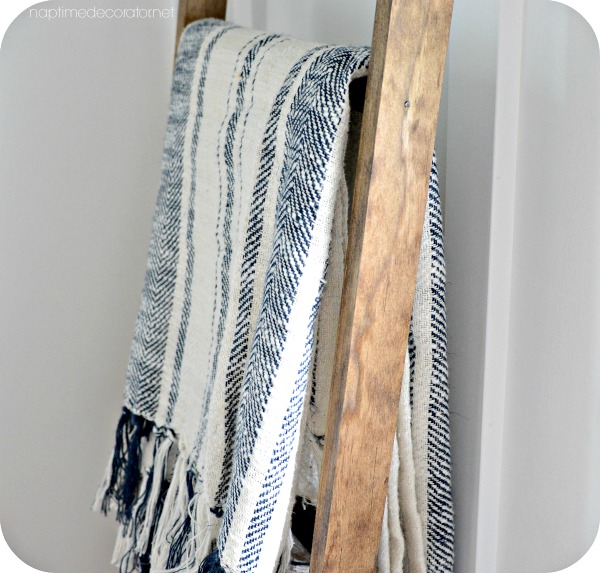
You know, we live in a really good decorating time. Where imperfect is even better than perfect, where nails are perfectly acceptable seen on a piece of wood, where the more beat up and messed up things look, the better. Can I get an Amen for the rustic movement?! I mean, it really helps this imperfect decorator out. Like A LOT.
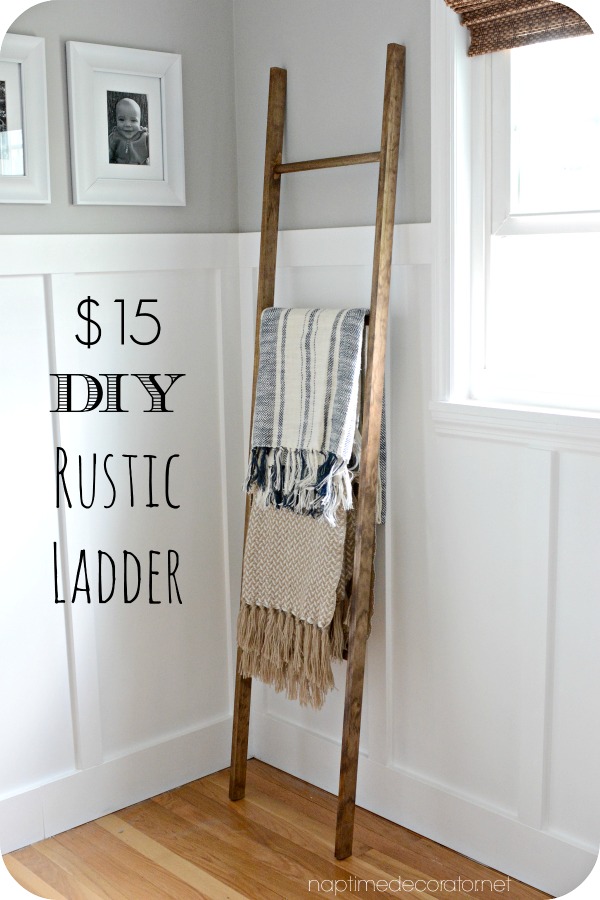
So there you have it, folks. How I made a rockin’ decorative ladder for $15 with four pieces of wood, a saw, and a hammer and nails. It feels pretty good to look at this thing and know I made it – it’s not perfect, I wasn’t sure it was even going to work out, and it could have been a total fail. Sometimes you just have to jump, take a risk, try it out, and see what happens. Even if it doesn’t work out, you’ll learn something along the way.
Who knew building a ladder could be such a life lesson? 😉

 Hi there! I’m Liz, a former teacher-turned-stay-at-home mom to three kids, with a passion to create a warm and inviting home on a budget. This blog all started when I’d put the babies down for a nap, and squeeze in a project during those precious couple of hours! My hope is that you visit this page and feel inspired to do a little “naptime decorating” of your own. Thank you so much for stopping by!
Wow! It looks great! I’m so proud of you! I want one….maybe I’ll get the courage too!
Thanks, Sally!
I have been searching for an old later to do this for the side of my fire place. Looks like I may just make my own:-)
I’m SO happy you posted this! I love hanging blankets from ladders, or magazines or books, but can never find ladders that aren’t weirdly expensive. This is the PERFECT solution.
Adorable but does your client know how little you paid for?
I had a post like this and felt I couldn’t charge what I should have because I posted cost.
I didn’t make one for my client – it was a home consultation. I was just giving her some ideas on how to decorate her space:).
Love it, love it. I have been wanting one of these for so long and because I am new at all of this and tools I have not tried to many projects but this one I am positive I can handle thanks to your easy directions and minimal use of tools. Thank you!!
What is the width of the ladder (dowels)???
Love this!
Definately going to do this, I love it.
Thanks for sharing.
I’m a hammer and nail kinda girl.👍
Thanks, Marilyn! Good luck! 🙂
Going for the supplies today! Thank you!
If you had charged your client, it would have been worth it. Otherwise she’s gonna pay over $200! People need to remember that it was your time you took and if it is for someone else, they have to pay for that. Great job! I like your stuff and your attitude! Open and friendly… 😊👍
Thank you!!
Looks beautiful. How do you keep ladder from slipping on floor? I have hard wood all over my house and was thinking it might slip.
Thanks, Erin! I don’t do anything – and haven’t had a problem with slipping!
Love this! Definitely going to try it.
Super cute!!!👍🏻❤️ Love it!
Thanks so much, Katie!
So so cute! How long are the rungs?
What color stain did you use?
I’ve been wanting one forever and couldn’t bear to spend $60+. I actually had Home Depot cut my rungs to size for me. I used two 7’ sides and six round rungs spaced 12” apart. Stained dark walnut before assembling. Was sooo proud of myself for making this. I love it! Thanks for the great idea!
Oh I forgot my rungs were 15”
awesome!!! Way to go!
Love this idea. It looks great. Btw.. what color do you have on your walks? It’s lovely.