I decided to switch things up in the Christmas stockings department this year. Well, just for my husband and me. I wasn’t crazy about the ones we bought a jillion years ago and they had a lot of forest green and maroon colors goin’ on – didn’t really vibe with the colors we had in the family room. Twelve years ago they did, but not anymore. I’m not exactly wild about my kids’ stockings either, but I asked them if they wanted to get some new ones and turns out, they’re kinda attached to their current ones. I get it.
I knew I wanted something simple. I was at Hobby Lobby and spotted some burlap ones on sale for 50% off. So I could get TWO for ten bucks! Sweet! But they needed something…
I grabbed some iron-on letters there (to personalize them), and a spool of ribbon for next to nothing at JoAnn Fabrics.
I totaled it all up and these two stockings, when all was said and done, set me back about $15. TOTAL.
It was so easy too. Here’s how I did it.
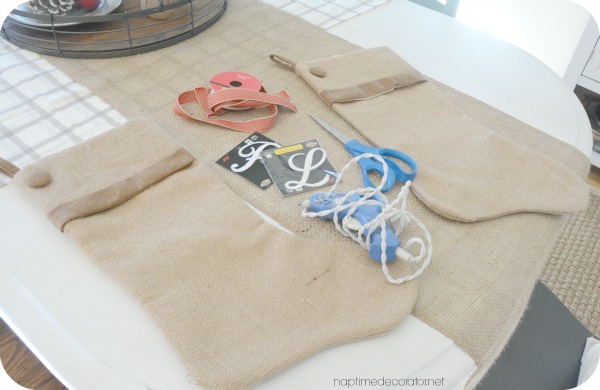
I collected my materials: the two stockings, hot glue gun, ribbon, scissors, and letters.
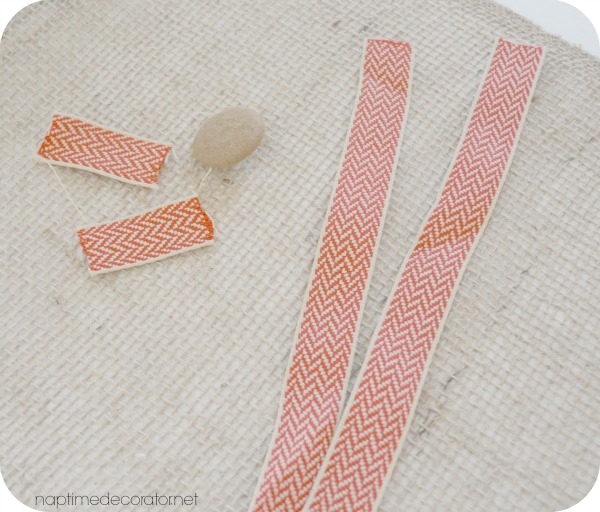
I wanted to cover the button too, so I figured it was easiest to just clip it off the stocking – it was only attached by a thread. Then, I’d just hot glue it back in place.
I cut two tiny strips for the button, and two strips to cover the darker brown strip across the stocking.
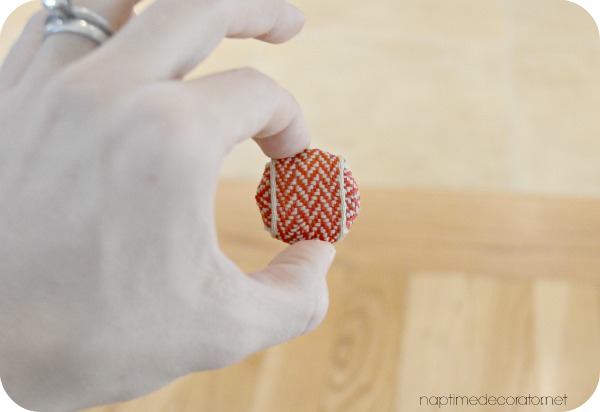
I glued one tiny strip on the button in one direction:
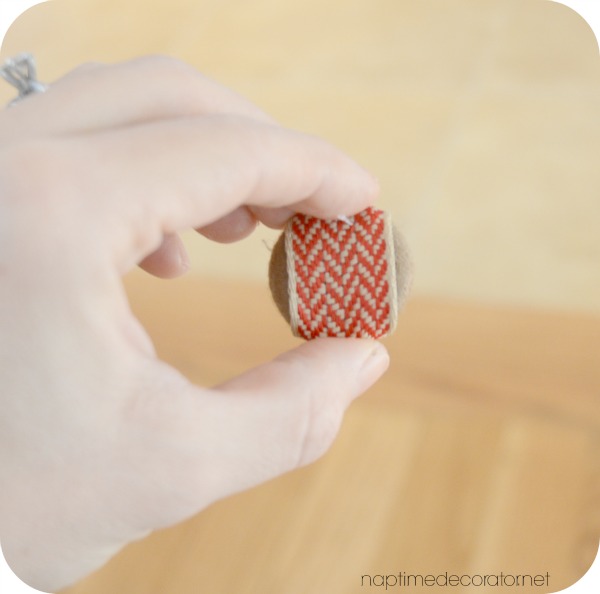
Then the other direction:
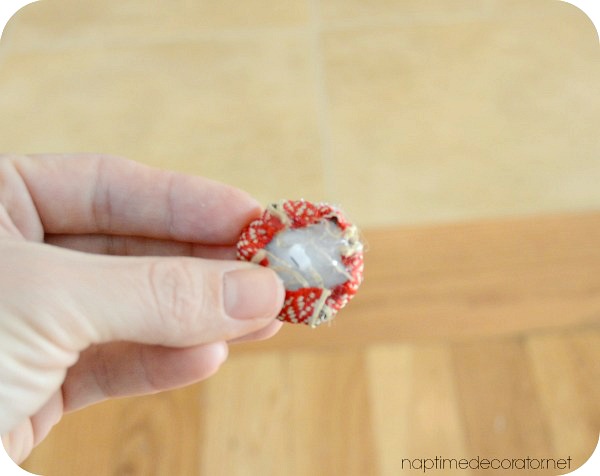
Now, the back ain’t pretty, but I’m cool with that. Who’s gonna see that?!
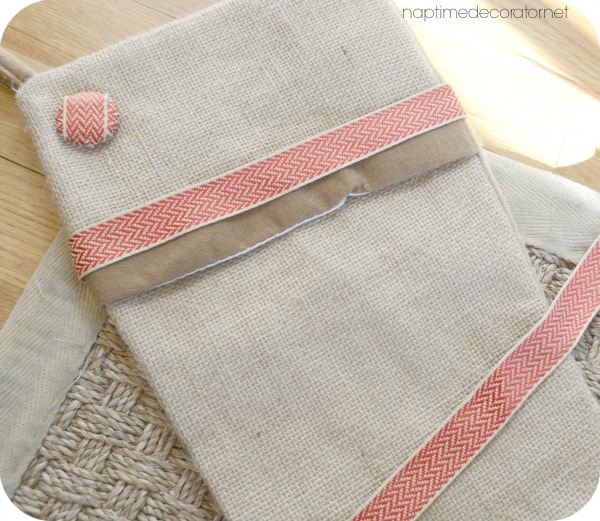
I dabbed some hot glue on there and stuck it back in place on the stocking:

Before I go any further can we just take a moment and acknowledge the fact that Liz got out her big girl camera for the during shots of this blog post?!!! No crappy phone pics?!!! WHAT IS HAPPENING IN THE UNIVERSE?!!!!
Ok, just had to get that off my chest.
Moving on…
Now, the strips only go a little over on the back. If this drives you crazy, you could make the strips of ribbon longer, to cover the whole thing. But it doesn’t bother me.
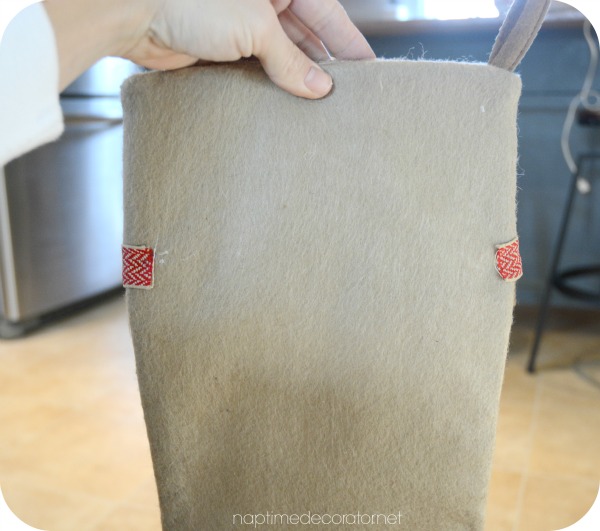
The only thing left to do was glue the second strip on. Had to do two to cover the brown. It was kinda wide.
Ok I lied. NOW the only thing left was to iron on the letter.
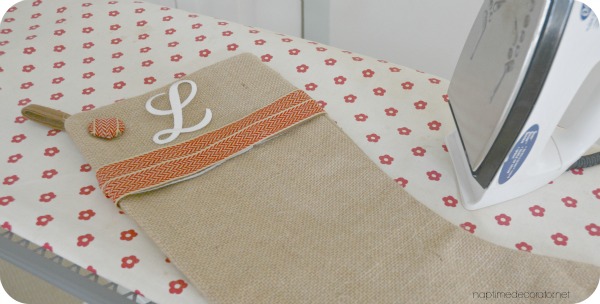
Seriously, that was as complicated as turning on the iron and pressing for 30 seconds or something. Read the directions, but I’m pretty sure that was it.
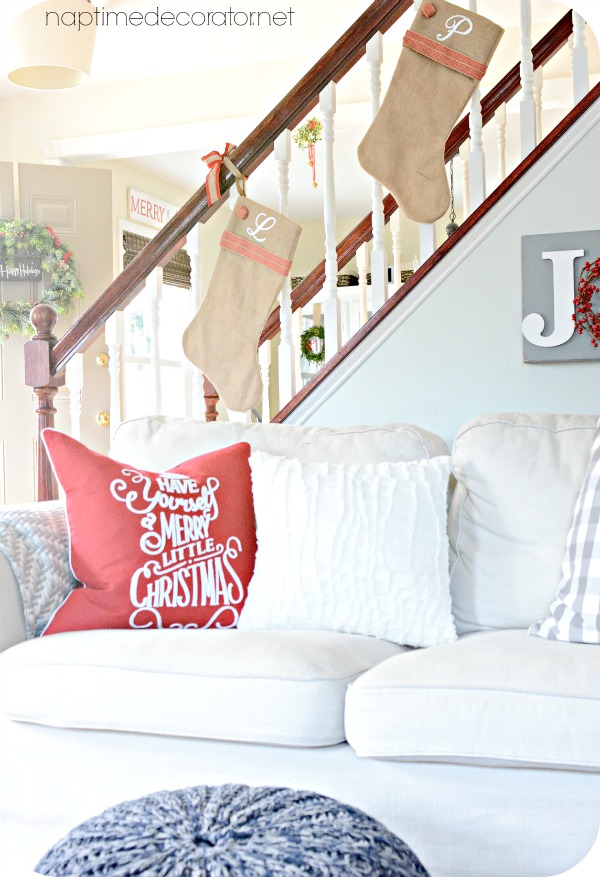
And voila!
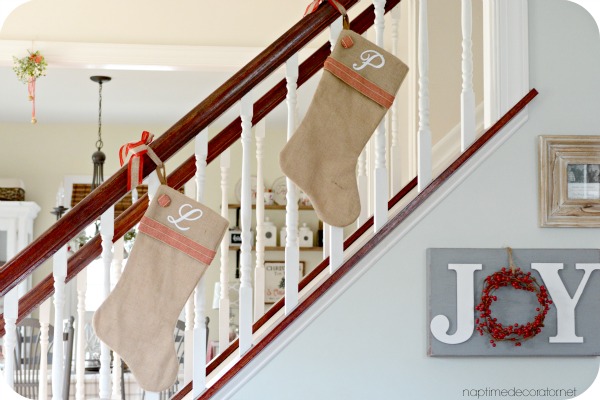
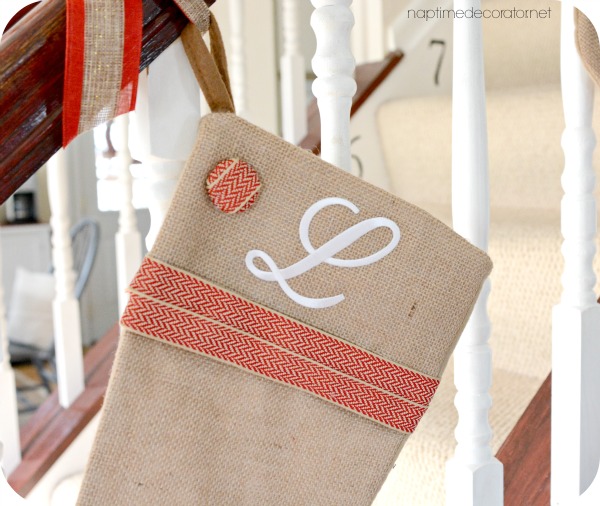
I just used some ribbon I already had to tie it around the banister. I’m working on a garland- I think it’s gonna look super cute once that’s up! I’ll keep you posted on that…
I was hoping the kids would love them so much that they’d want some to match, but they haven’t said anything yet. Oh well, Christmas is about the kids, right? One day their stockings won’t be here hanging on the fireplace and I’ll be sobbing in the corner. So for now, I’ll enjoy these lovely burlap ones just for Paul and me;)

 Hi there! I’m Liz, a former teacher-turned-stay-at-home mom to three kids, with a passion to create a warm and inviting home on a budget. This blog all started when I’d put the babies down for a nap, and squeeze in a project during those precious couple of hours! My hope is that you visit this page and feel inspired to do a little “naptime decorating” of your own. Thank you so much for stopping by!
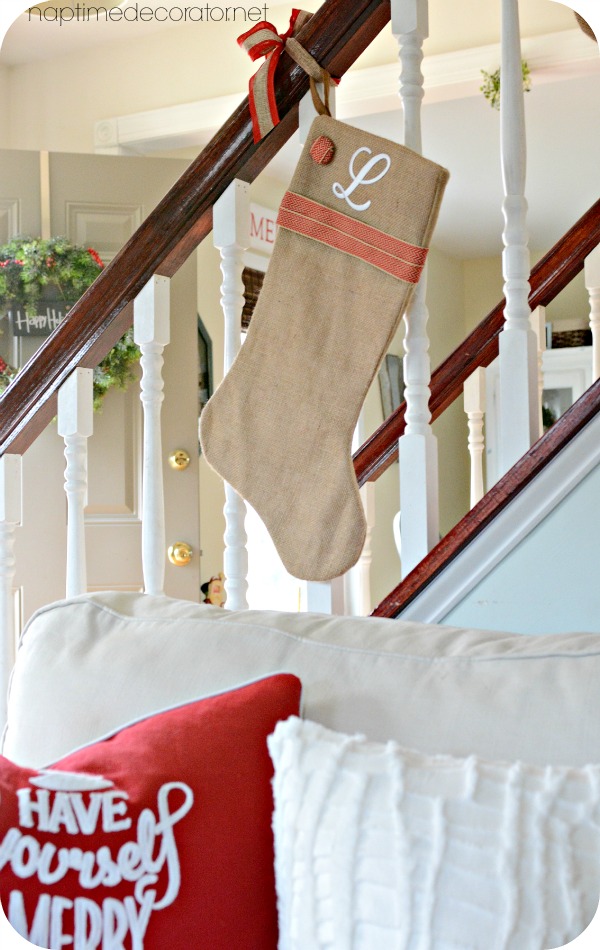
Super cute! We have such a mix of stockings (new for hubby & daughter and mine was hand knit by my mom 58 years ago!). I love your red “Have yourself a Merry Little Christmas” pillow – let me guess, Home Goods? Marshalls? Hobby Lobby? Love it!
Thank you, Lynn! Yep, Marshall’s;) You know me too well! Merry Christmas! XO
So pretty!!!!
Blessings…
Sherri