Thanks so much for your advice and words of wisdom on the To Share or Not to Share post. We went ahead and combined the girls into one room for a trial run. It’s going great and they’re loving it, so I’m pretty sure it’s a done deal! We have a LOT of work to do, decor-wise, and if I don’t finish this office makeover first, my husband may lose it. I’ve been promising him a super hip office for YEARS now, and we’re moving along…must stay on track, must stay on track!
Which is funny, considering this is a project for the girls’ room and NOT the office. Woops. Sorry babe, but in my defense, this is just a teensy tiny little craft project I did. Besides, I’m kinda at an office standstill till the weekend when he can help with the wall treatment. Yes, I said wall treatment. We’re gonna attempt some board and batten up in here. Ho boy. Wish us luck!
I had these large cans from some tomatoes I was about to toss in the recycling. Not the 14.5 oz guys, but the 28oz-ers.
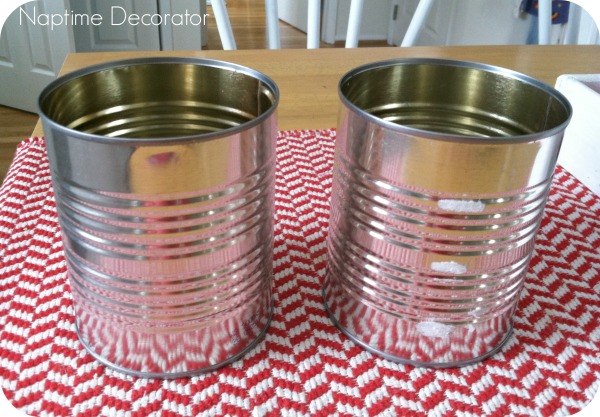
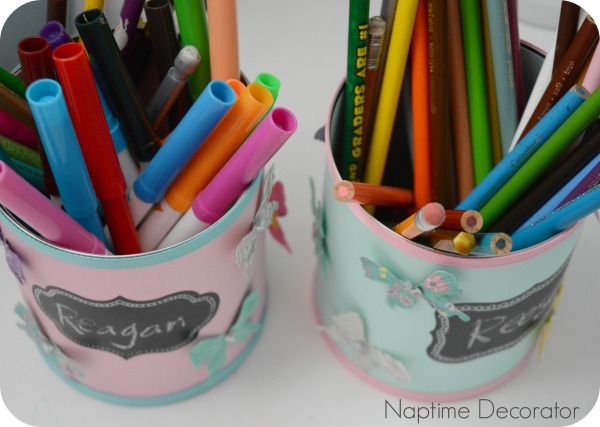
There is nothing – and I mean NOTHING – my girls like to do more than draw and write. They are forever sitting at their desk/kitchen island/anywhere-there’s-a-surface with a pencil in their hand. So I thought it’d be fun to turn these empty cans into something cute for their desk – a container for their endless drawing utensils.
I spotted these adorable butterflies and chalkboard labels the other day at Michaels – I know, cuteness overload, right?? So I grabbed a couple sheets of cardstock, some ribbon in the same colors, and headed home.
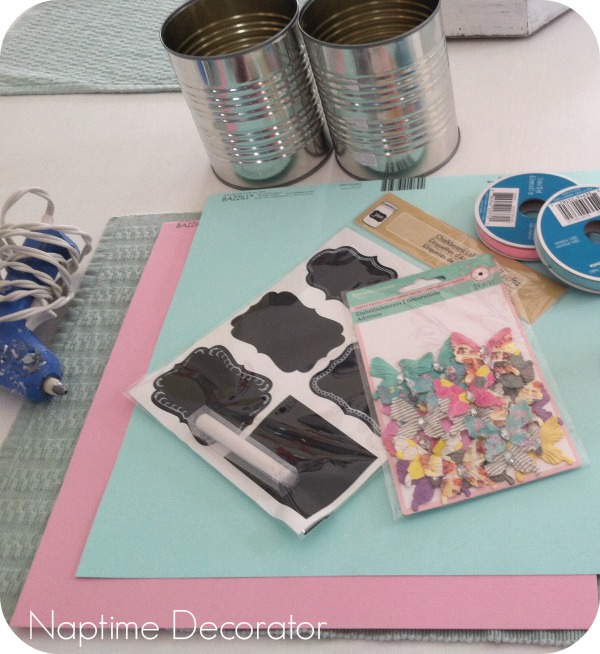
Even though I haven’t decided on comforters or anything for their room yet, I’m a huge fan of light aqua and pink for girls’ rooms, so I thought it was a safe bet to grab those colors for paper. I cut strips to fit each can, and just used tape to attach it. The back isn’t all that beautiful, so if you have double sided tape, my bet is that would be better, but it won’t keep me up at night…
Then I cut ribbon to size, and taped (you could use glue if you want) it around the top and bottom. I decided to just use tape since I was already doing it for the paper – I just made sure to tape it in the back right where the paper seam is. That way, all the ugliness is in one spot;). I used pink on the blue papered can, and blue on the pink papered can. I wish I had spray painted the inside though – I wasn’t a fan of the silver staring at me, so I cut a strip of the paper, rolled it up a little, and brushed some glue on the inside of the can. Stuck the rolled paper inside, released it, and pressed it against the glue. Problem solved!

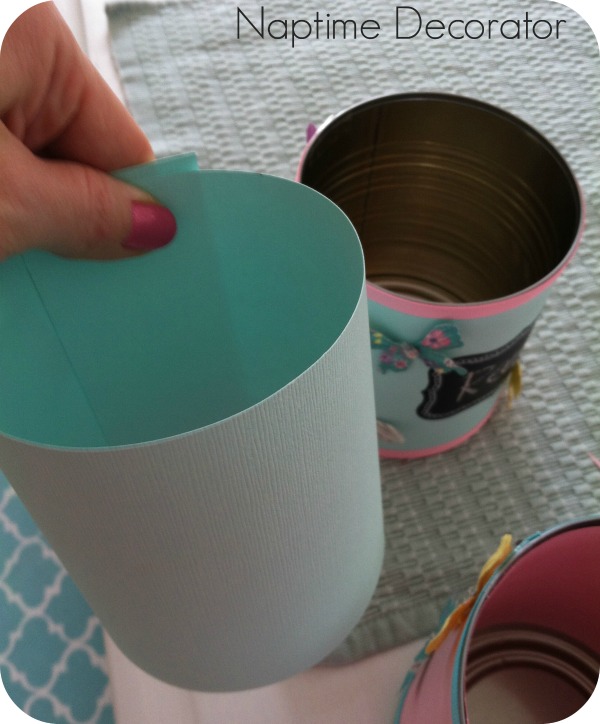
Sorry I didn’t take an ‘after’ pic. You can see a tiny bit in the bottom right of this above photo, that little bit of pink inside.
Then the fun part: I stuck one of those adorable chalkboard stickers on each one for their name.
Then used a tiny dab of hot glue to stick all those little butterflies on them.
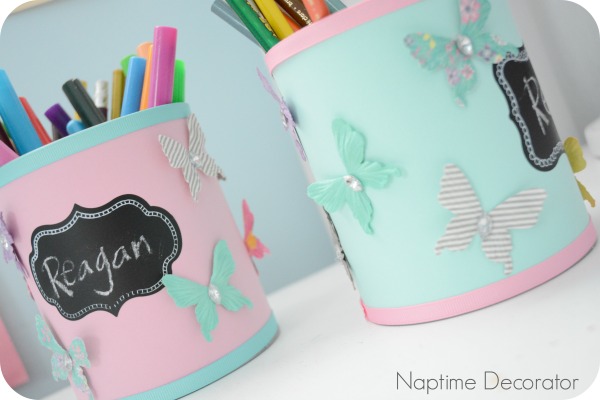
Stuck some pencils and markers in there, and they each have a little personalized container for their desk.

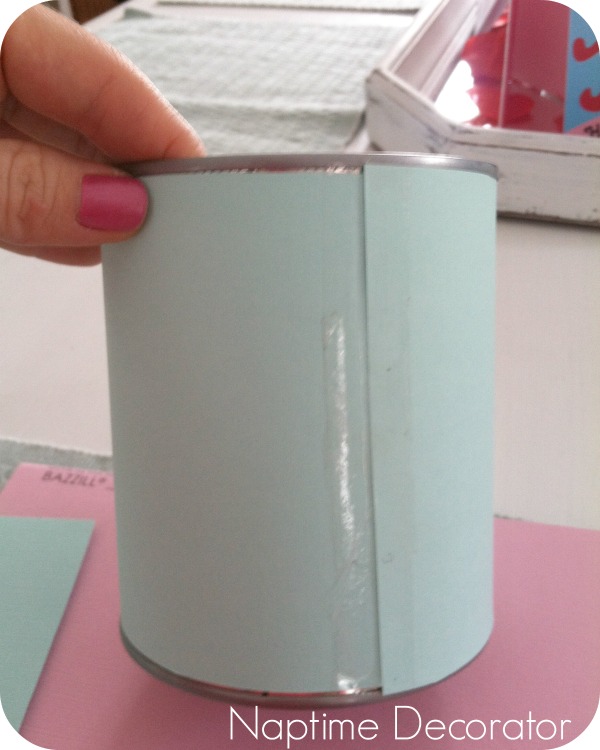
Here’s the seam side that’s all taped up –
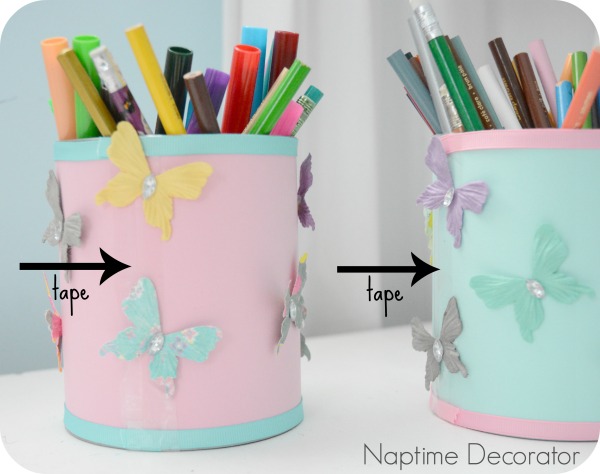
See, not so bad, right? We’ll just keep that side turned around at all times…;)
Can’t wait to show them when they get home. I know where they’ll be all night!

 Hi there! I’m Liz, a former teacher-turned-stay-at-home mom to three kids, with a passion to create a warm and inviting home on a budget. This blog all started when I’d put the babies down for a nap, and squeeze in a project during those precious couple of hours! My hope is that you visit this page and feel inspired to do a little “naptime decorating” of your own. Thank you so much for stopping by!
Hi Liz, I love this idea and may have to use it for our girls as one loves to draw all the time and would love this. The other likes to draw though not as much as her sister but she’d still love this. I’m not the craftiest of people but I think I could manage this one xo