If you’re sick and tired of hearing about my daughter’s room makeover, I will apologize in advance for this post.
It’s thisclose to being finished, then I’ll be posting new projects, promise.
Just taking care of little things now, as I wrap things up in there. Accessories, you know…the fun part:)
One thing on the list was to find a lamp for her blue dresser.
Dummy me though, I didn’t keep that in mind when I did her gallery wall. Well, I kinda had it in the back of my mind, but wasn’t overly concerned…thought I had more room than I actually did!
So the task wasn’t as easy as it could have been. I was on a size limit – couldn’t be tall, because then it would block her gallery wall. Couldn’t be super skinny either, because I wanted it to stay in scale with her dresser and not look like this itty bitt skinny lamp on a nice sized dresser. Make sense? Sometimes I type like I’m talking to you, and I don’t always make sense when I’m talking, sooooo…
Let’s get to the lamp, shall we?
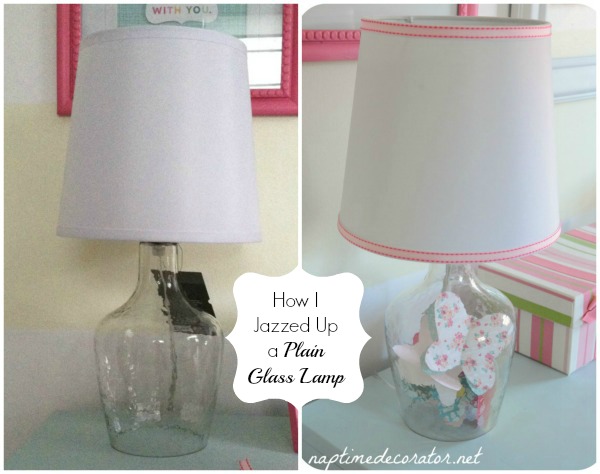
I spotted this clear glass lamp at Target the other day. (Of course I did. Because, really, when am I NOT at Target???)
It’s one of those guys that have an open base that you can fill with stuff. Hmmm…the size was pretty good. And I had picked up a white lamp shade at Walmart a while back thinking I needed it, but didn’t. It was $7 so I kept it, thinking it would come in handy one day.
That day has come;)
So here’s what I was working with…
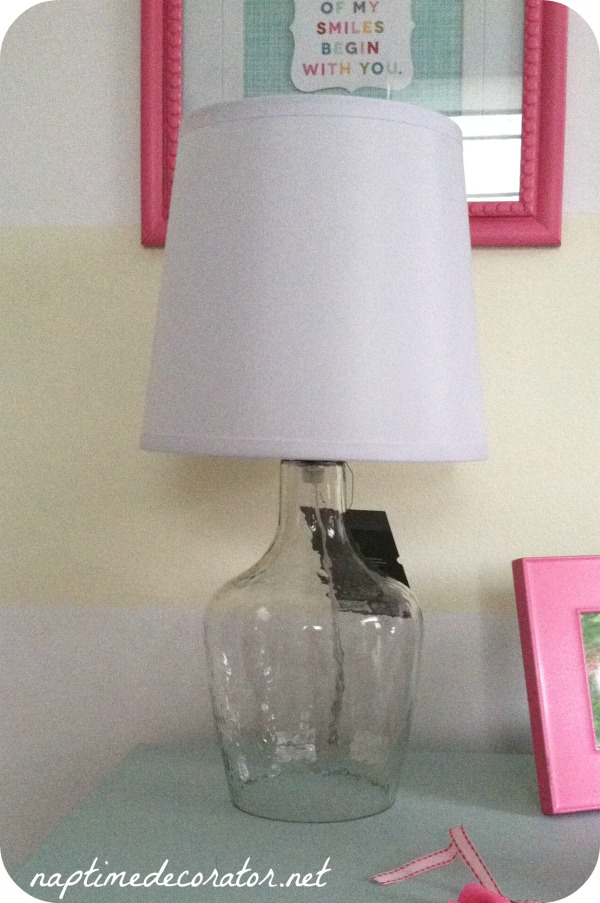
It really doesn’t block the picture that much – must have been a weird angle!
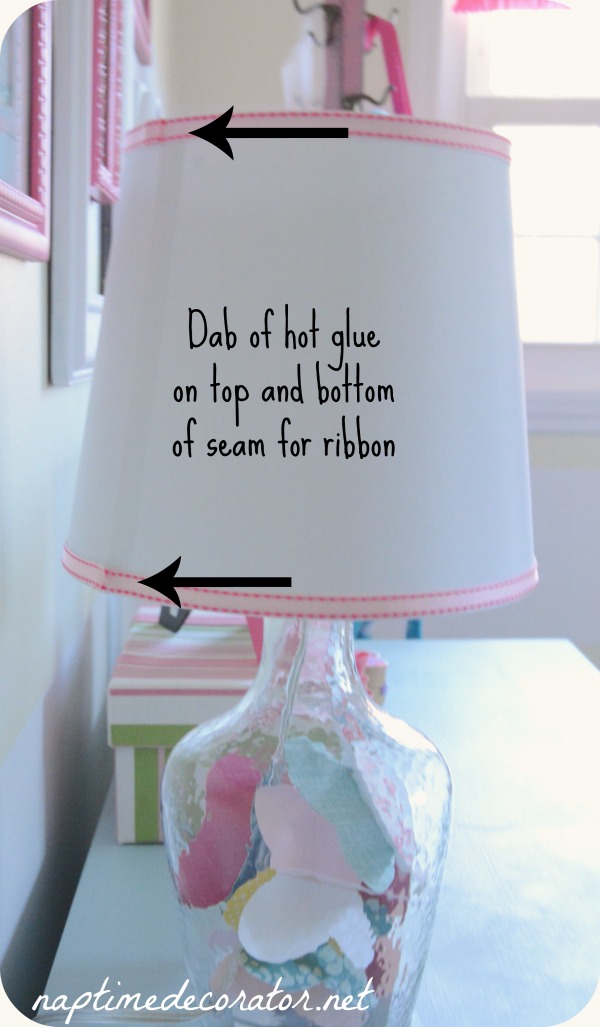
I had some thin pink ribbon…I had leftover paper from her Butterfly Canvas Art.
The wheels were a-spinnin’ people.
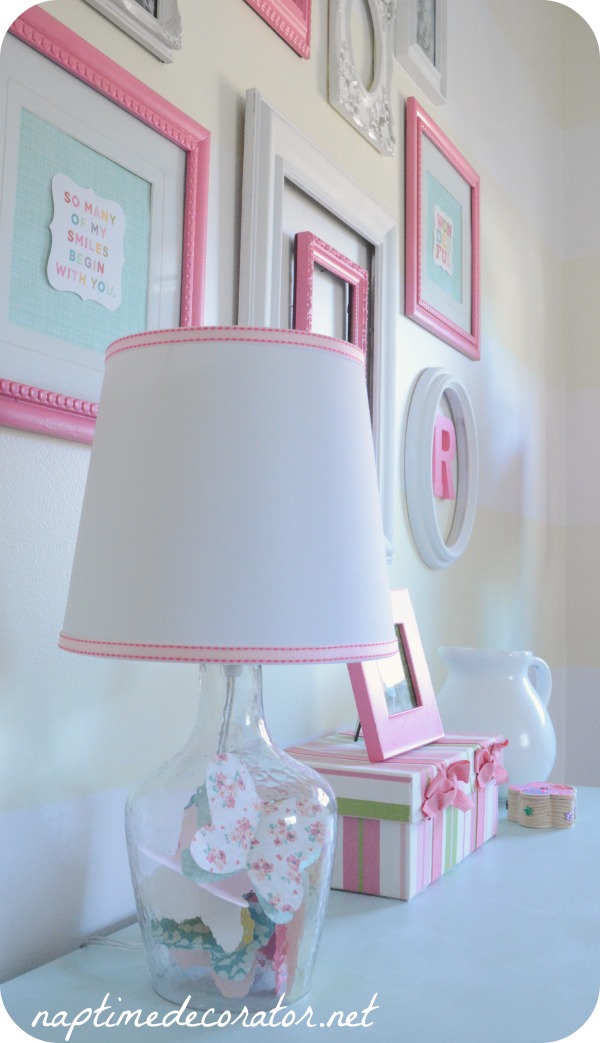
First, I cut strips of ribbon to size, and dabbed a piece of glue on the bottom (on the seam), and wrapped the piece around it, dabbing more glue on that same spot to secure it. Repeat on the top, and that was done.
I thought about stenciling a pattern on the shade but didn’t want the shade to be ‘too much.’ The gallery wall is pretty bright and bold, so just a little bit of ribbon was a nice amount of fun, I thought.
Then, I thought I’d make some 3D butterflies to stick in the glass base.
I cut some out, using the same technique as I did for the canvas, and then dabbed some hot glue along the middle of the butterfly.
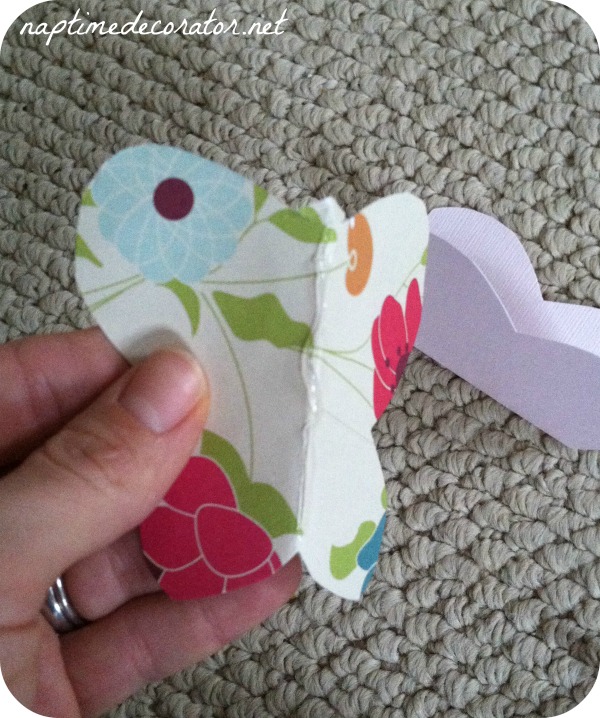
Then, I took another one, and attached the middle of that butterfly to the middle of the glued butterfly.
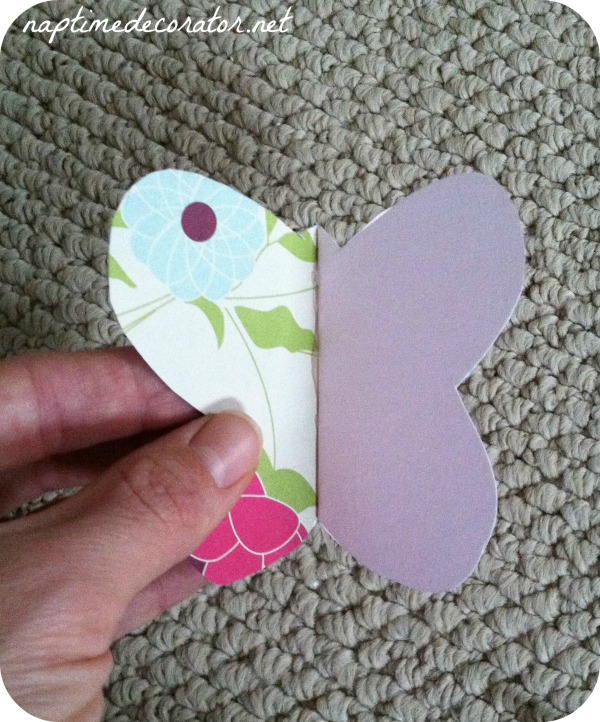
I wish I took a better picture of these guys when they were all done – not sure why I didn’t?! They were standing up on their own, lots of different colors and stuff…they looked pretty cool. Then I just stuck them in the base of the lamp. Done!
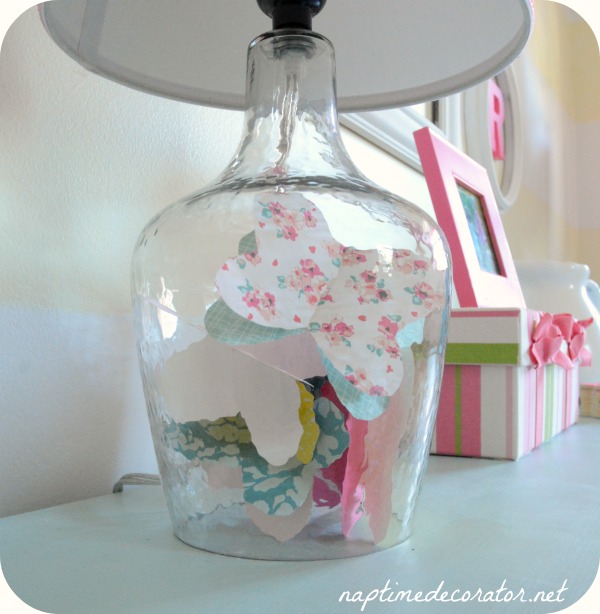
I thought by gluing two together, they’d stand on their own more than just cutting out paper butterflies and sticking them in there. I figured they’d settle over time to just a stack of butterflies.
I think it’s just enough color and fun against the wall.

And I could NOT for the life of me, find a better sized lamp for this dresser, so I was thrilled this guy ended up working out for me!
Next time you see a perfect size something or other for your house that you THINK might work, but just needs a little somethin’, I hope this inspires you to get creative and give it your own touch!
Those open glass lamps really are so much fun. Possibilities are ENDLESS!

 Hi there! I’m Liz, a former teacher-turned-stay-at-home mom to three kids, with a passion to create a warm and inviting home on a budget. This blog all started when I’d put the babies down for a nap, and squeeze in a project during those precious couple of hours! My hope is that you visit this page and feel inspired to do a little “naptime decorating” of your own. Thank you so much for stopping by!
I never get sick of your posts. I always love your projects. 🙂 The room is turning out so beautiful! Can’t wait to deer the finished product!
*SEE (dumb phone…lol)
Lol! I kinda figured that was an autocorrect;) Gotta love phones! Thanks so much for your comment!