Some of you might remember when I shared this project the first time around, last Fall.
It got lost when my OLD site was hacked, and I’ve gotten quite a bit of questions about it, so thought I’d share it again.
Basically:
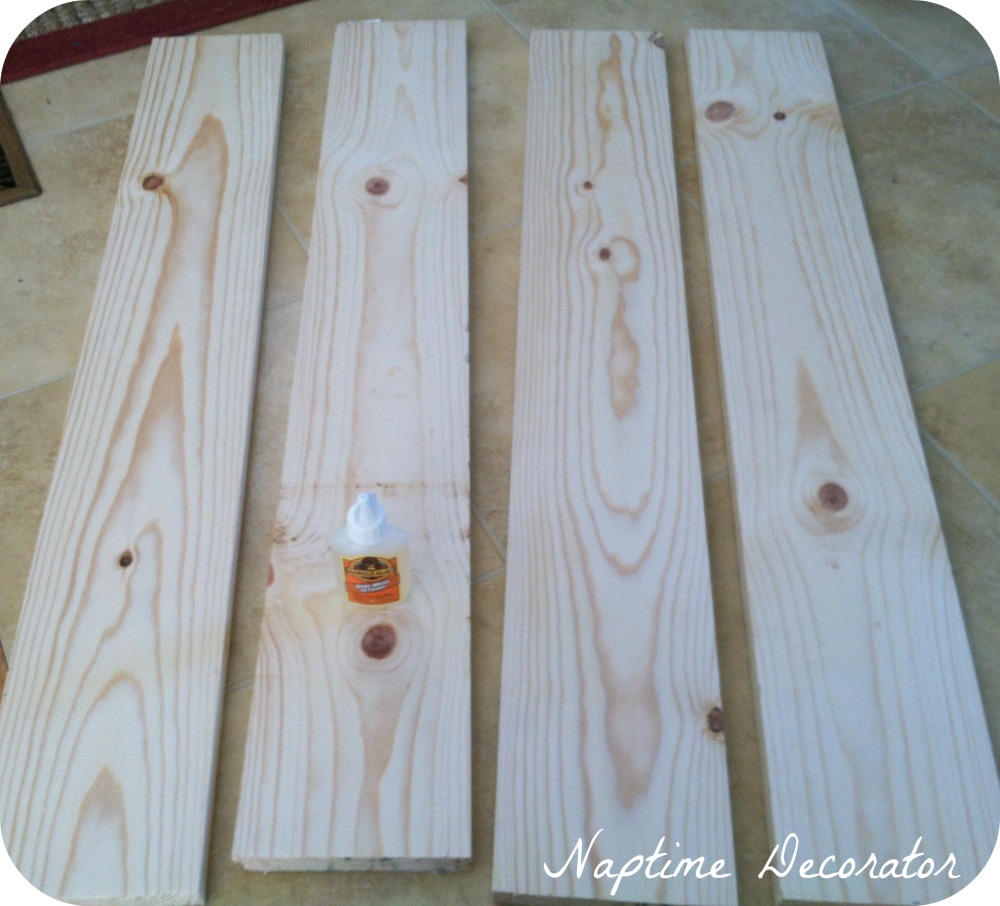
1. I took a couple pieces of wood and cut them to the size I wanted.
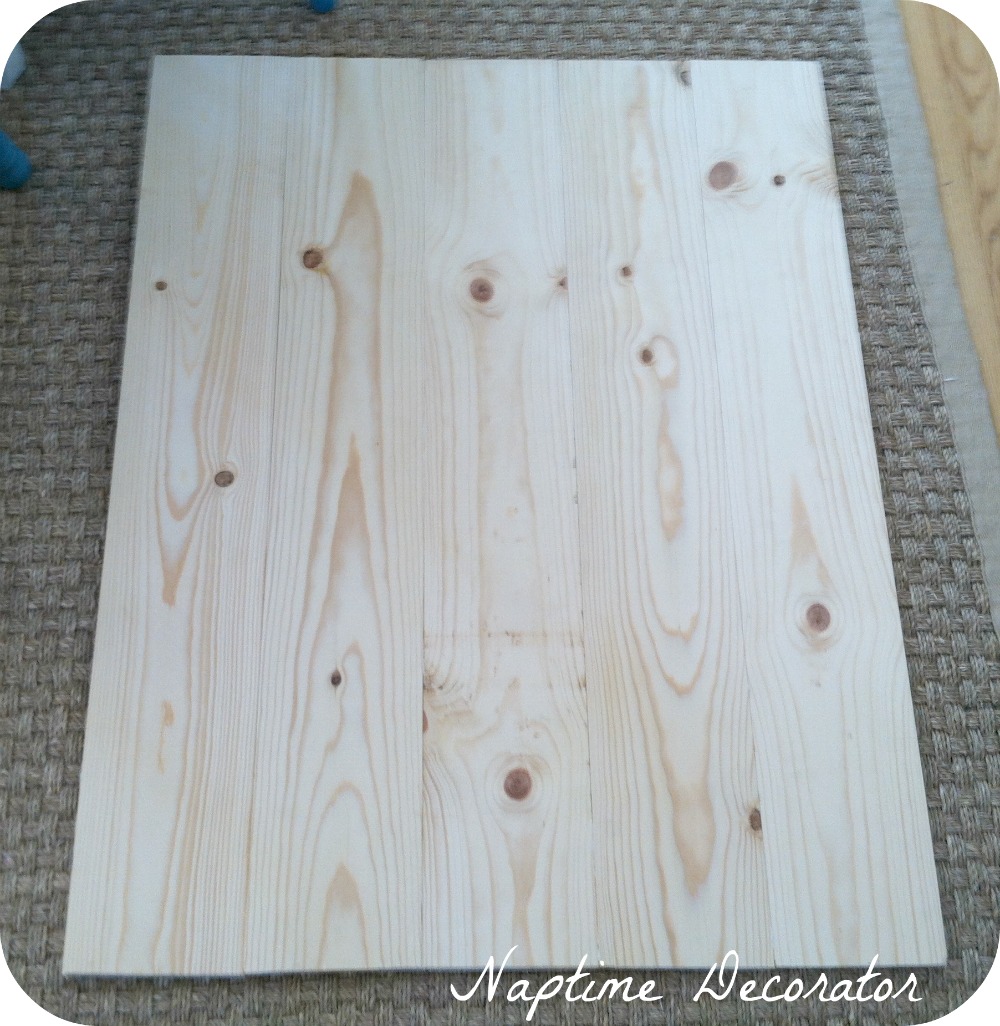
2. Gorilla glued the sides together and let it dry.
3. Painted them with a thin coat of white paint and let that dry.
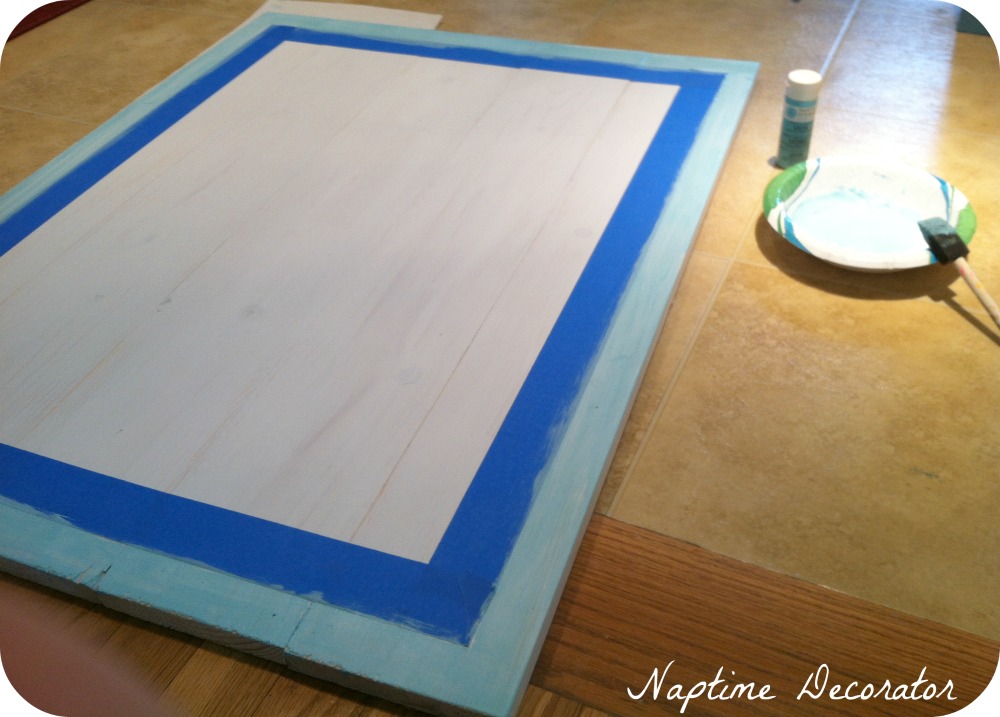
4. Gave it a blue border (using craft paint in Martha Stewart ‘Pool’) by framing it out with painter’s tape.
5. After that dried, I used a piece of sandpaper to rough it up a bit – make it look a little worn and distressed.
Now I lean it against a wall in my dining room, and it’s the perfect spot to change up my seasonal decor.
It’s been so much fun to decorate every season, holiday – whenever the mood strikes! (Which is pretty much ALL. THE. TIME.)
Here’s what I’ve done with it since last Fall when I made it…
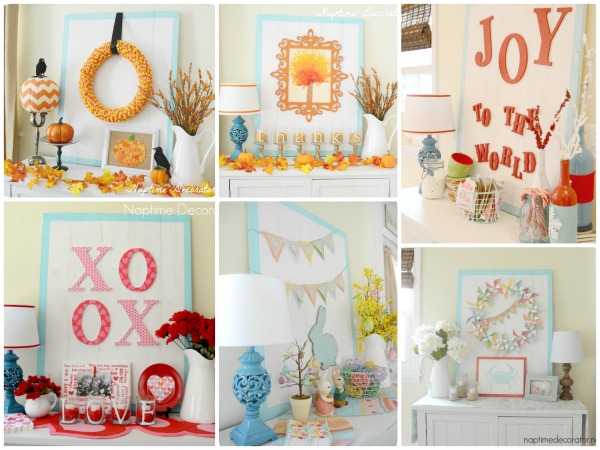
As you can tell, I switch up the lamps, sometimes add some ribbon to the shade, sometimes do away with it completely…nothing stays the same for too long in this house! 😉
So…inquiring minds want to know:
Which one is YOUR favorite look?

 Hi there! I’m Liz, a former teacher-turned-stay-at-home mom to three kids, with a passion to create a warm and inviting home on a budget. This blog all started when I’d put the babies down for a nap, and squeeze in a project during those precious couple of hours! My hope is that you visit this page and feel inspired to do a little “naptime decorating” of your own. Thank you so much for stopping by!
I love them all but my favs are the Easter/spring and the summer one! Great job!
Thanks, Rondell!
Toss up between the Valentine’s and Hallowe’en! Great idea!
Thank you Tracey!
What was the thickness of the boards?
An inch.
definitely summer! love it!
I think that’s mine too;) Thank you!
Love them all! How do you get the decorations to stay on the board?
painter’s tape! They’re all so lightweight it works like a charm:)
Thank you!
I love the easter one. What is the size of the wood pieces? I would love to try this thank you