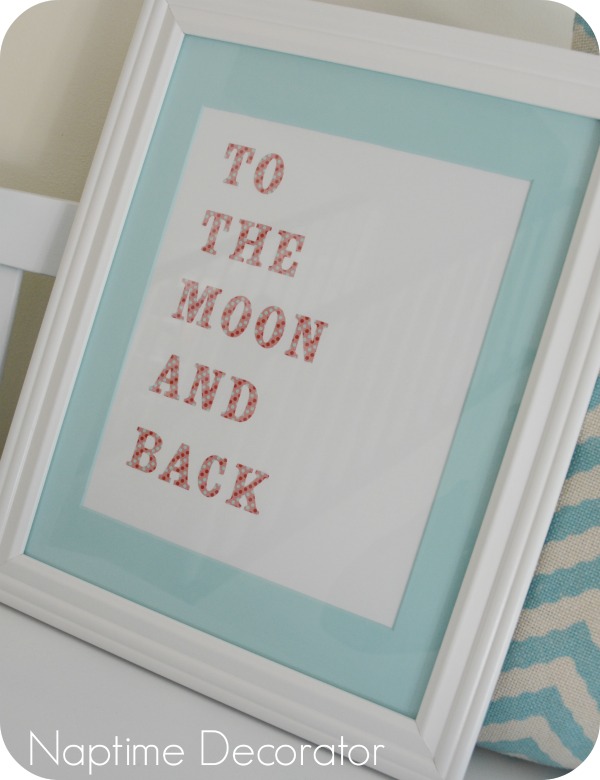
Ok folks. If any of you out there think you aren’t crafty, I’m about to prove you wrong. If you can peel stickers, you can make this adorable artwork that would be perfect for anyone, any room, any occasion…for realz. You’ll be a rockstar when people hear you MADE this, and you can just sit back and bask in your craftiness.
Here is all you’ll need to pull off this easy peasy craft:
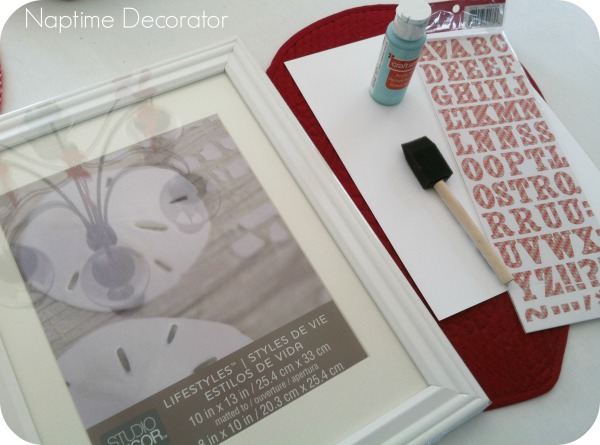
– A frame (I picked up this white one from Michaels that includes a mat – it’s 10×13 and uses an 8×10 photo (or in this case, paper). They were buy one get one free. Holla!
– white cardstock/scrapbook paper
– stickers (I chose these cute patterned ones from the Valentine’s section at Michaels, but you can choose whatever ones you want)
– craft paint (to paint the mat)
– a foam brush (to paint the mat)
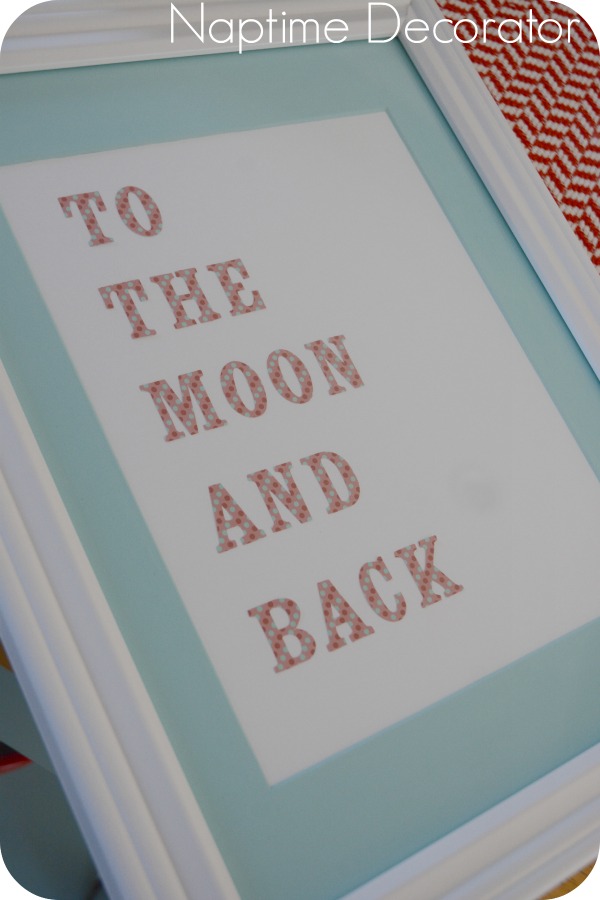
Before I bought the stickers, I had in mind what I wanted to write on the frame. I chose “To the Moon and Back” and thought I’d put it in my daughter’s room, who has the pink and blue thing going on. A quote that’s not too short and not too long is perfect. I double checked the package to make sure I’d have enough stickers for this quote. You know, how packages might have a bunch of As and Es, but maybe only one or two Qs and Xs? That’s probably the only way you could mess this project up.;)
I positioned the paper underneath the mat, and cut out the stickers and placed them on the paper BEFORE sticking them on there. I wanted to know how much to space them out. I didn’t want to stick the letters on there and realize I had a ton of space at the bottom, you know?
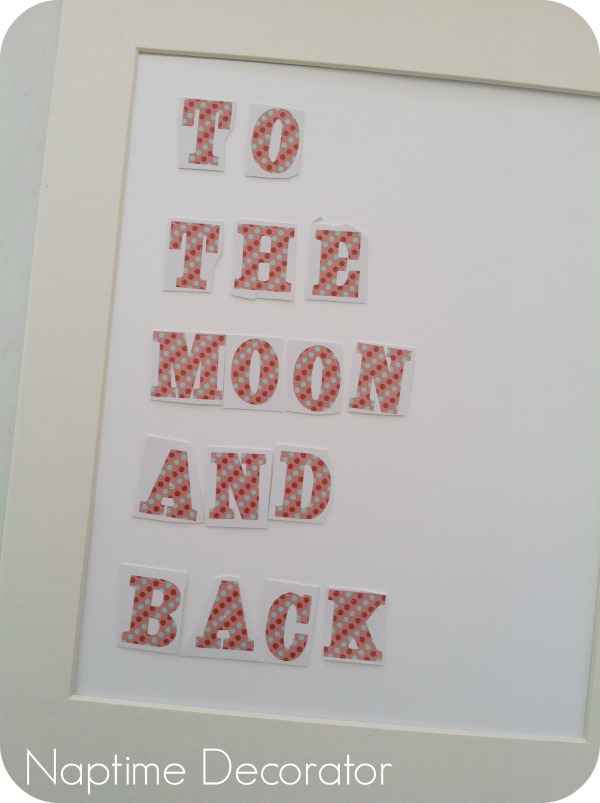
I began unpeeling each letter. Once that was complete, I moved onto the mat. I had craft paint (Robin’s Egg Blue) in my stash, and it was the perfect color for this project. I used my foam brush and gave it a couple coats.
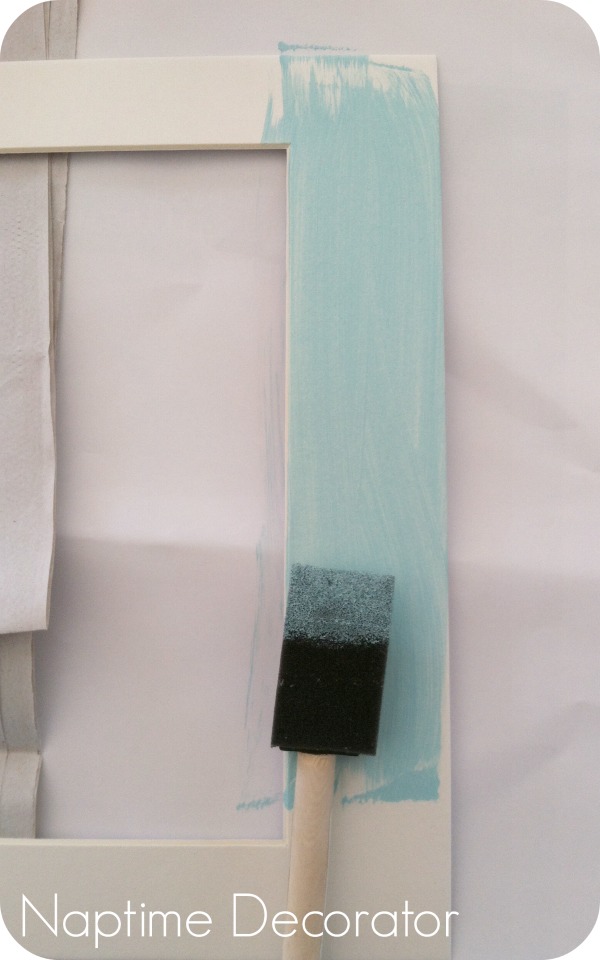
After a couple coats, it will still look streaky until it dries. I kept thinking I’d have to do another coat, but wait until it dries and see. And when it’s wet, the mat will bend, but that fixes itself too once it’s dry and done. It’ll still look a little curved, but once it’s in the frame, you’re all good. Trust me. I showed my husband this project when it was done and he couldn’t BELIEVE that mat was once white. It looks totally solid blue.
After the mat’s completely dry, I placed the paper under it, and taped it to the mat. Stuck it inside the glass and framed it all up!
I mean really. This consists of sticking stickers on paper, and painting a mat. And how cute, right?!
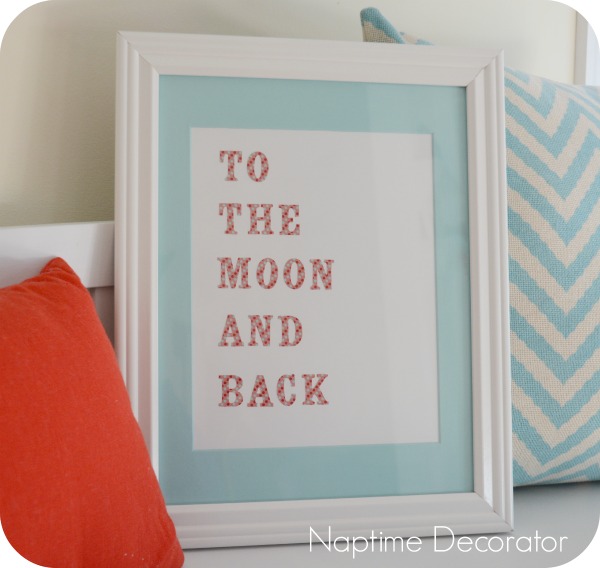
It’s gonna look so cute in my girl’s room!
Those of you who’ve emailed me asking what a good beginner craft would be for a Girls Craft Night, here you go! Let me know how cute they turn out:)

 Hi there! I’m Liz, a former teacher-turned-stay-at-home mom to three kids, with a passion to create a warm and inviting home on a budget. This blog all started when I’d put the babies down for a nap, and squeeze in a project during those precious couple of hours! My hope is that you visit this page and feel inspired to do a little “naptime decorating” of your own. Thank you so much for stopping by!
So simple and lovely, I’m going to have to try this! Thank you! x