I bet you never thought you’d see the day.
You’ve heard me talk about redoing our office for probably a good year now.
But you see…
Life is hectic with three small kids. And this was no “naptime” project. I needed the hubs for this bad boy because there is a lot of molding and sawing and nailing and math…all areas I’m not an expert. In other words, had this been a typical paint job, this would’ve been knocked out months ago. But the hubs is a busy man. We finally decided this was not going to happen unless he took a day home from work, and got. it. done.
Wellll, we didn’t exactly get it done, per se, but for two people who have never attempted board and batten before, we did pretty darn well for one day. Hoping to finish up the molding tonight or tomorrow night, then comes the caulking. And the caulking. And the caulking. Oh, and then priming. And then painting.
Oh my.
But can I just tell you – even in this “during” state, I can SEE IT. And it’s gonna rock your socks off. I’m so excited, I feel the need to share this during stage with you. I was going to wait until it’s completed, but I just cannot.
We know patience is not my strong suit.
So let’s take a look at the office before all this chaos began…
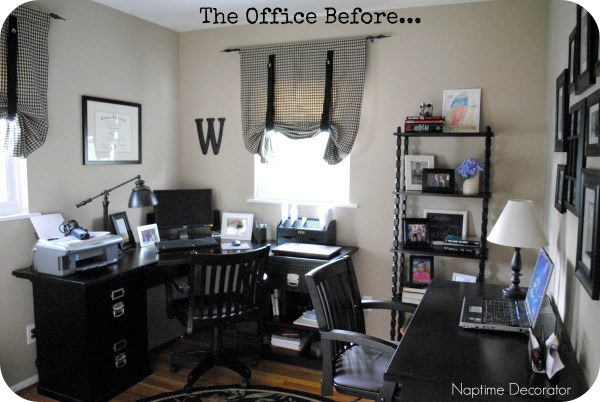
We sold some of that furniture, kept some to paint…but that’s a whole other blog post…
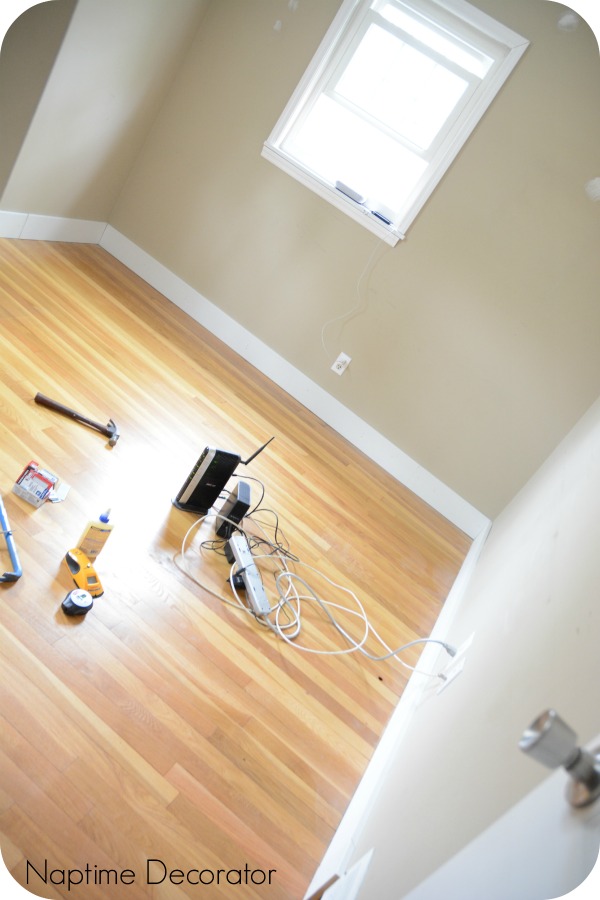
And yesterday morning, as soon as the kids got off to school, Paul got to work with a crowbar removing our skinny little 1960s baseboards…

Then he nailed in the new baseboards…
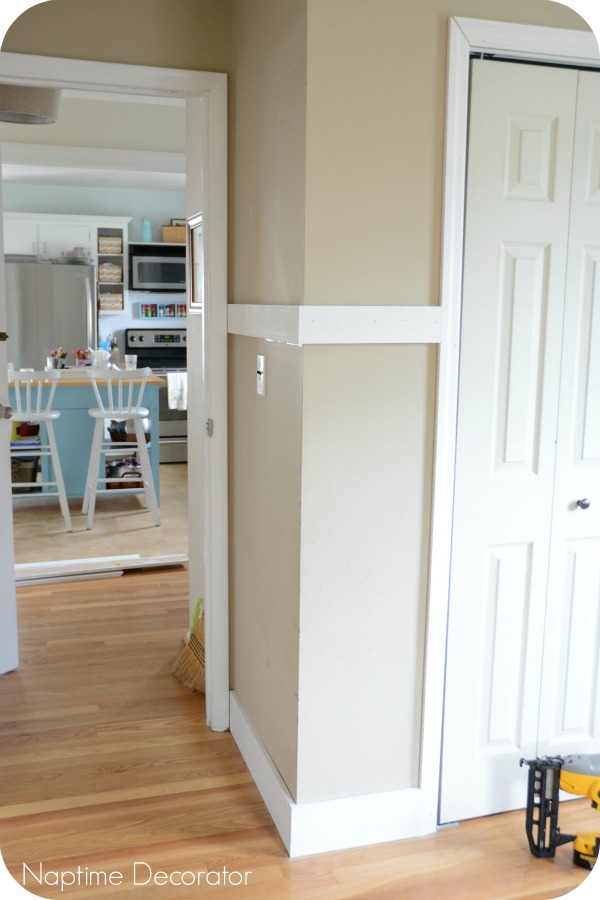
Then we decided how high up the wall we’d want the board and batten. After google imaging Board and Batten, I realized there really is no wrong height. I chose about 2/3 up, and Paul nailed in the top pieces, starting with this corner…
Then he cut the vertical pieces, and this is where we had to call it a day. It was late and we figured we’d made a significant dent in the whole Board and Batten Experiment.
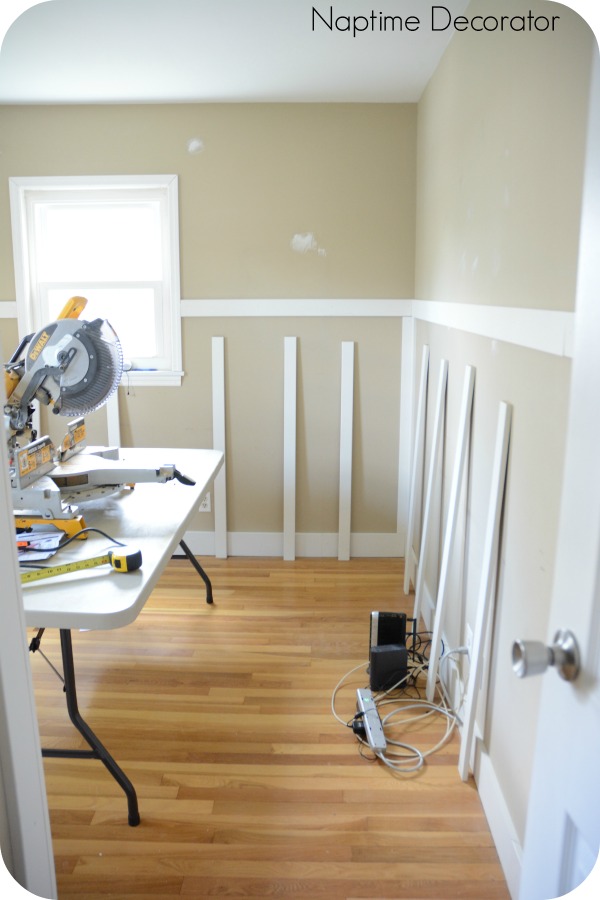
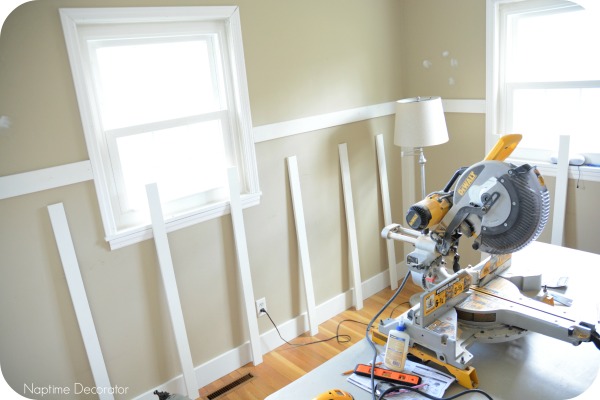
We just have to measure out the distance between them and nail them up. Then all the fun caulking and painting begins!
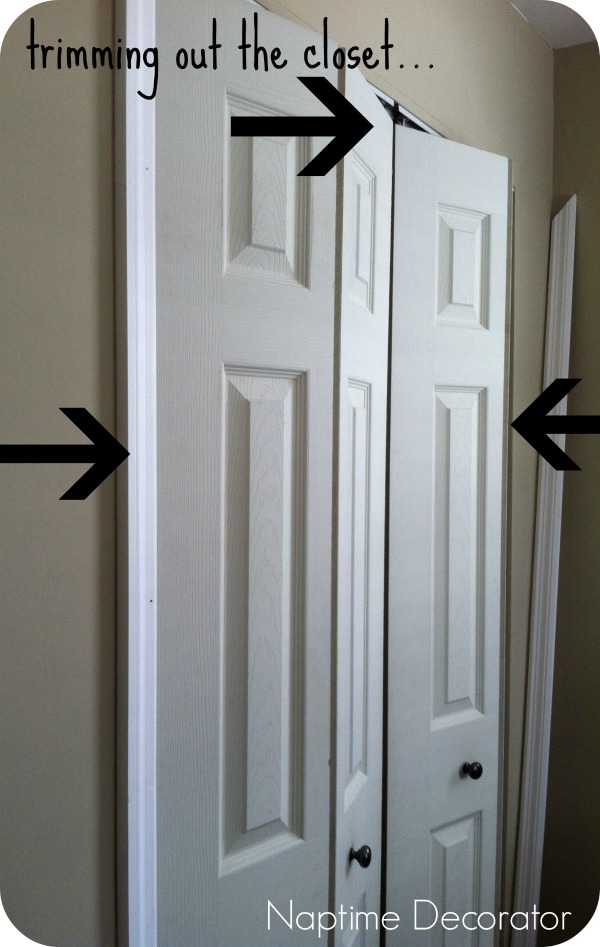
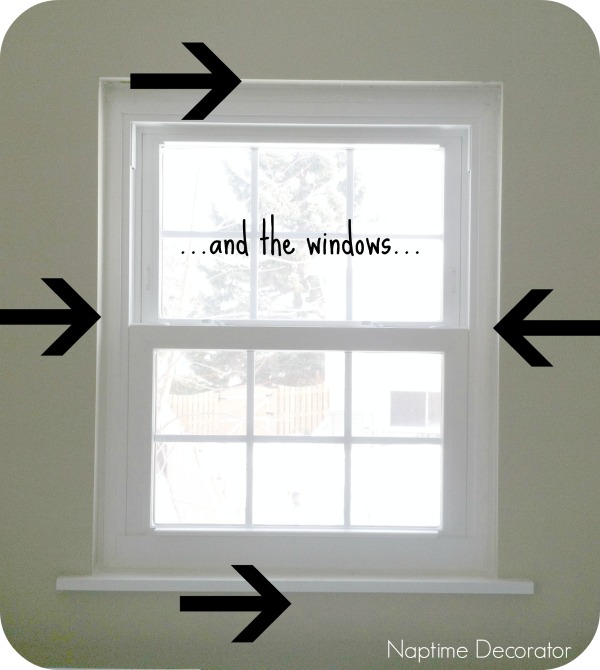
Oh! Almost forgot to tell you another area we worked on. The windows and closets were way boring and had ZERO character, so Paul added some trim to them…
Here’s how they look now…
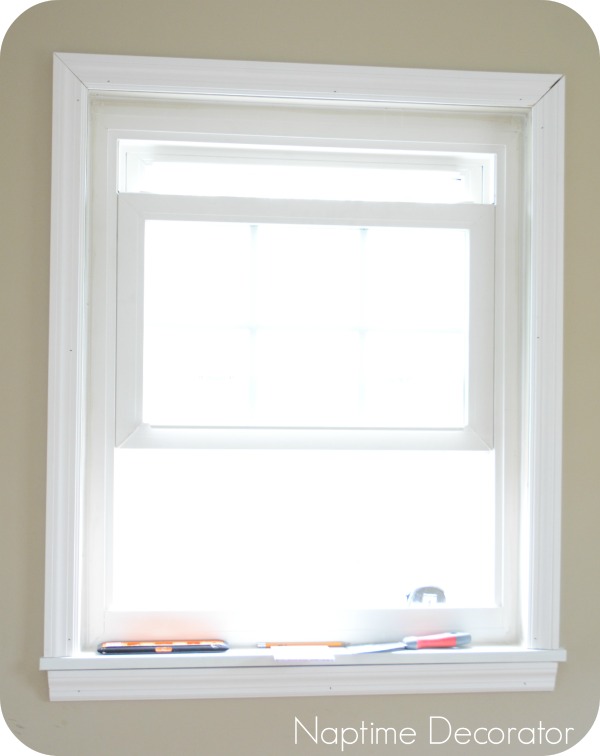
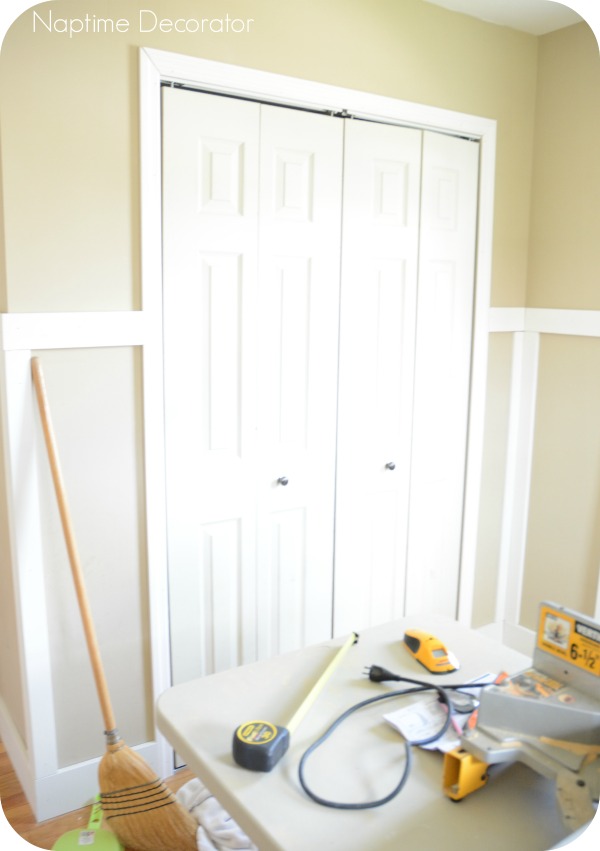
Not perfect yet, but the caulking will hide any and all imperfections. That stuff is AMAZING.
So that’s the progress in the office as of late.
Meanwhile, in the dining room…
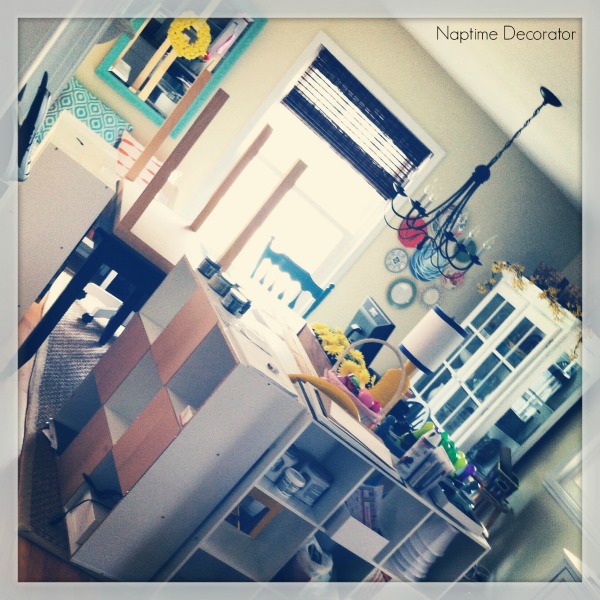
I hyperventilate a little bit every time I glance in that room. If that’s not motivation to get this office done, nothing is!
Stay tuned…:)

 Hi there! I’m Liz, a former teacher-turned-stay-at-home mom to three kids, with a passion to create a warm and inviting home on a budget. This blog all started when I’d put the babies down for a nap, and squeeze in a project during those precious couple of hours! My hope is that you visit this page and feel inspired to do a little “naptime decorating” of your own. Thank you so much for stopping by!
Looking good Liz! Can’t wait to see it finished:) Oh! By the way- made those Easter buttercream eggs!!! Soooooo good!
Thanks, Pam! And that’s awesome about the eggs! So glad you liked them:)
Looks awesome! We are in the middle of the same thing…kind of. We put in beefy baseboards, trimmed windows, and new doors through the house…what a job! Board and batten is next up in the dining room…so I can’t wait to see yours all done!
I seriously understand the constant mess during the projects – AGH!
I’ve missed you posting these last several days. That office project is so exciting! I can’t wait to see the end result. (You, too, right? 😉
Hello, I’m so glad I found your blog!!! I’ve been wanting to do board & batten for a while now, but I’ve just been stumped with what size wood to use & how to get around all the corners in our living room. I love the look of yours & was wondering what size the vertical & horizontal boards are & did you use the same size on the corners as well?
Thank you! We used 3 different sizes: 5.5 x 3/4 for the baseboard, 4 in x 3/4 for the top, and 2.5 x 3/4 for the verticals. We used the same for the corners, and just butted them together. Good luck!
What type of wood did you use for the board and batten?