Long time, no post, I know. It was just SUCH a beautiful weekend here, and I decided to unplug a bit. It was delightful. And now I’m back, refreshed, and ready to share a table makeover I did last week. My parents got rid of this little accent table a while ago, and naturally I grabbed it;). I finally got around to doing something with it and found the perfect spot for it in our family room.
Some very observant readers noticed in my Layering Rugs post that I had pulled one of our nightstands downstairs and stuck it between our grey and white chevron chairs. (You all are GOOD!)
I had our stacked suitcase table in that spot before, and since nothing stays in the same spot more than a week in this house (ok, slight exaggeration), I moved some tables around, and thought the white/wood combo would look really good in the family room. I was right, and I loved it, but I loved it in our bedroom more. So I put it back, and went for the same look with this little accent table from my parents.
Best part? I had everything I needed (spray paint, sandpaper, stain, wax), so this table cost me absolutely NOTHING. How sweet is that?!
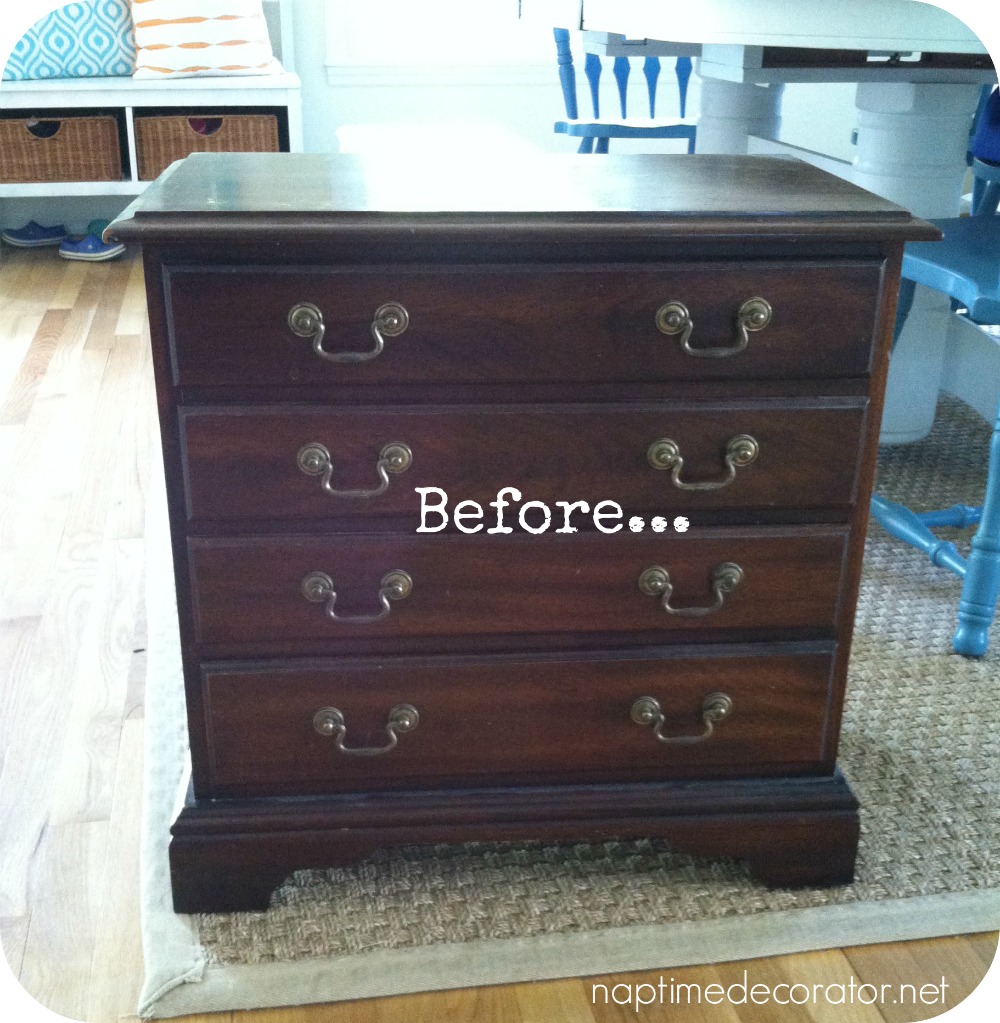
Here’s what it looked like before…
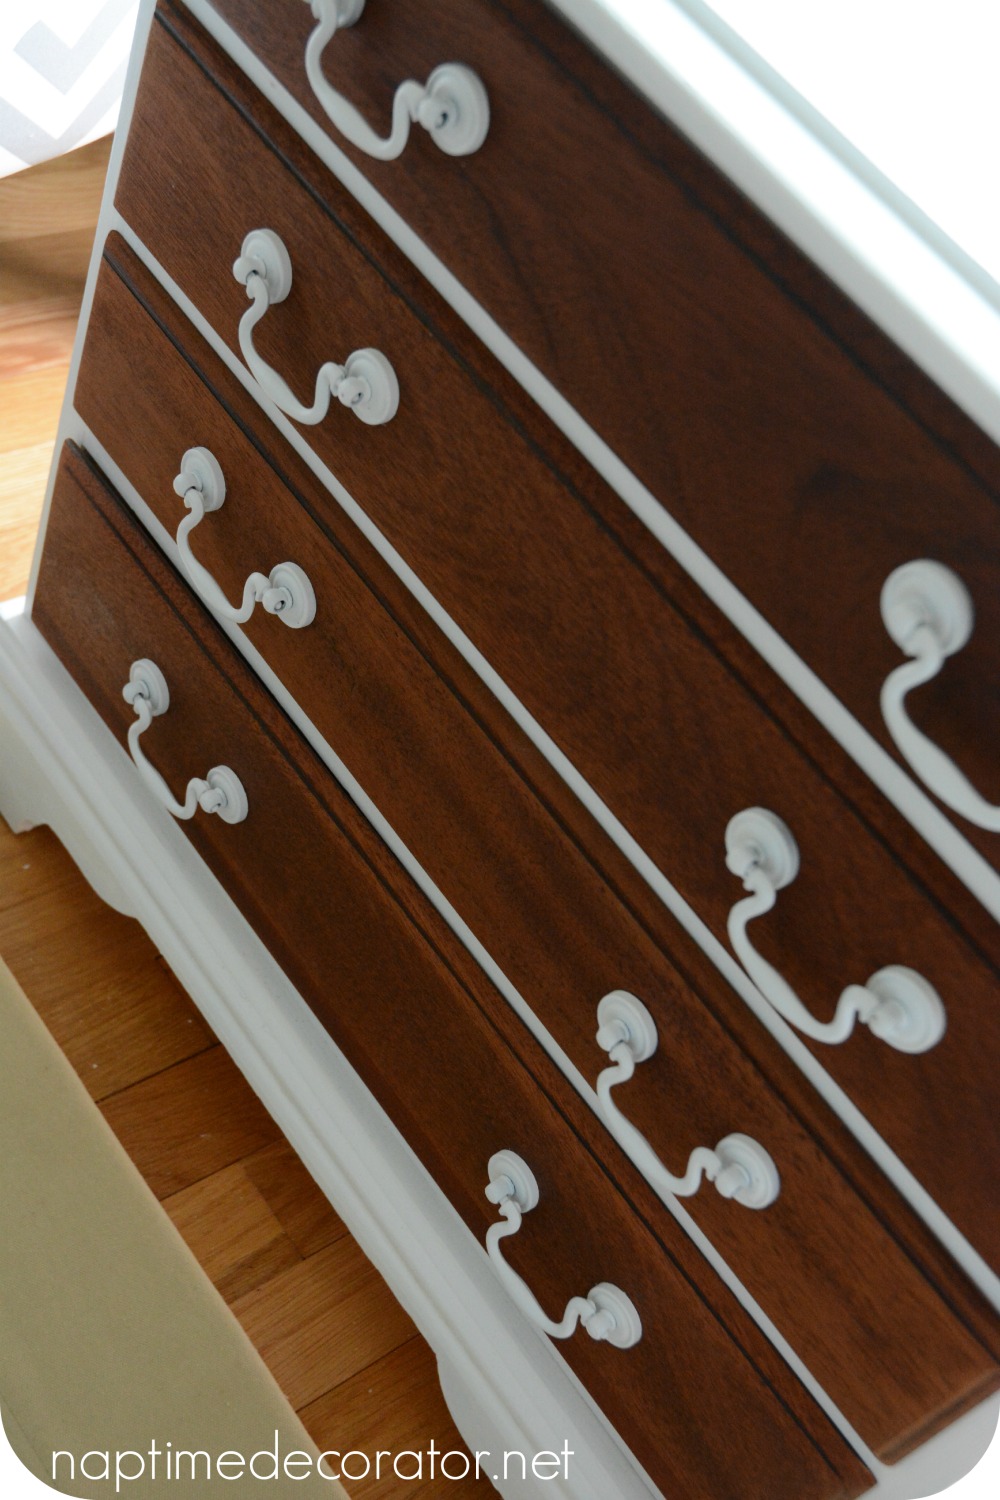
And now…
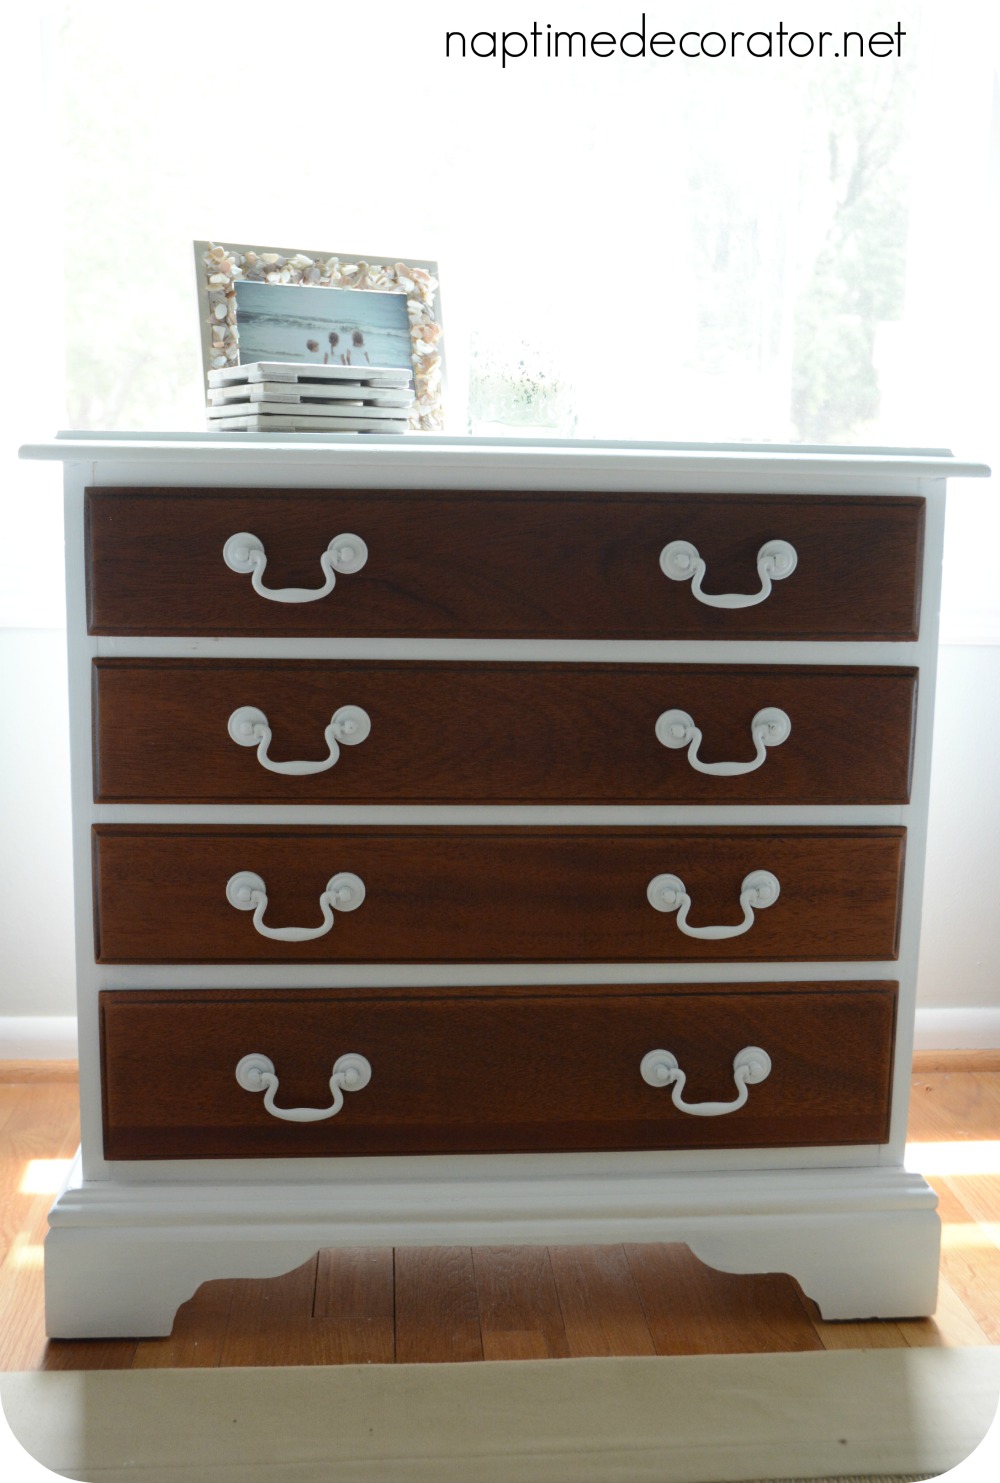
Please ignore the fact that there is nothing decorative and lovely on the top of the table at the moment. I was going to wait until that was all prettified before sharing this table, but who knows when that will be!? I mean, THE OFFICE STILL HASN’T BEEN REVEALED!! I’ve been a bad little blogger, my apologies. That will be one of these days soon, I promise.
All I did for this table was:
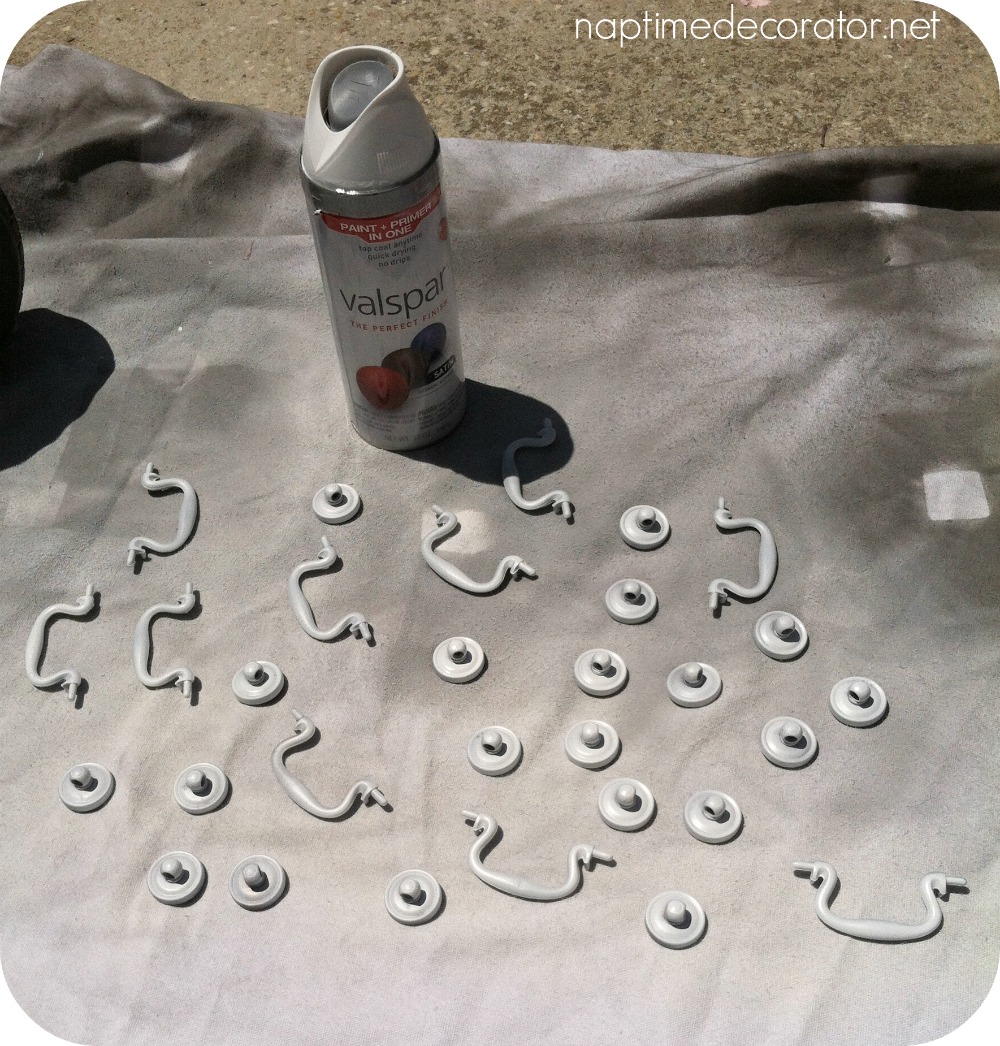
1. Remove the hardware and spray paint it. (I used Valspar Paint and Primer in One)
2. Sand down the drawers. I used my handy dandy sander.
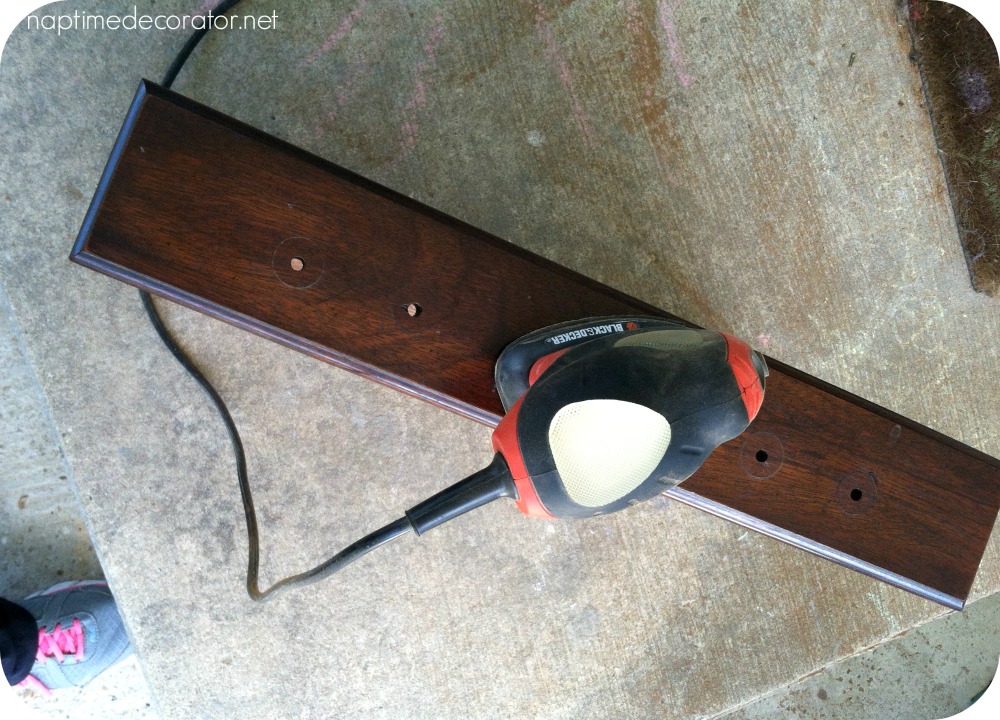
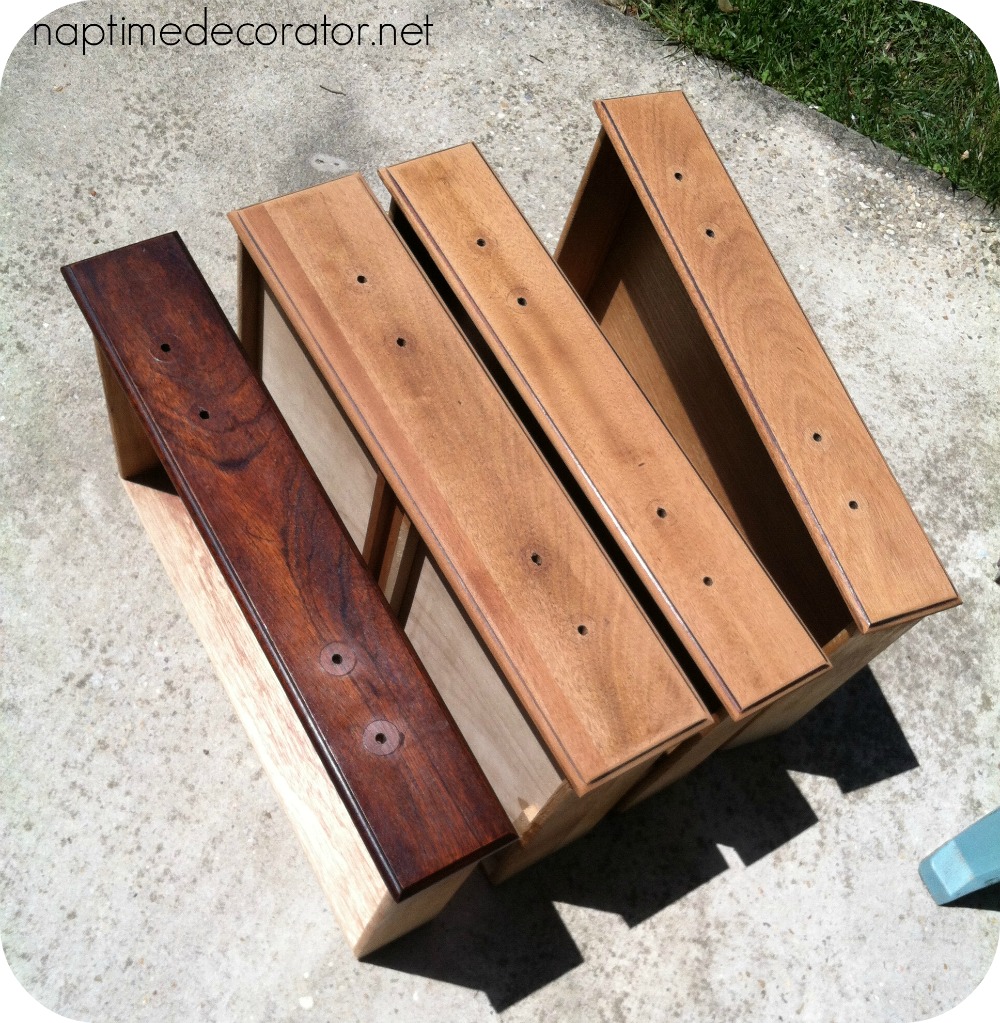
Not sure why I took a photo of 3 of the 4 drawers in this state, but I did.
3. Restain. I used Provincial by Minwax. No photos of this stage – see? BAD LITTLE BLOGGER. Geesh Liz, get with the program. Too much fun in the sun.
But you can see pics in my nightstand makeover if you really wanted, right here. Basically, I put on gloves, grab a cloth, wipe on stain, and use another cloth and wipe it again. Not sure if this is standard staining steps or not, I kinda wung it the first time, and now that’s my method. But, hey, it works!
4. I painted the rest of the table with a sample of white paint. Just off the rack, white satin paint. I mixed in a tiny bit of Plaster of Paris so I wouldn’t have to sand it (my favorite trick ever), and slapped on a couple coats.
5. Once it was dry, I waxed it with Minwax. Wax on, wax off. Nothing to it. Just use some elbow grease when you wax it on, so you get a good layer on there. This will protect the paint from chipping.
6. Put the pulls back on.
DONE!
The height is just perfect between the two chairs. Much lower than the nightstand was, and it doesn’t block the window at all now.
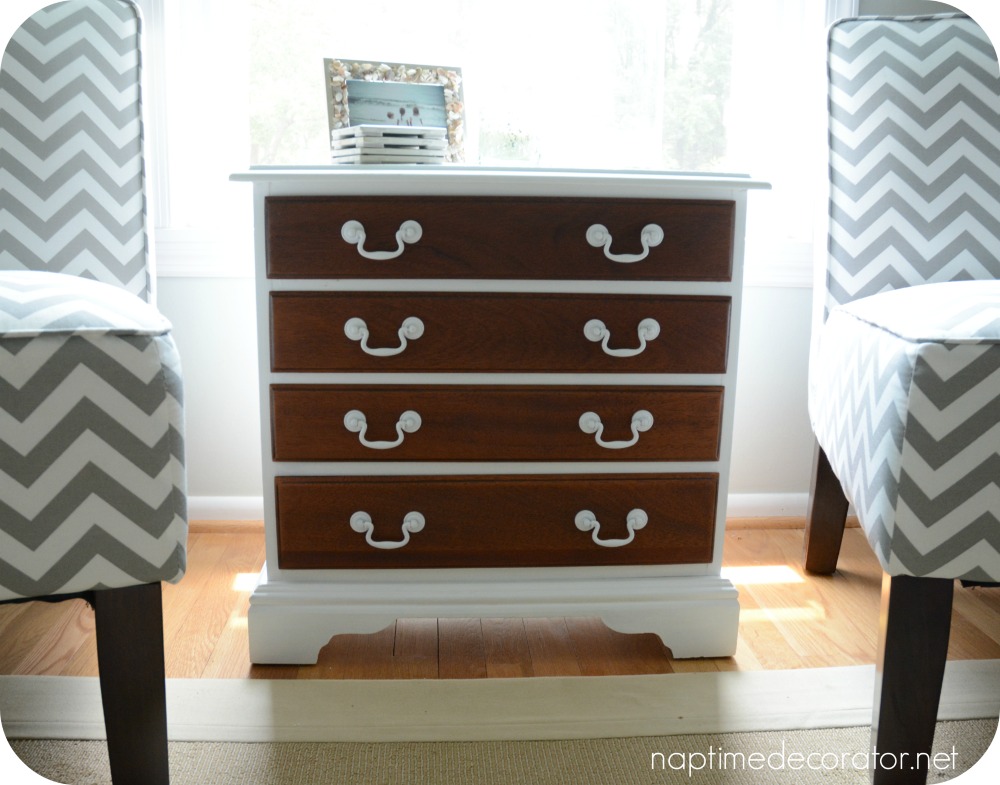
The blinds we have are the same shade as the drawers, and I like how it pulls that all together. Not bad for a free table AND makeover, am I right?!

 Hi there! I’m Liz, a former teacher-turned-stay-at-home mom to three kids, with a passion to create a warm and inviting home on a budget. This blog all started when I’d put the babies down for a nap, and squeeze in a project during those precious couple of hours! My hope is that you visit this page and feel inspired to do a little “naptime decorating” of your own. Thank you so much for stopping by!
Great job, Liz! Looks great 🙂
Blessings…
~Sherri
Love it!!
Absolutely beautiful. Please explain exactly what the plaster of Paris does. I’ve not heard of this. Nor the minwax on paint.
thank you Lisa! It’s a powdery substance that you can buy at michaels, and adding just a small spoonful to a sample sized paint thickens it slightly and does something to it that makes it go on pretty much any surface, even glossy. Saves you from having to do the sanding/priming stages. Then you use wax to protect it when it’s dry.
Thank you so much. I just acquired a roll top desk from a garage sale that is in fantastic condition but has the same ‘ole brown stain on it. I’ve pick my colors and now that school is out, I am starting my project in earnest. Gonna give the plaster of paris a try as well as the minwax.
Great Job!!! Love that you kep the drawers natural!
Thanks for sharing.
Beautiful job!!
Love it! And I can’t remember where you got your chairs…they are so cute!
I got them from Target! And thanks!
How do you sand the decorative edge of the drawer and get in the crevice? Do you just use sandpaper and do that portion manually? I have a desk I would like to re-stain and am trying to figure out the best way to remove the old stain.
Super cute project!
I haven’t had to worry too much about that yet, because these drawers were pretty flat – but yes, you could do that manually if you like!
Thanks so much!
I have one of the little Black and Decker Mouse sanders too. It is probably one of the most used power tools in my house! My little guy loves it when I am sanding because he can help hold the mouse. This makeover looks great!
Love this! Do you wax the stained drawers with the Minwax also? Or just the areas of the dresser that you painted white?
I did just the painted part. I’m sure you could do both though! And thank you!