Oh how I’ve missed you, friends!! As most of you know, my little ol’ blog got sick. Apparently, somewhere in the blogosphere, it was hit with a nasty bug and disappeared. Funny how so many things are really blessings in disguise though. Listen to this story…
I went to bed one night, checking my blog literally right before I turned out the lights. I woke up just hours later, to an email from one of my lovely Facebook peeps, telling me she went to my blog and it said it did not exist?!!! What the WHAT?! I hopped on over to my site, and sure enough, poof. Gone. Like it never was. Hooooo boy.
I contacted my friend Brooke (blog designer extraordinaire at Uplifted Designs). She created my last blog design for me, and is the smartest techie person I know so I figured she’d have some advice on how to handle this fiasco. And did she ever!! Somehow, someway, she found ALL of my old blogs that had disappeared, and THEN transferred them to a NEW domain. Yes, there’s even more to tell you. My sweetness of a husband bought me my own domain a while back for a birthday present. Loved it, loved the gesture, and was super excited…until I realized I HAVE NO CLUE HOW TO MOVE ALL THAT CONTENT?!!! Trust me when I say, I’m the LEAST techie person you’ll ever meet – I mean, it’s a miracle I know how to edit photos and type this blog. Truly. So it sat. And sat. And SAT. Until my amazing Brooke said she’d figure it all out and move everything over to www.naptimedecorator.net. How’s THAT for a blessing in disguise? And there’s MORE. She asked if I’d like a new look while we’re at it? Oh my word, I was pumped. I mean, here this whole thing starts as a disaster with my blog going buh-bye, and morphs into this amazing opportunity for my blog to get all prettified, AND on my own site. Something I’d been wanting to do for a while now, and never knew where to begin. My youngest starts Kindergarten this Fall (can’t. even. talk. about. that.), and I really wanted to set this blog on fire when that time came since I’ll have a LOT more time to focus on it then, so this is truly incredible how this all happened. It’s got me all inspired and pumped and…just freaking excited for the future of this blog, and it’s all thanks to my old blog getting ruined. Oh, and Brooke. Yes, Brooke pretty much is to thank for ALL OF THIS. Hackers, and Brooke. I thank you both. 😉
It’s just been such a lesson. And you know what’s weird? After the initial shock that it was gone, I almost instantly had this weird sense of calmness and the strongest feeling that it was all supposed to happen for some reason. Didn’t know why, certainly didn’t foresee this, but I knew something good was going to come out of it all. My friend, who came over two minutes after I found out – literally – she was on her way over my house for coffee when I found out – said how calm I was too. It was SO unlike Spastastic Liz. Maybe my morning devotionals are setting in;)…ANYwho…
So HERE WE ARE Friends. Welcome to the new and improved site, where I hope we party it up for ages to come. I feel reinvented in a way, and I’m loving it. Let’s kick it off with a DIY project, shall we?
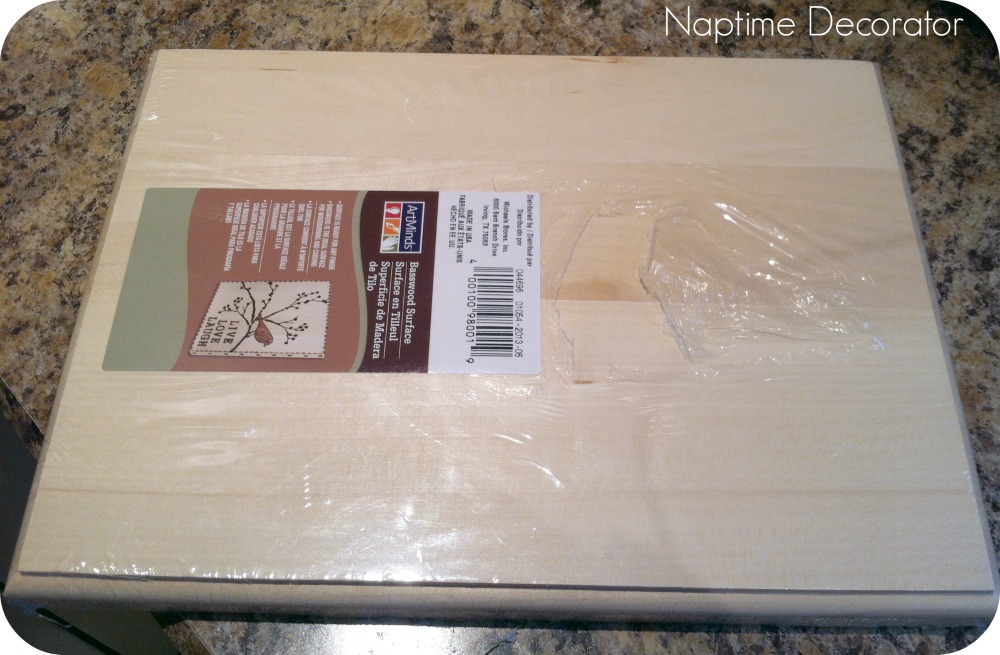
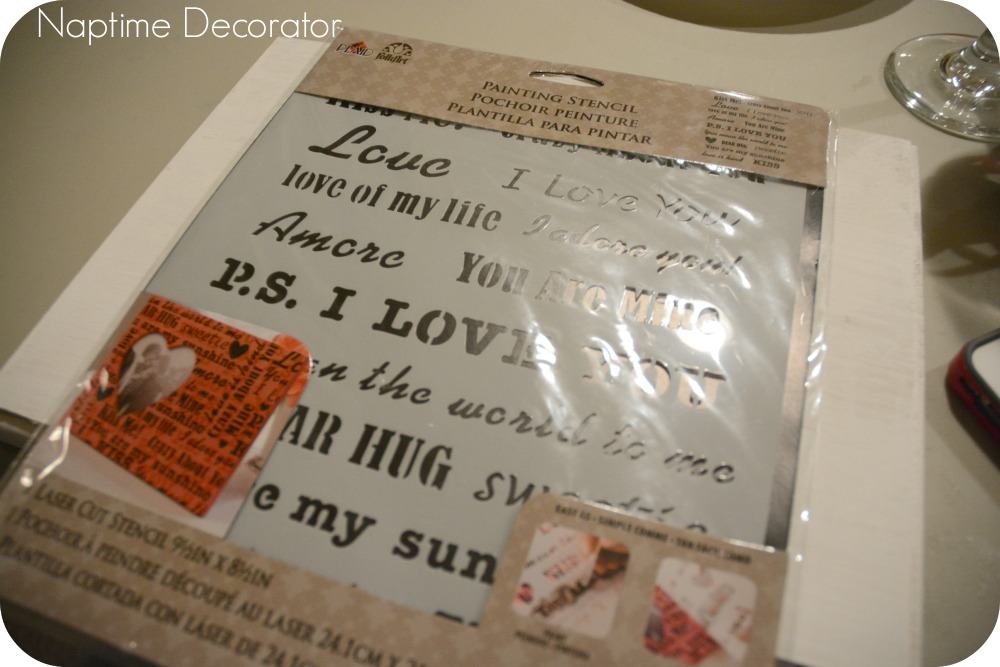
Valentine’s Day’s coming up, and our theme for this month’s craft night (post on that to come very soon!), was a V Day craft. I perused the aisles and Michael’s, and found some lovey dovey stencils. You know, with a bunch of sayings like, You are Mine, Amore, Kiss Me, all that jazz. And spotted one of those unfinished blocks of wood. Wheels were a-spinnin’…(please excuse the first several photos – too lazy to get out the big boy camera, so I took quick shots with my phone;)…
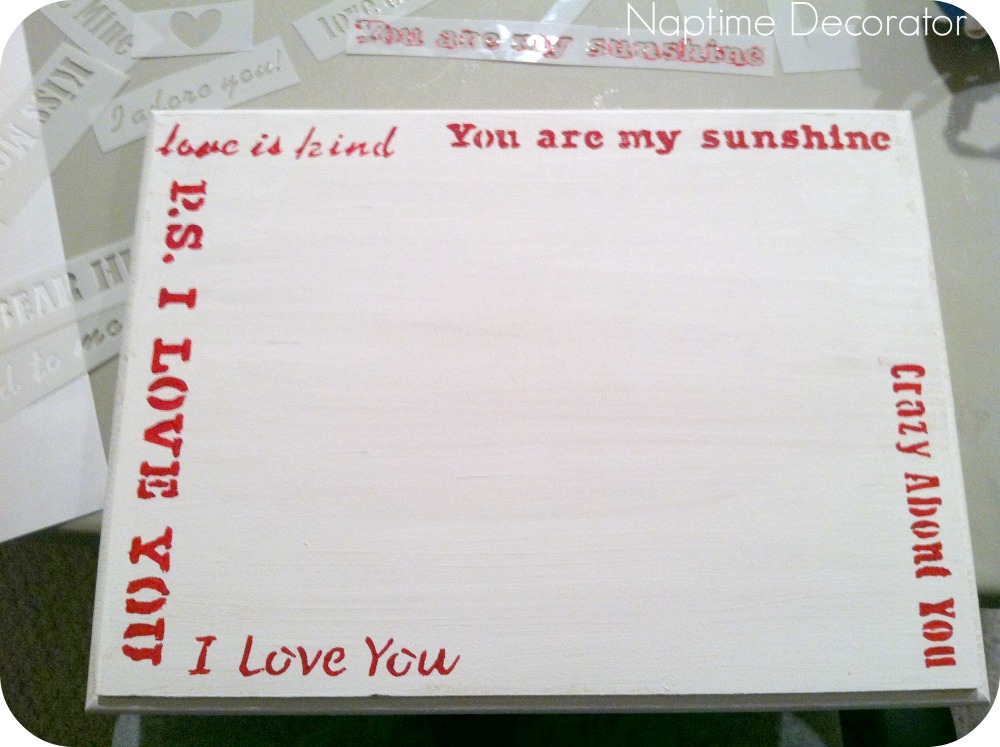
I painted it with just some white craft paint I had. Just to cover it – didn’t care that some wood was showing through, because I figured I’d probably go for the distressed look in the end anyway.
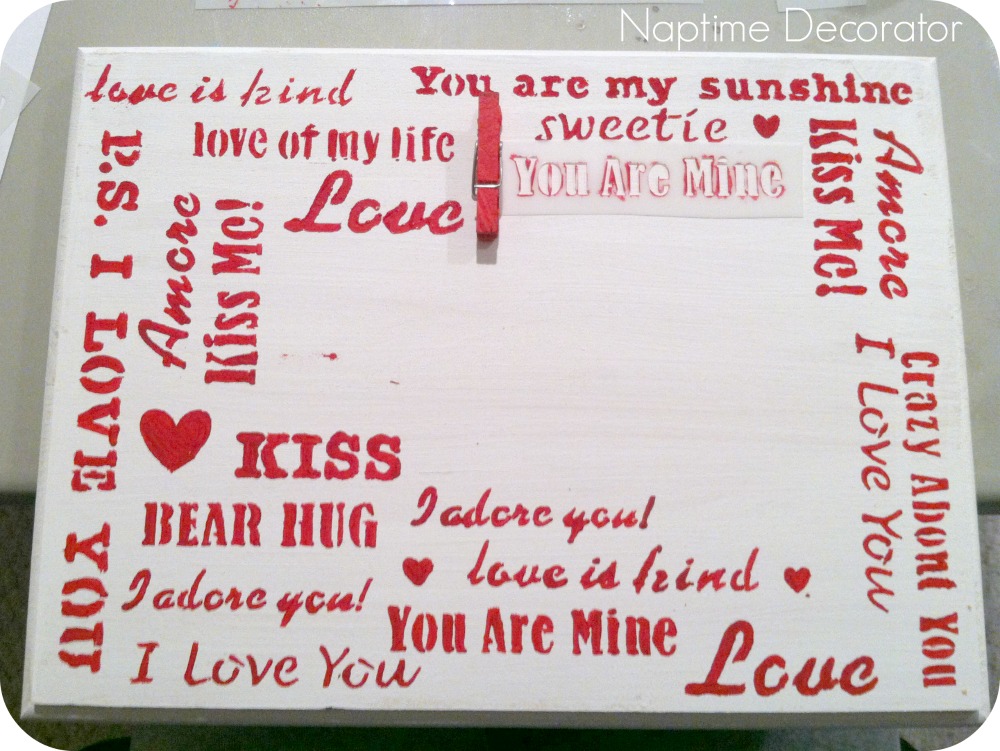
Then, I cut up the stencils so they’d be easier to work with, and using a little brush, and a teeeeensy bit of red craft paint, I dabbed the stencils around the border of the wood, working in.
Then, I decided to find a good spot for a mini red clothespin I had from years ago – not sure where they came from (probably Michael’s, but I have a bag of mini red and green clothespins in my Christmas bins?! Came in very handy for this project!). The clothespin will hold a photo, turning this into a (very easily switchable) picture frame. I also left a spot in the center of the frame blank, since a photo would always be there.
After it was good and dry, I sanded it a bit to make it look a little worn, then hot glued the clothespin on with just a dab of glue. Stuck my photo in there, and DONE!

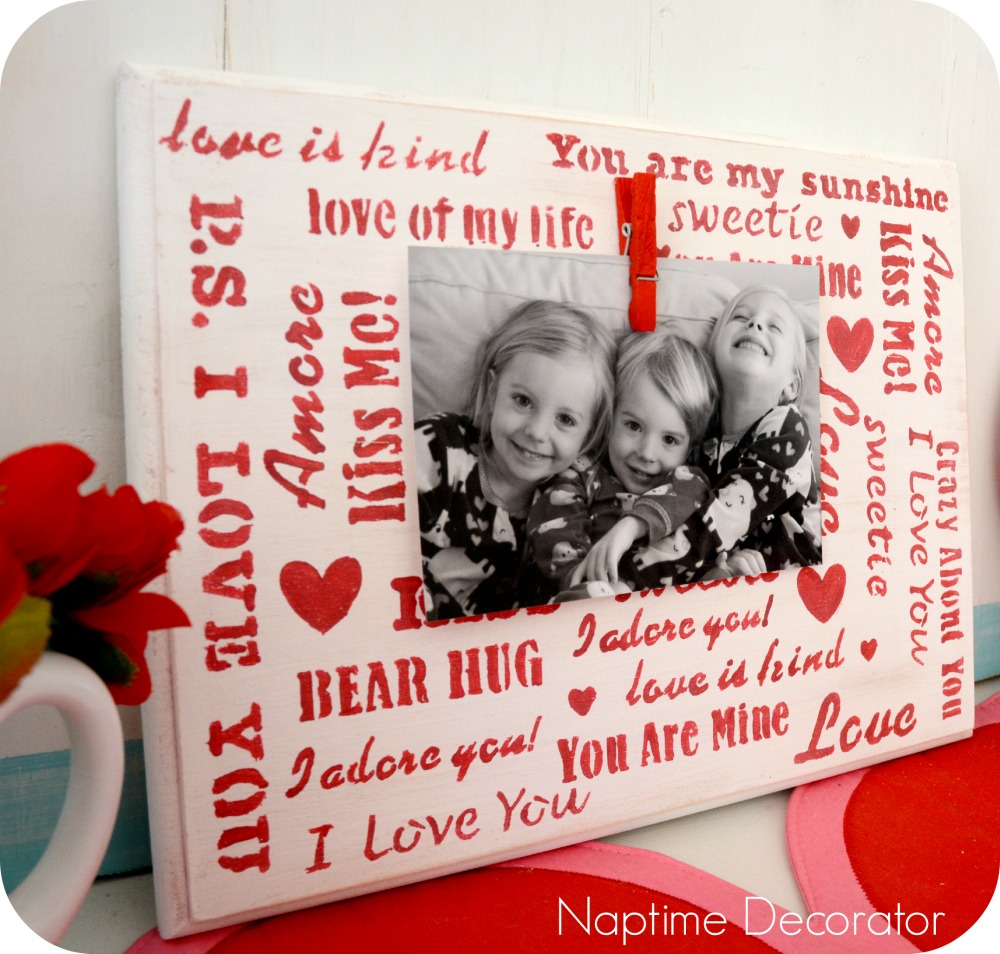
One of the things I love about this project is how personalized you can make it. Doesn’t have to be a Valentine’s Day gift. You could create ANYTHING with this idea – a Mother’s Day one perhaps, with a quote about Mom, or Father’s Day, or a graduation gift (Oh the Places You’ll Go!), a wedding (oooh, with a lyric to “their” song), a baby quote on there for a new mom – anything. Any colors, any words, the sky’s the limit! Make it your ownJ
Alrighty, that about wraps up my FIRST blog post on my BRAND NEW blog page! Thanks so much for stopping by! Got LOTS more to share, so see you soon!

 Hi there! I’m Liz, a former teacher-turned-stay-at-home mom to three kids, with a passion to create a warm and inviting home on a budget. This blog all started when I’d put the babies down for a nap, and squeeze in a project during those precious couple of hours! My hope is that you visit this page and feel inspired to do a little “naptime decorating” of your own. Thank you so much for stopping by!
Love this idea! I so want to do this with our wedding song now…. 😀 Great job! (And love the new blog design too! Gorgeous!)
Thanks, Jen! 🙂
Very nice! I am gonna try it out:)
Awesome, let me know how it turns out! 🙂
Love it!
Thanks, Pam!
I’m so glad you’re up and running again and with exciting changes in progress. I would love to read a post from you one day about managing a blog, as you’ve done it so successfully. Keep up the great work!
Thanks, Carrie! That’s a great blog post idea, I’ll keep that in mind!
Love it! Glad your back 🙂
Thanks, Dena!
Look at you on WordPress and everything!!! Congratulations!!! Let the fun begin 🙂
Ha! I know, right?! Big timin’ it now;) Thank you!
I love it and the new site! Glad to have you back 🙂
Thanks so much!
Yay! Congrats on your new site!
Thanks, Liz!
Love your V-day craft and so happy you’re back! We’ve missed you – need our “Naptime” fix! Thank you 🙂
Thank you, Lynn! I missed you too! Feels great to be back:)
I MISSED YOU!!!!!! I’m so glad your back! I felt like a kid at Christmas clicking that link!! : D
Ha! Aww, that’s so sweet! Missed you too!
Love it! Great new blog!
Thanks, Ann!
Hey Liz! Love your new site. What a great project! And, like you said, it can be tailored to anything. What would be great is to have your children’s names and a Bible Verse. Or “Family” and a family photo. Great “first” post on your new site!
Blessings!
Sherri
Thank you so much, Sherri! Yes, those are great ideas, thanks!
Love your new site & it’s design! Love the cute frame idea too! Looks easy enough for me to give it a try!! Glad you’re back!
Any suggestions for someone who has never had luck with stencils? What kind of paint? What kind of brush?
Just be sure you use the SLIGHTEST bit of paint on either a foam brush, or for something like this project, where the letters are thin and small, I used a tiny brush. Just dab so lightly and pull the stencil up as straight as you can, so the paint doesn’t smudge. Also, before you use that same stencil again throughout your project, make sure it’s dry from its previous use. Existing paint on the back of it will make a mess! I use whatever craft paint’s on sale that week at Michaels. Like DecoArt or Americana, whatever. One of them is always less than a buck. Good luck!
So glad you are back! I was getting worried!
I am working on this tonight and having trouble with painting over the stencil. I have never done it before so curious what your technique is. Mine just looks like a red blob haha. Did you use a small brush or sponge? Any special paint? By the way so happy your blog is back!
Just the SLIGHTEST bit of craft paint (like the little ones at craft stores that are less than a buck) on a tiny brush – dab it lightly and be careful when you pull the stencil up. Try and pull it straight up so the paint doesn’t smudge. Good luck! 🙂