Oh happy HAPPY day!
The DIY Scalloped Wall is DONE.
And no one is more shocked than I am that my crazy plan actually worked.
Let me backtrack a bit for a minute. If you’re a diehard Fixer Upper fan like myself, you probably remember that adorable scalloped wall that Chip and his boys did last season? It was so stinking cute and I fell in love with it immediately. (You can check it out here on Magnolia Market’s page if you’d like to take a look).
Fast forward a while, and I started a little makeover in my daughter’s room. Everyone’s room seems to be getting updated lately, and she is just as obsessed with Fixer Upper as her mama is, so we discussed shiplap. But I had just put one in her big sister’s room, and welp, basically everywhere in this house;), so I tried to think of something fun, but a little different.
Then I remembered that scalloped wall! Yes! And my girl is such a doll girl, too, so I thought the dollhouse look would be PERFECT in her room.
So I googled. And googled some more. I mean, where does one even buy these scalloped shingles? And how much would it cost?
I texted our contractor friend in case he knew a good place to buy them and he confirmed my fear: for the square footage I’d need covered it’d be over $500 for one little wall in her bedroom.
I just couldn’t see spending that kind of money on an accent wall for a kids’ room.
I thought and thought and had a wacky idea. I swear, when something isn’t in the budget, it’s usually a blessing because it forces my creative juices to flow like never before. My very best ideas have come to me when money is tight. Where there’s a will, there’s a way, right??
I decided to test out a piece of plywood- the same cheap stuff I use for my shiplap (plank) walls. It would definitely fit the budget, but am I really crazy enough to cut out ALL that plywood in the shape of scalloped shingles?
The answer is YES. YES I AM.
I am going to go into all the nitty gritty details tomorrow in a tutorial post with LOTS of pics of each step, but to sum up –
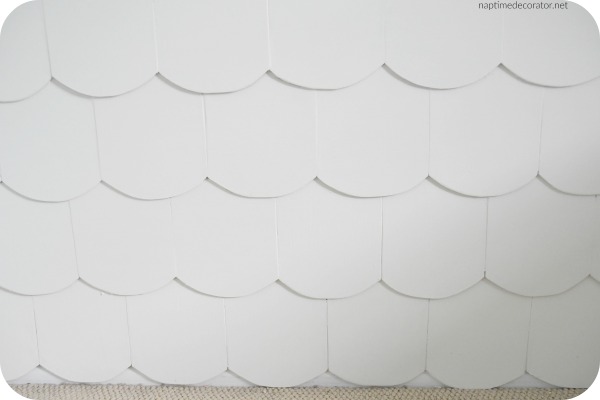
I used about 2 1/2 sheets of plywood, made a paper template, traced the shape onto the wood, and cut them – ONE BY ONE MIND YOU – with my dremel saw and then the curved edge with my jigsaw, sanded each one, then used mounting tape and my nail gun to secure them onto the wall. Caulked, slapped on some Sherwin Williams Alabaster and here we are. Again, lots more details tomorrow, but wanted to get a post up for you tonight!
Wanna see????

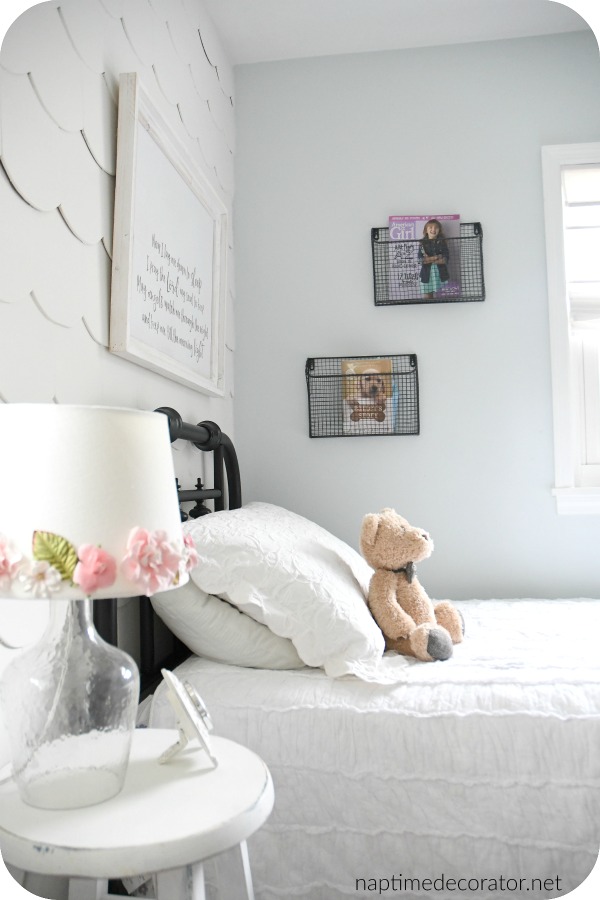
I am obsessed. Totally worth all that work. And wanna hear the best part? It cost me less than $40!! WHAT?!! I know!
SO much to talk about in here, but we’ll get into all that later – this room is close to done and it’s so sweet!
Have a wonderful night and I’ll be back tomorrow with all the deets!
XO

 Hi there! I’m Liz, a former teacher-turned-stay-at-home mom to three kids, with a passion to create a warm and inviting home on a budget. This blog all started when I’d put the babies down for a nap, and squeeze in a project during those precious couple of hours! My hope is that you visit this page and feel inspired to do a little “naptime decorating” of your own. Thank you so much for stopping by!
Omg omg ! Soo adorable!
Thanks, Barb!!
Adorable!! Super adorable.
Thank you so much, Shannon!
amazing
Thanks, Michelle!
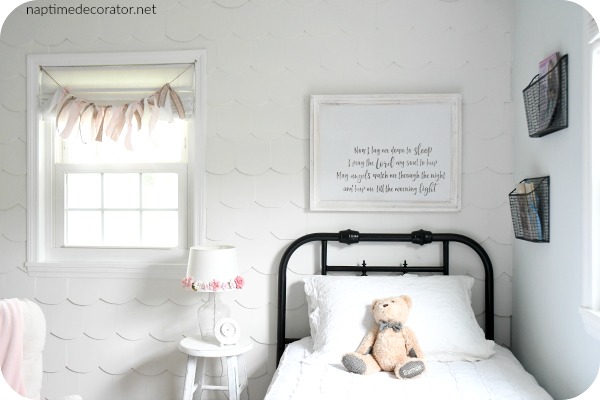
Did you spray the headboard? If yes what color ?
Yes, I did:) Valspar paint + primer in one in Flat Black. Then I went over that with a clear protective spray paint in matte.
Love it!!!💜🌼💜🌼💜🌼
Thank you, Colleen!
So cute! Love it!
Thank you!
That’s adorable!!! Where did you get her bed?
It was a brass yard sale find! I spray painted it:) Thank you!
Way to go, JoJo. What a showstopper!
Thanks, Mom! 🙂
Love the whole room, you are the best and also like how you think outside the box!
Thanks so much, Rondell!
Beautiful, looks like a boat load of work, GREAT Job.
Beautiful.
Thank you!
This is stunning! Do you know about what size you made your shingles?
Beautiful! I am definitely doing this for my daughters room as an accent wall, matched up with soft antique pink walls. I hope it comes out looking as cute as yours!
Have you posted the tutorial yet? This is amazing!!!!
Thank you! Yes, it’s the next post after this one!
Amazing work looking for an inexpensive way to do this from the same inspiration thanks for your efforts
I’m so inspired!! Thanks for sharing!
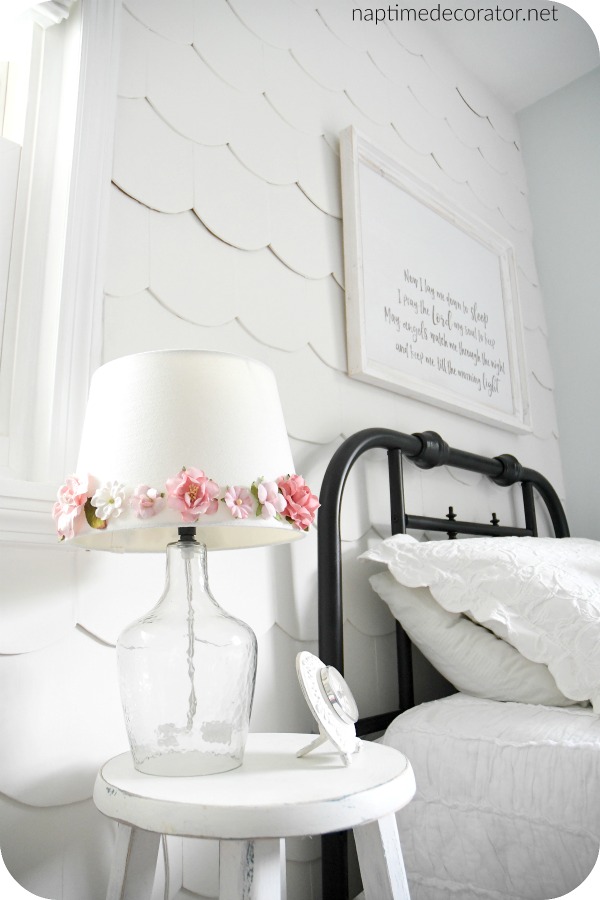
Where is the sign from?
Do you think it would be possible to do this on a ceiling? I have an idea for my daughters mermaid room and just think this would be perfect!!