I realized the other day, while making a gift for my cousin, that I never wrote a post on the mini pallets signs I started making a couple YEARS ago!?? What the what?! Well, no time like the present, so we’re gonna talk about that today! And no, they aren’t technically pallets, but they have that sorta look and I don’t really know what else to call them;)
It all started when I was trying to think of an inexpensive way to make a sign for craft nights. The more costly the materials, the more I have to charge, and I don’t like asking an arm and a leg for these parties. So I walked around the home improvement store and spotted some wood shims. The wheels started turning.
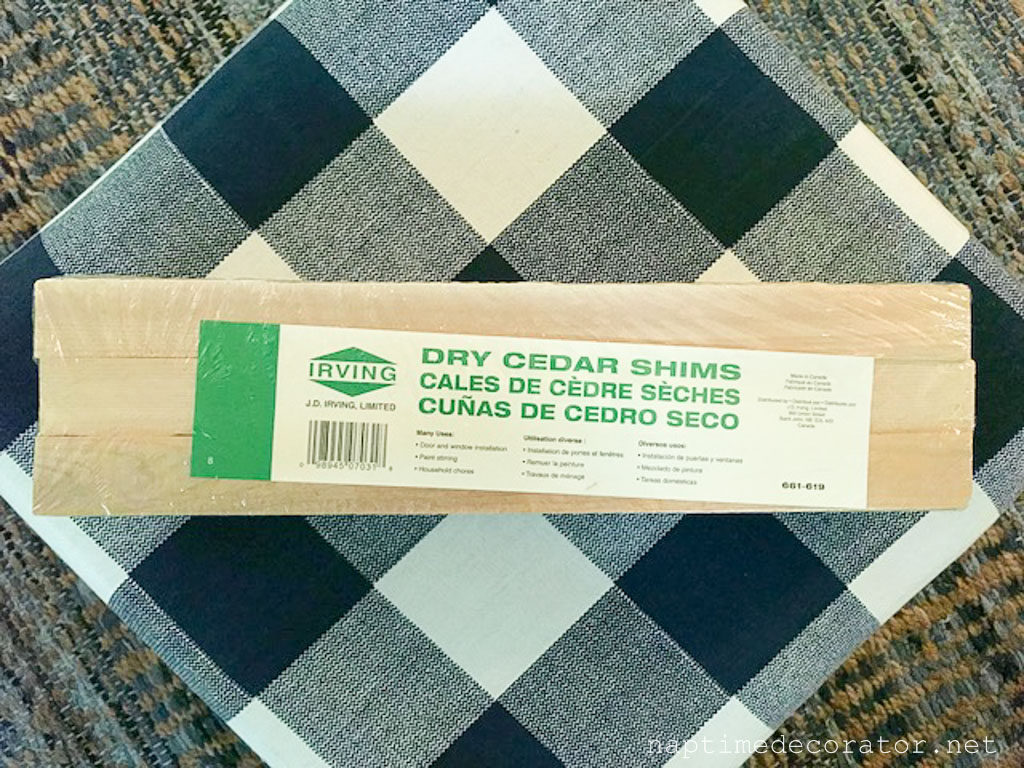
Shims are only about $5 a pack, so this was definitely on its way to becoming a thrifty project. But shims are uneven – they are on a slant, so one side is thin and the other is thick. Like a wedge shape. So I decided to get some wood glue out, and put two together – I matched the thin side on one to the thick on the other and it made a nice even piece of wood.
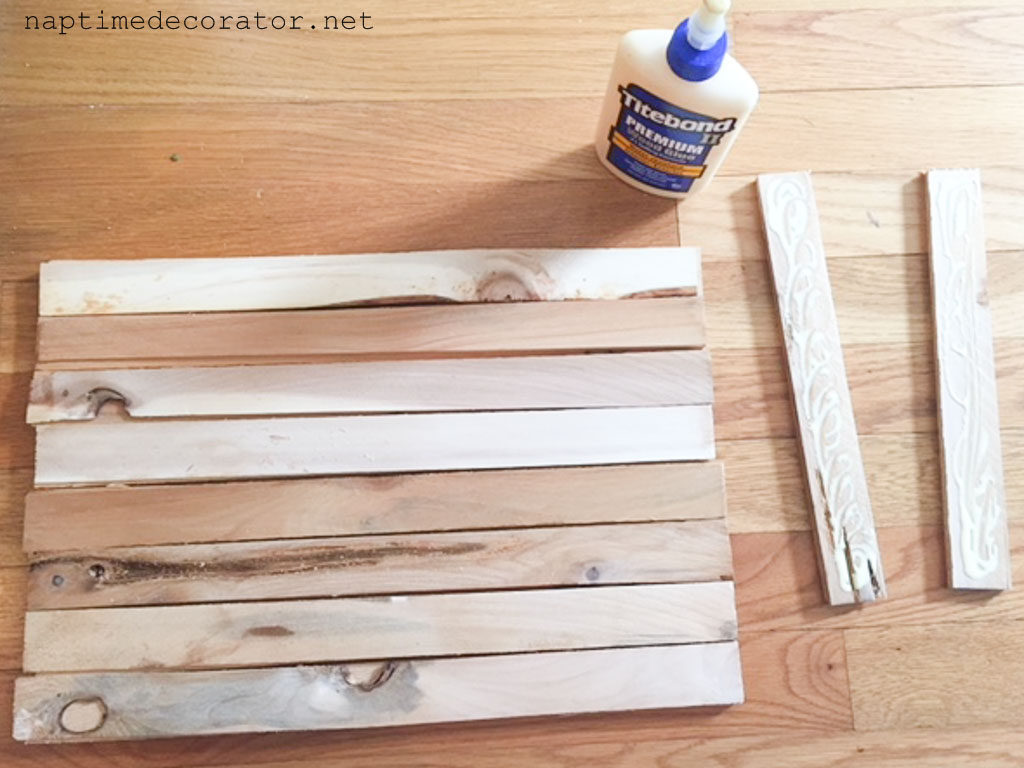
Then I banded a stack of about 10 of these sets together tight with rubber bands for the wood glue to dry. Eight for the front of the pallet and two to glue them all on for the backing. (Recently I started just using hot glue and omitting this step)
Let’s talk about the backing pieces for a sec. I figured I’d just use two more sets of shims and glue them to the back. BUT. I decided eight rows looked like a good size little sign and the two pieces on the back were too long. I got out my little handheld dremel saw to chop about an inch or two before gluing the back pieces on. If you want to make more of a square size sign, you wouldn’t have to do this step. I was picturing a flag, so I wanted it more rectangular. Sorry if this sounds confusing – I made these too long ago and never took photos of this step! (The photo above was taken AFTER I cut the two back pieces to the size of the “flag”).
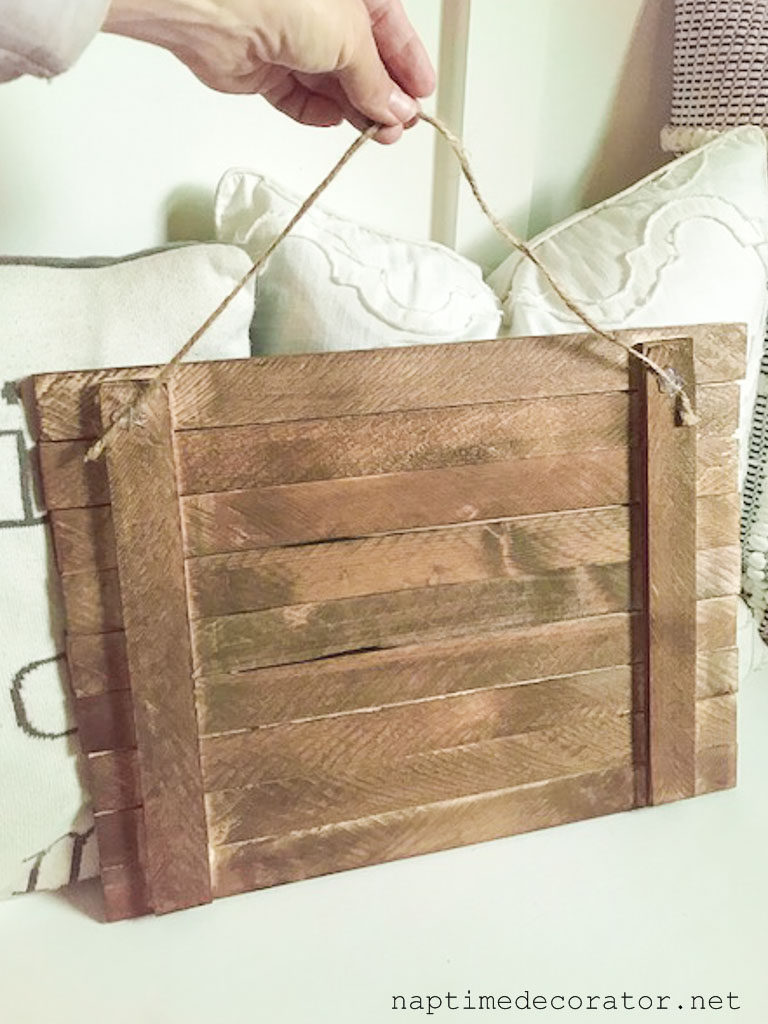
I glued those two back pieces onto the back of the “pallet.” I let it get good and dry (again, if you use a hot glue gun this step is quick). Then I stained it with Minwax Special Walnut.
Done!
But wait. What if people want to hang them?
So I grabbed some jute, cut a piece, dabbed a good ol’ glob of hot glue on each side, let that dry, and stapled them just for good measure.
Now what to do with them? Here are some ideas…
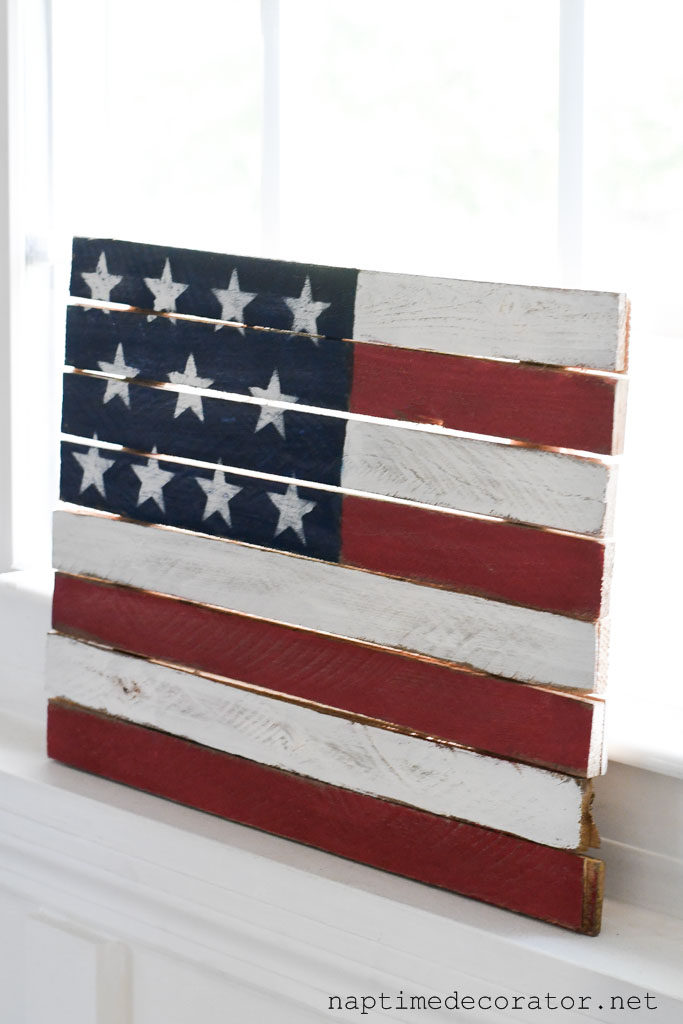
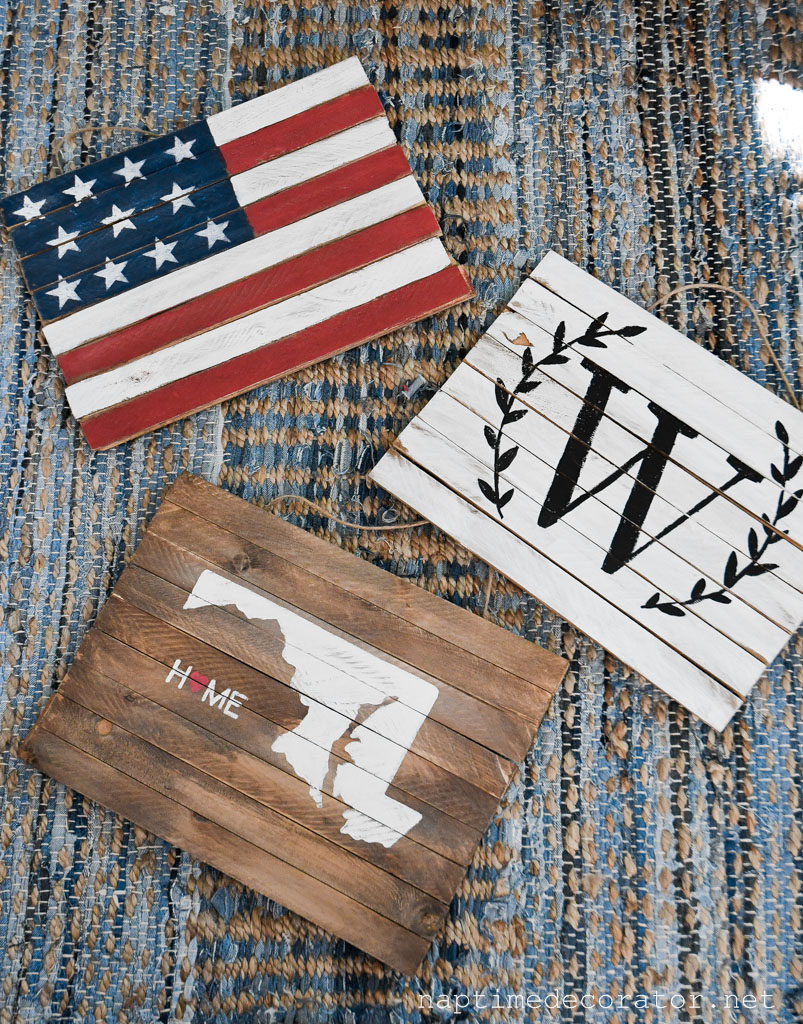
I have painted flags (did the navy portion first, let it dry, then used white paint and star stencils, and just painted the red and white stripes):
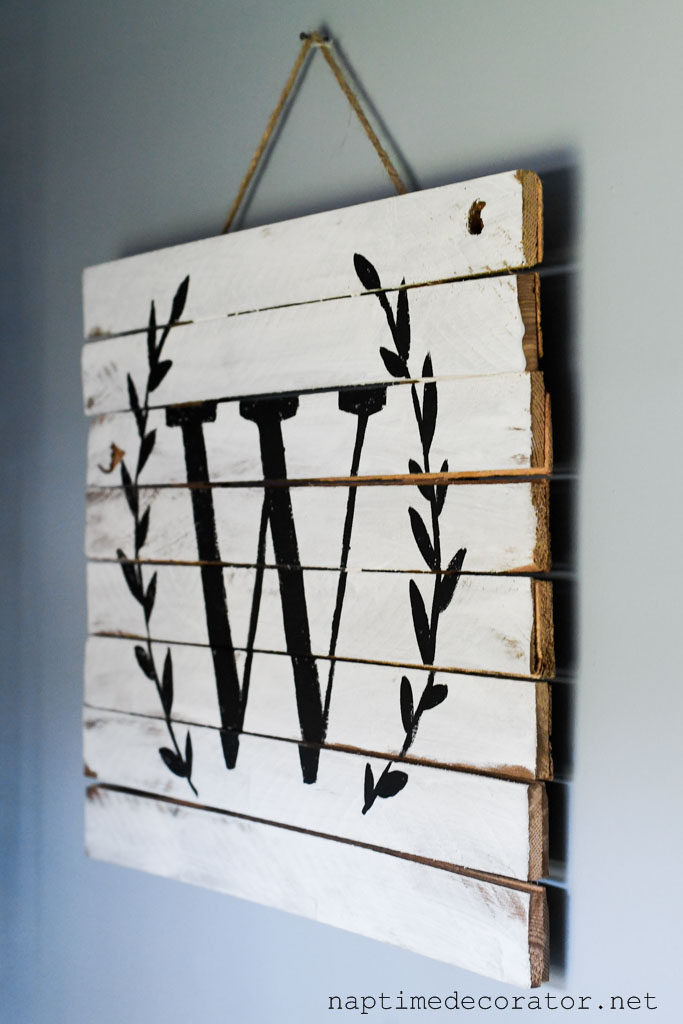
And monograms, using stencils for the letters and freehanded the leaf border after painting the pallet white:
And my latest – the state of Maryland (traced a shape of Maryland using carbon paper, filling it in with white craft paint, freehanded HOME with a heart for the O, and gave it a light sanding):
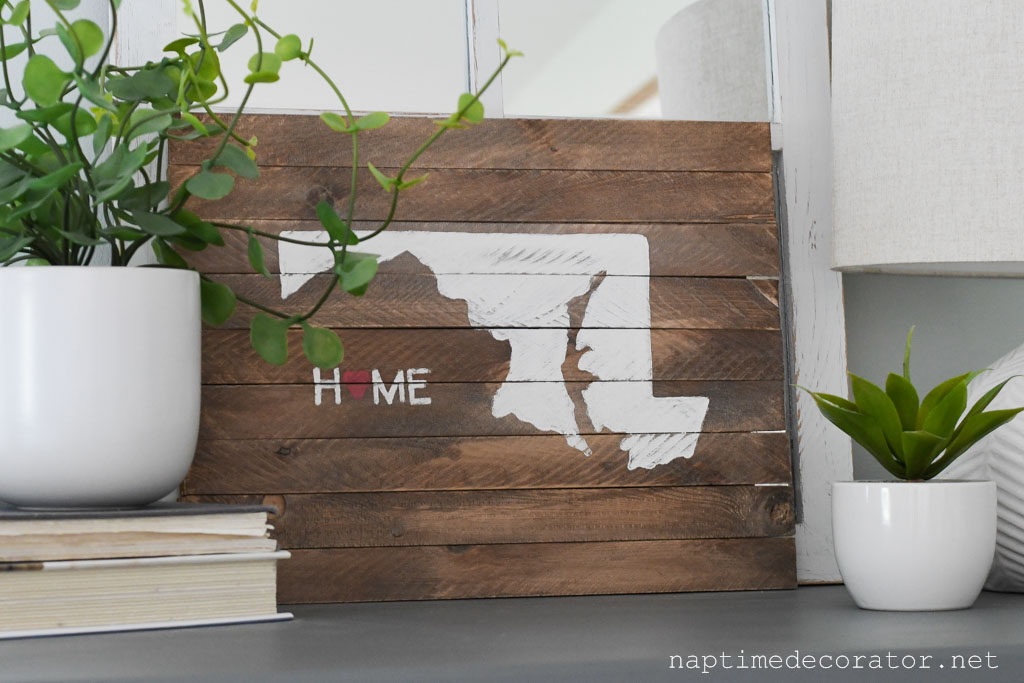
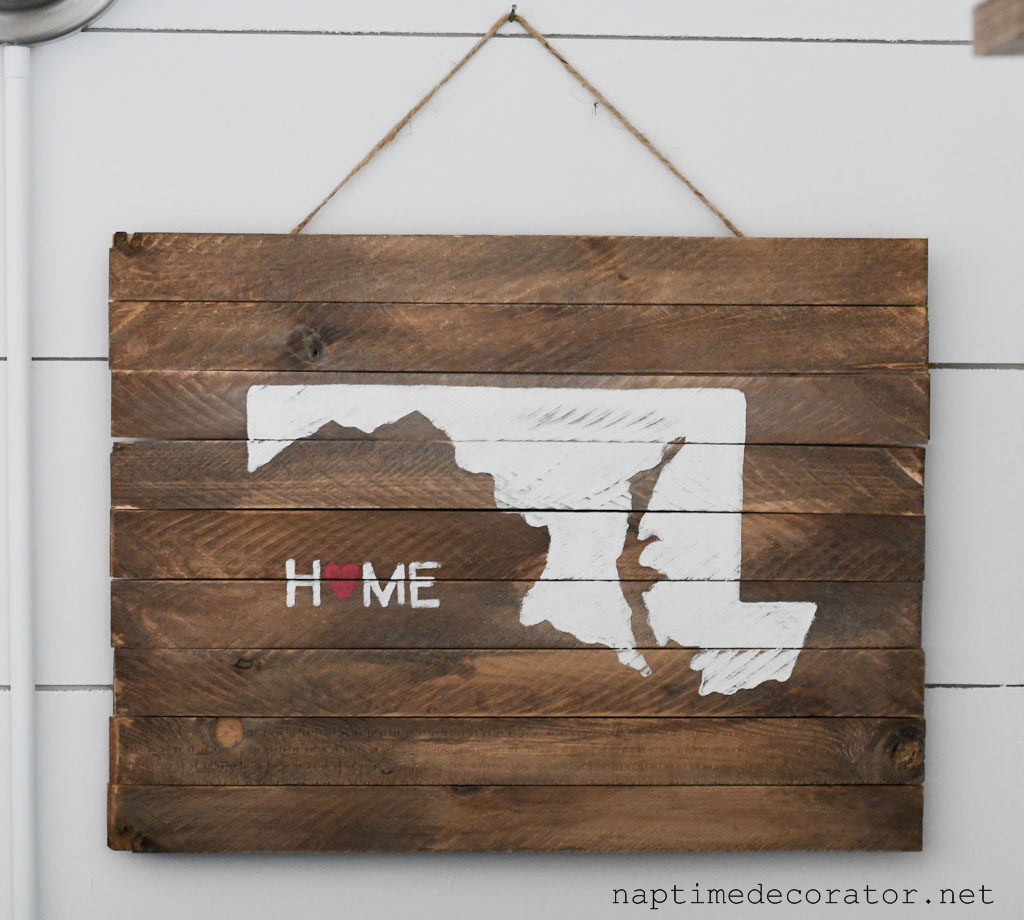
Great gift for the high school graduate who is going out of state for college;) A little reminder of home.
So there’s the same mini pallet three ways! So many different things you could do, and I love that no two are exactly the same. Would love to hear if you have any other ideas what to do with one of these cute little guys!
Happy crafting!

 Hi there! I’m Liz, a former teacher-turned-stay-at-home mom to three kids, with a passion to create a warm and inviting home on a budget. This blog all started when I’d put the babies down for a nap, and squeeze in a project during those precious couple of hours! My hope is that you visit this page and feel inspired to do a little “naptime decorating” of your own. Thank you so much for stopping by!
cute! and super simple! 🙂
Thanks, Mel!
Now this I think I can do. And I seem to remember seeing a pack of shims around here somewhere… Fun idea; thanks for the tutorial!
You’re so welcome, Heather! Happy crafting! 🙂