You know how I’ve talked about my quiet, delightful walks through Hobby Lobby I used to take to kill time while my daughter was in drama class? In the Fall, I had two hours while she was there, and instead of driving 20 minutes to come home and have to go back, I’d hit up the nearby Hobby Lobby and let inspiration strike. That’s how several projects were born, like my DIY Framed Shiplap, my Cotton Garland Wreath, my Swag-Turned-Christmas-Centerpiece…and this pillow cover I’m about to tell you all about!
I spotted these awesome (and inexpensive!) linen-y pillow covers there. Actually, I ended up discovering two – one in the regular pillow cover section, and one in the crafty fabric marker/canvas bag, etc aisle:
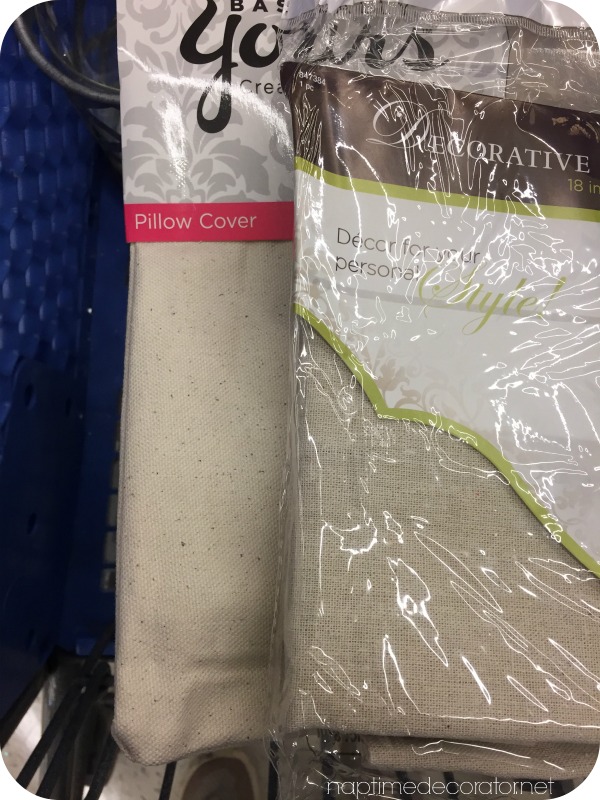
Sorry that’s the best photo I got of these in their packaging?! Not sure what I was thinking. But both are awesome – I actually made some for friends and family at Christmas and tried them both out. The one in the crafty aisle is a little sturdier I think. They’re both made for an 18×18 inch pillow insert.
I also spotted these sticker number stencils. The sticker part is amazing, because it STAYS PUT! It was right next to the black fabric marker that I also grabbed. That’s all you need for this project! And it was all in the same aisle!
I honestly bought the numbers before even realizing what I’d do with them. They just seemed like a good idea. You know those memes about going to a craft store and buying ALL THE THINGS? Yeah, I’m totally that person. But shhhhh…don’t tell my husband;)
The idea hit me as all my ideas do…at midnight, when I’m trying to fall asleep. The next morning I was super excited to try it out and was even more excited that it actually turned out as I’d hoped!

First, I laid the pillow cover out on a nice flat surface. I opened up my number sticky stencils, and moved them around until I realized the right placement for all six dates. (I did my husband’s bday, my bday, our anniversary, and our three kids bdays – but you could do less dates, you’d just have to space them out more, or if you’d like to do more dates, I’ve seen stencils there that are smaller…actually, I *may* have grabbed those too! ha!).
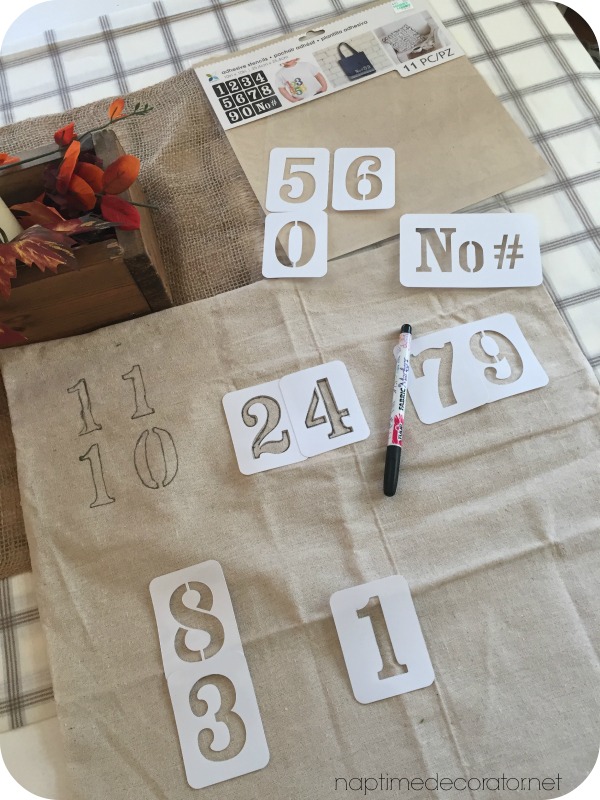
I made sure there was a good inch or so around the borders, then I started placing the numbers on. Of course, there is only one stencil for each number, and I needed a lot of 1s, 0s, etc – so I took a number we didn’t need to stick it in its place, just to test out the placement. Turns out, for six dates, the numbers overlapping each other (if you look closely at the 8 over the 3 and the 2-4 and 7-9 in the photo above you’ll see) is perfect. For five dates, butting them up vertically to one another was perfect, no overlapping necessary. Play around until they all have equal distance from each other, and the borders. If you don’t test it all out first, you might have a lot of empty space on the bottom, for example. Once I realized we were good, and all the numbers looked nice and even, I started tracing.
There’s a lot of figuring out in the beginning, and since you’re working with markers, no real wiggle room, so you have to be positive before you make that first mark! But once you get going, it’s all good. And even if the numbers look a little ‘off’ or slanted, once the pillow insert is in, you can’t really even tell.

I decided to add a dot in between the months, day, and years.
Just had to fill it all in, and stick a pillow insert inside it! (It zippers on the back)
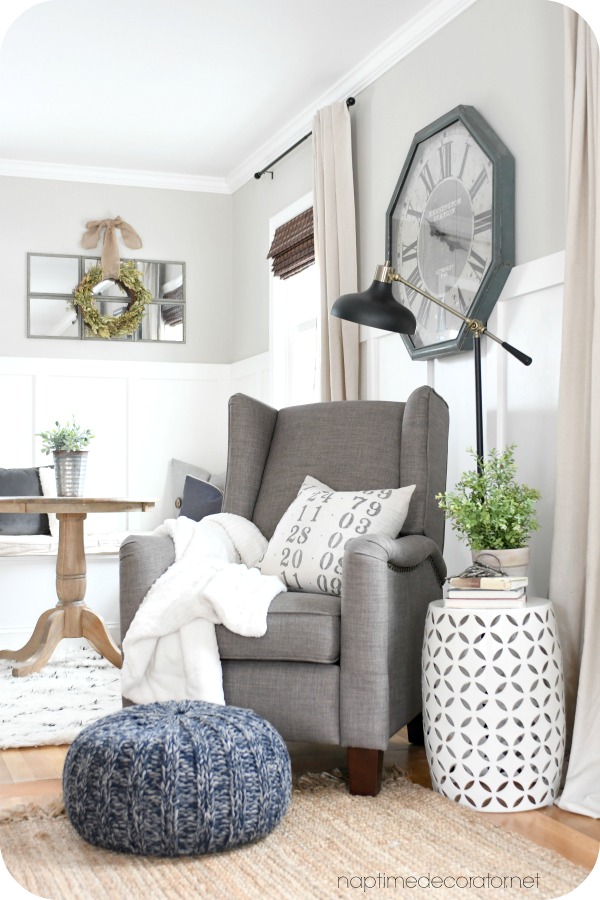
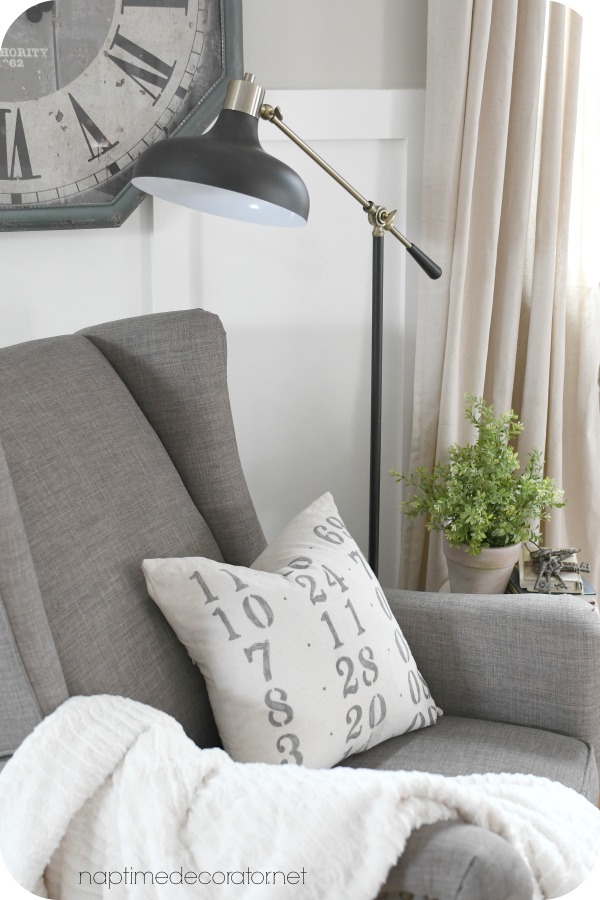
The kids loved it – they felt special when they realized their big day was on display in the family room. I love a home that tells a story, and I think this is a perfect way to do that.
Can’t wait to pick up some more of these pillow covers and see what happens! 🙂

 Hi there! I’m Liz, a former teacher-turned-stay-at-home mom to three kids, with a passion to create a warm and inviting home on a budget. This blog all started when I’d put the babies down for a nap, and squeeze in a project during those precious couple of hours! My hope is that you visit this page and feel inspired to do a little “naptime decorating” of your own. Thank you so much for stopping by!
As always I love your projects! I can’t wait to head to Hobby Lobby and buy a few of these – especially since I’ve packed my Christmas pillows away and needing some “special” pillows. Question: When it comes time to trace and fill in the numbers did you need to slip something (cardbord, etc) inside the pillow so the ink doesn’t bleed thru or was the fabric thick enough to not bleed? Just thinking ahead…… Thanks! btw I’m heading to your beautiful city this weekend for a girls weekend (Manchester, MD) – This Florida girl needs to pull out her winter clothes!
Thanks, Lynn! Great question! I didn’t – but maybe other fabric markers would be darker, so not a bad idea just in case:) Have fun in MD!! Yes, get those winter clothes out – brrrr!
I really love these! I was wondering what kind of marker you used?
Thanks so much! I just used their black fabric markers – you can see it a little in one of the photos. Any brand will do!
You are genius! I have to do these !
Thanks, Barb! 🙂
Oh I love this. What a great idea. I always have pillows needing to be covered with something new & fun!
Thanks, Lauren!
I love how your youngest was born on your anniversary! That is my birthday too. And it was my son’s due date. He came early, but wound up being born on my dad’s birthday. It’s funny how that can happen!
This idea is great–and how your kids felt special their big day was on display.
Ha! Wow, popular day! Thanks so much, Susan:)