Yes. It’s another chalkboard. In my defense, this is just an UPDATE TO AN EXISTING CHALKBOARD. So technically – technically – I’m not adding any more here, I’m just making one a little way more awesome.
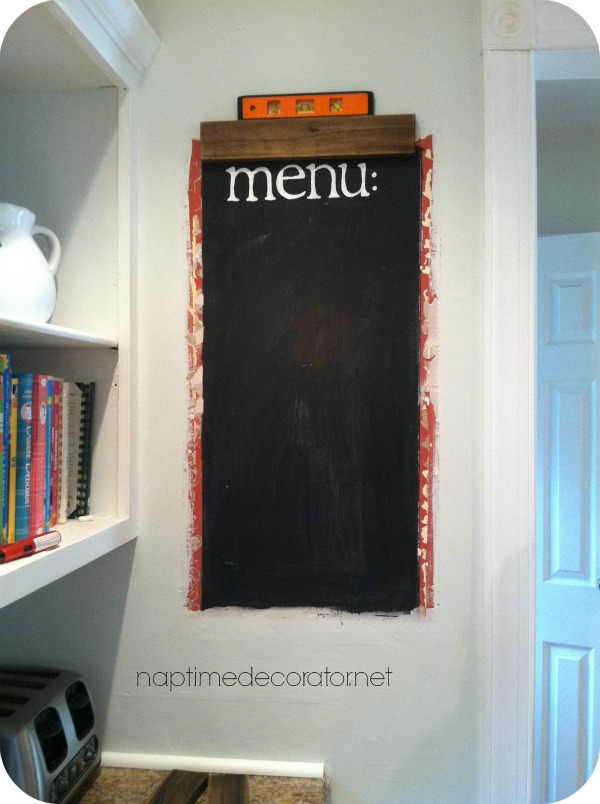
We have a chalkboard menu in our kitchen. Might’ve been one of THE very first “naptime” projects – and you can see we still had our red kitchen in this before shot, so it’s been a while.
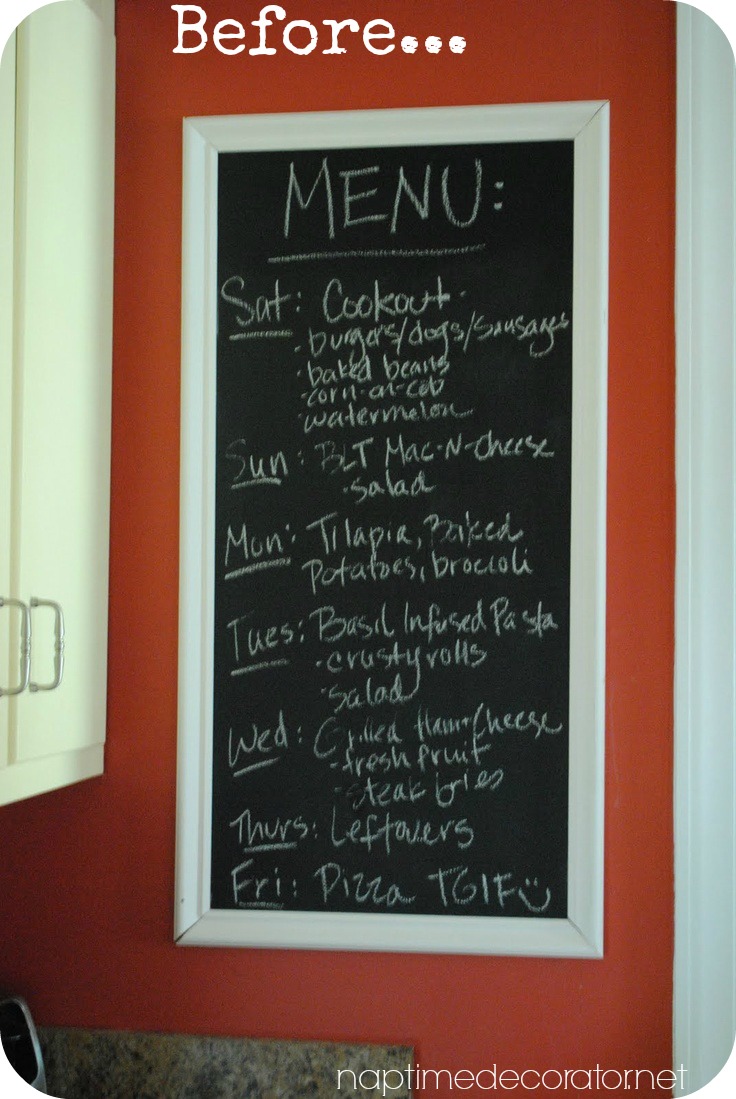
To make it, all I did was paint a rectangle of chalkboard paint right on the wall, and we cut molding, added a little liquid nails I believe? Then I stenciled on the word menu with white craft paint and a stencil from Hobby Lobby (4in Rustic Alphabet Letters). And done!
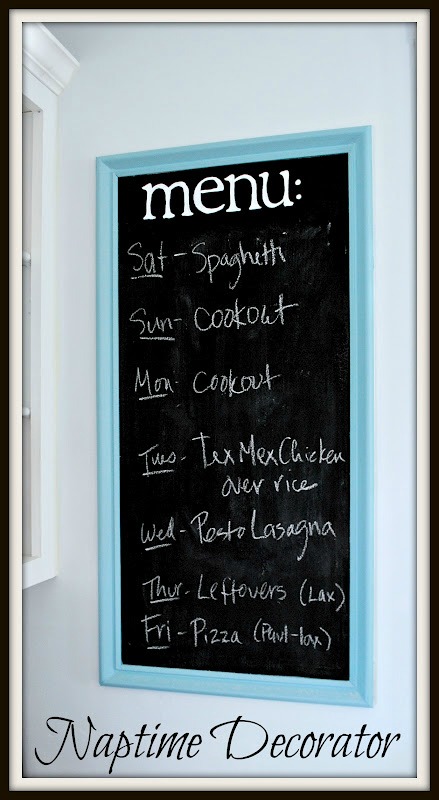
Over the years it went aqua…
Then, it went white, which is what the current situation has been for a while now…
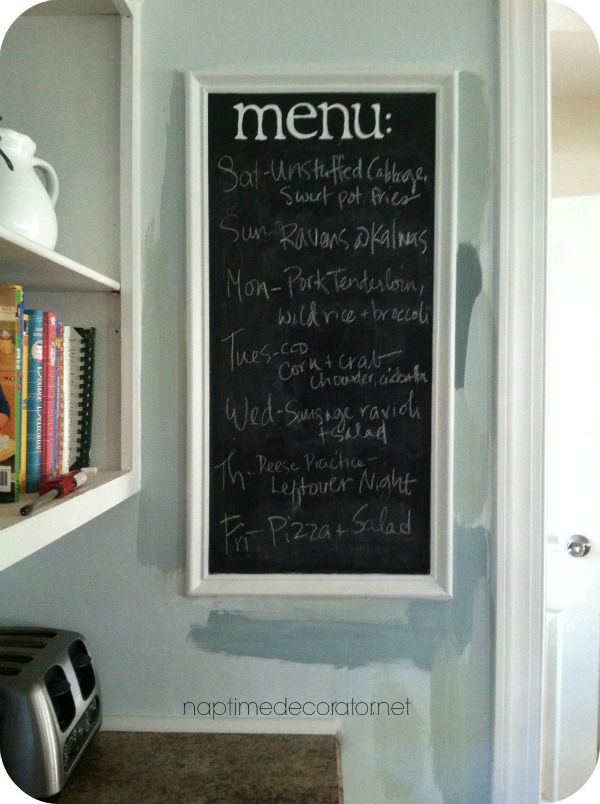
Yeah, um, ignore those 976 samples on the wall there. In the end I went with my tried and true Sherwin Williams Sea Salt at 75% and it barely looks any different. But I can tell;) It’s a smidge less aqua-y and a smidge more green. I’m happy.
So, since we’ve updated my island…remember this?

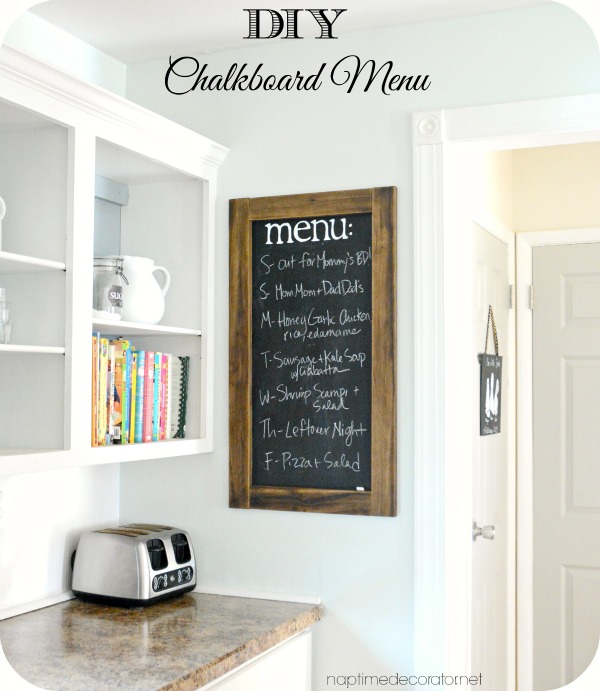
…that spawned an idea. It hit me that the menu would look awesome trimmed out in a nice piece of wood. It would kinda tie in the island…and well, just look awesome.
So off the white molding went, and I hit Lowes to buy a piece of 1x3x8 select pine. I asked the nice guy at the wood cutting station to cut two pieces of 34 inches and two pieces of 14. I measured before I left and just so happened that the amount I needed added up to exactly one 8 foot piece of wood. A major improvement AND only cost me $6?! Yes please!
I came home and started staining. (Outside of course – stain is STINKY!)
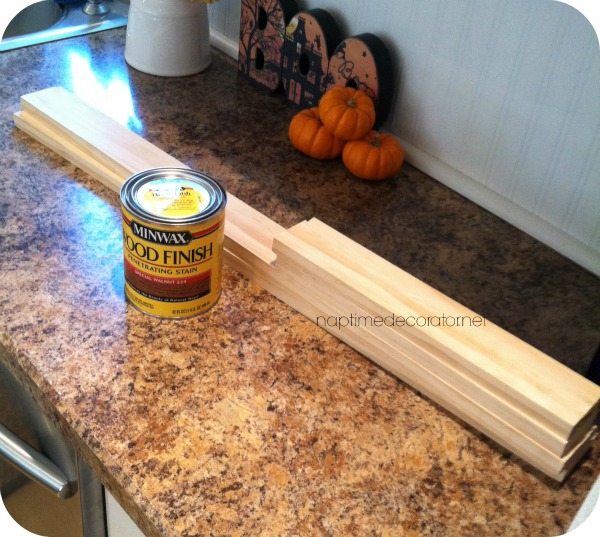
I thought special walnut was the way to go, since it’s what I used on the kitchen island top, but stain is weird. It looks different on different woods – what works on one, may very well not work on another. This was way too light for the select pine. So I got out my dark walnut stain. That was a little too dark. I was starting to feel like Goldilocks.
Until I had an idea.
Using my palm sander, I sanded down a little of the dark walnut. It was turning out pretty cool. And pretty much exactly what I wanted. Whew! I thought I ruined it and was going to be heading back to Lowes for another piece of wood! Sander saved the day.
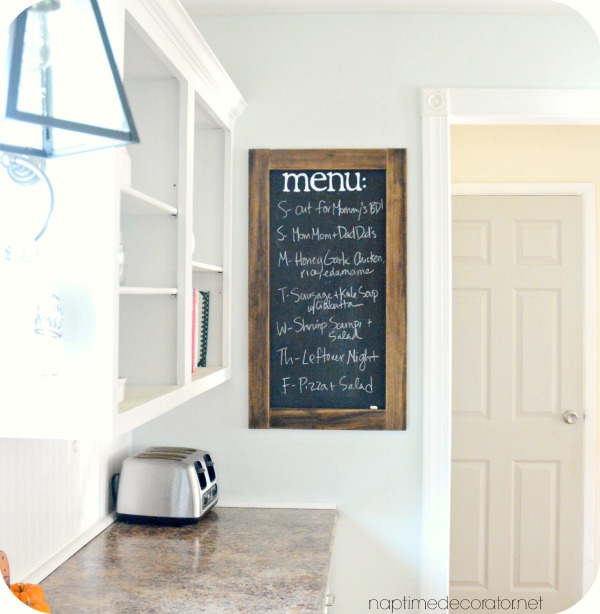
So we got the level out and started with the top piece and nailed it in (using our nail gun).
Then the sides flew up within like a minute. A few quick nail gun shots and done. Seriously, this was the quickest project completion in the history of the ND.
And voila!
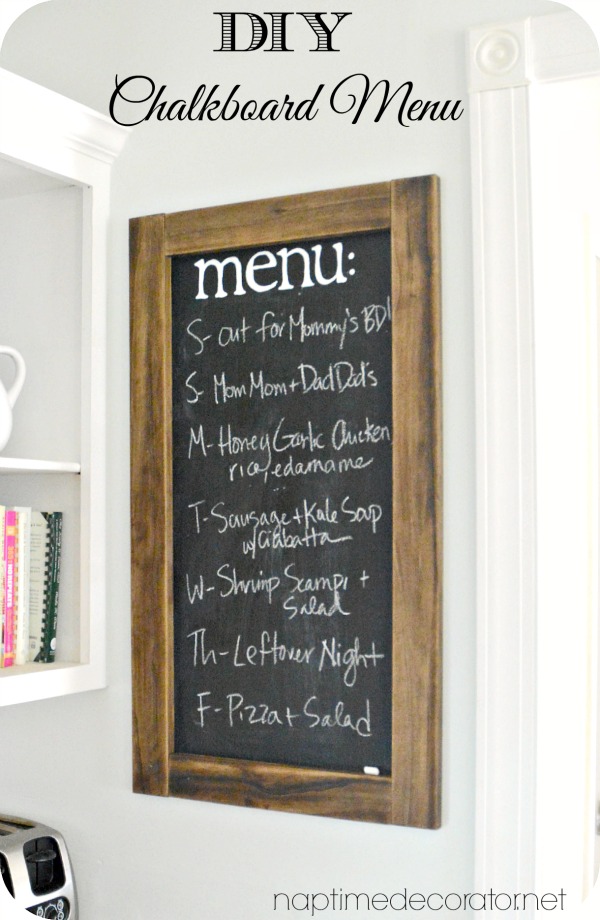
I am totally digging this new look. And I’m not even worried about filling in the nail holes – I mean, maybe I’ll get to it eventually (though we all know that’s a lie). They’ll still remain at the end of time.

And can we talk for a minute about how this menu board has saved my sanity? It may appear that I’m some totally organized nutjob who has to plan out every second of every day, but really, that could not be farther from the truth. This is really just a life saving strategy so that 5pm doesn’t roll around and I’ve got meat frozen in the freezer and 5 hungry mouths to feed and I’m wondering what the heck to make. Three kids in three years will make a meal planner out of anyone. One trip to the grocery store with three babies will make you plan like your life depended on it. Plan every blessed meal so that you never have to go back – for the next 7 days at least. The witching hour is rough enough, we don’t need to add scratching your head at what to feed these cranky mouths onto the agenda. Sanity saver, I tell you people. You can read more about my meal planning tips in this post from way back when. It’ll change your life.
Annnnd back to the new and improved menu!
I’ve got one more fun kitchen project up my sleeve that we’re about to tackle. It has to do with the cabinets…can’t wait to see how this one pans out! So stay tuned for that…
And happy chalkboarding! (Yes, I made that up). 😉

 Hi there! I’m Liz, a former teacher-turned-stay-at-home mom to three kids, with a passion to create a warm and inviting home on a budget. This blog all started when I’d put the babies down for a nap, and squeeze in a project during those precious couple of hours! My hope is that you visit this page and feel inspired to do a little “naptime decorating” of your own. Thank you so much for stopping by!
Totally in love with the new wood look. Well done!
Thanks, Nicole!
I have a chalkboard menu board also. But my chalk pens leave a “stain” not sure if I need to paint it with a different paint. I repaint it once a month. Time consuming!
Yeah, those pens are great but hard to remove sometimes! I just use regular chalk – works great!