I finally tackled something that has been on the To-Do List forever. Like, we’re talking YEARS. It wasn’t an expensive project, and didn’t take long, so once I saw what a huge improvement it made, I could KICK MYSELF!
One of the very first posts I ever wrote was on our Chalkboard Fridge:
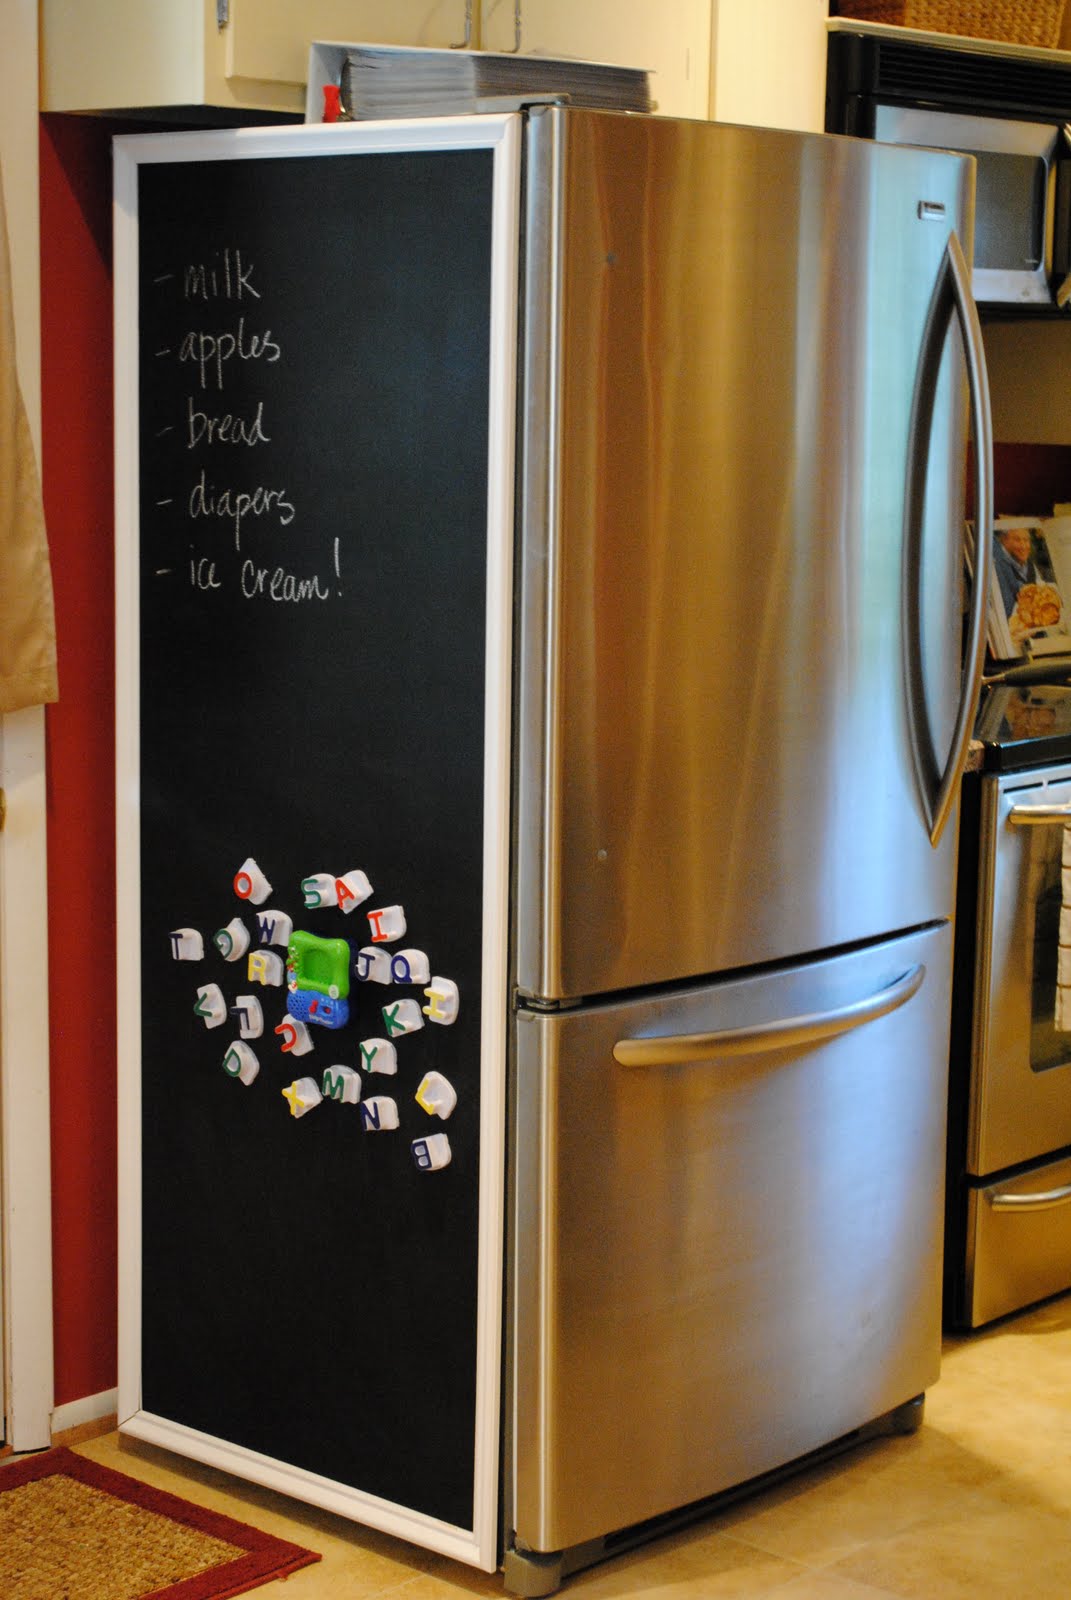
Back when I had a red kitchen, didn’t own a real camera, and had no idea editing photos was a thing.
And DIAPERS?! Wow. Probably had two of them in them at this point. No wonder they were always on the list…
Unfortunately the gold floors remain, but – CROSS YOUR FINGERS PEOPLE – maybe, just maybe that will be changing soon. *insert exploding with joy happy face emoji here*
ANYwho…
That cute chalkboard fridge sure did serve us well. The kids (and myself!) have had lots of fun doodling on there since 2011…
Actually too much fun and it was starting to show. And you can see in that photo above, the molding was starting to come off. Those magnets just had had enough chalk dust for their lifetime. They fell off. They had a good run.
And the fridge was a permanent grey – this was taken after I washed it with a soaking wet cloth:
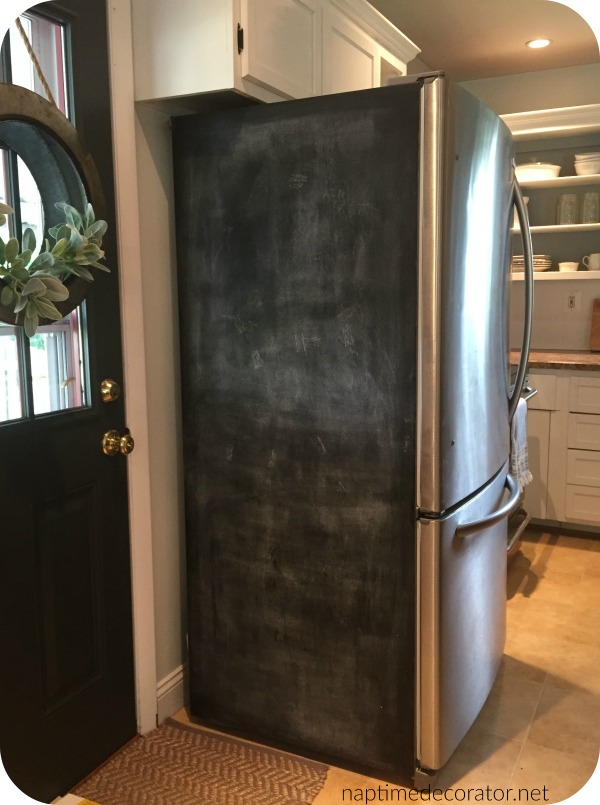
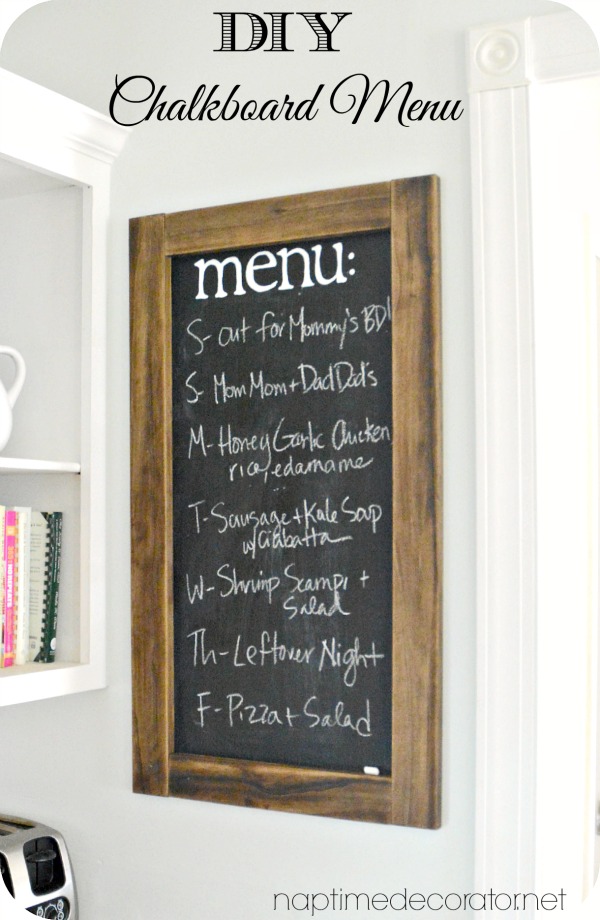
I decided it was time to freshen up a bit. New coat of paint, and add the wood trim I’d been wanting to do since I made that chalkboard menu a couple years ago…
So I got out my chalkboard paint again, and gave it a quick coat:
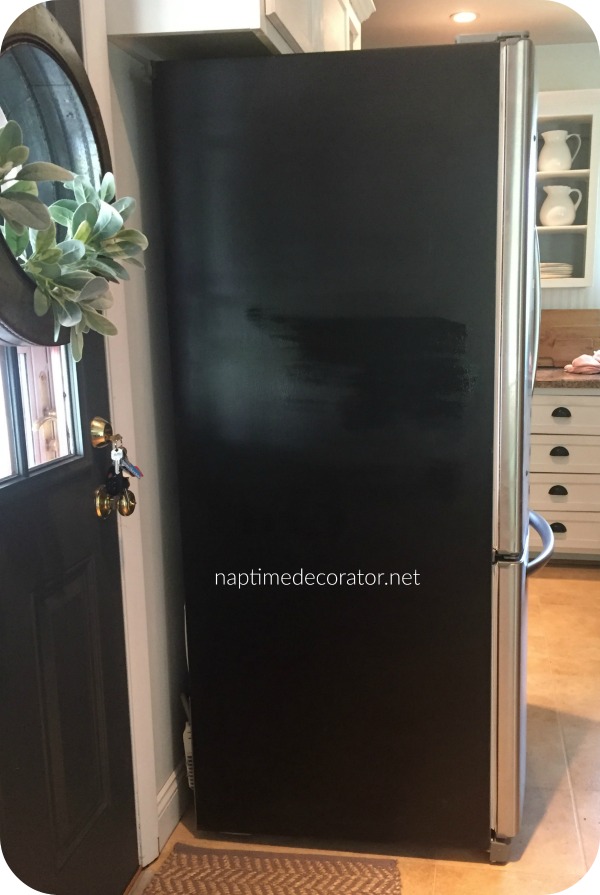
Seriously you guys. This took FIVE MINUTES.
WHAT TOOK ME SO LONG?!
I picked up the same wood I used on the menu board (I needed three 1x3x6 pieces for the fridge) from Home Depot. I thought Special Walnut was what I used for the menu board, so I slapped two coats on…
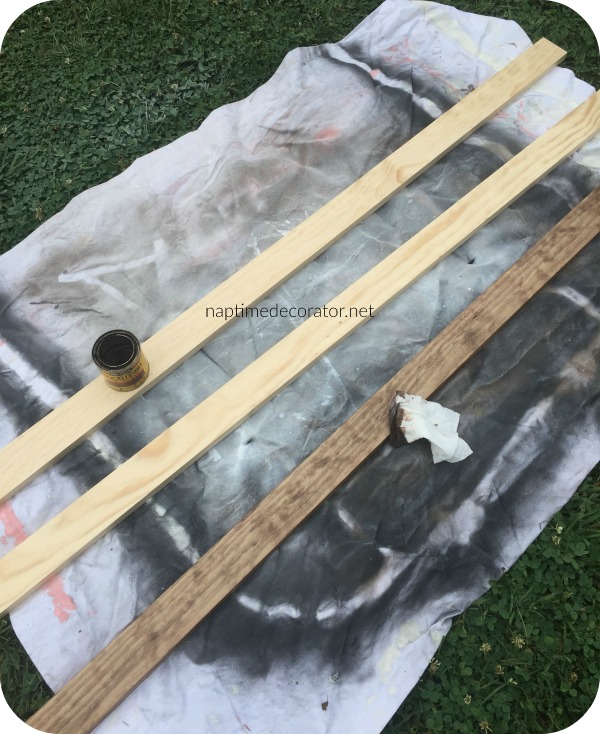
I left for a baseball game, came home, and realized they were too light. And THEN I remember putting a light coat of Dark Walnut on the menu board wood. It made it perfect.
I measured the two long sides first, and cut them with my Dremel hand saw.
I picked up double sided mounting tape from Home Depot as well – it holds like 40 pounds or something crazy, so I’m hoping it’ll work.
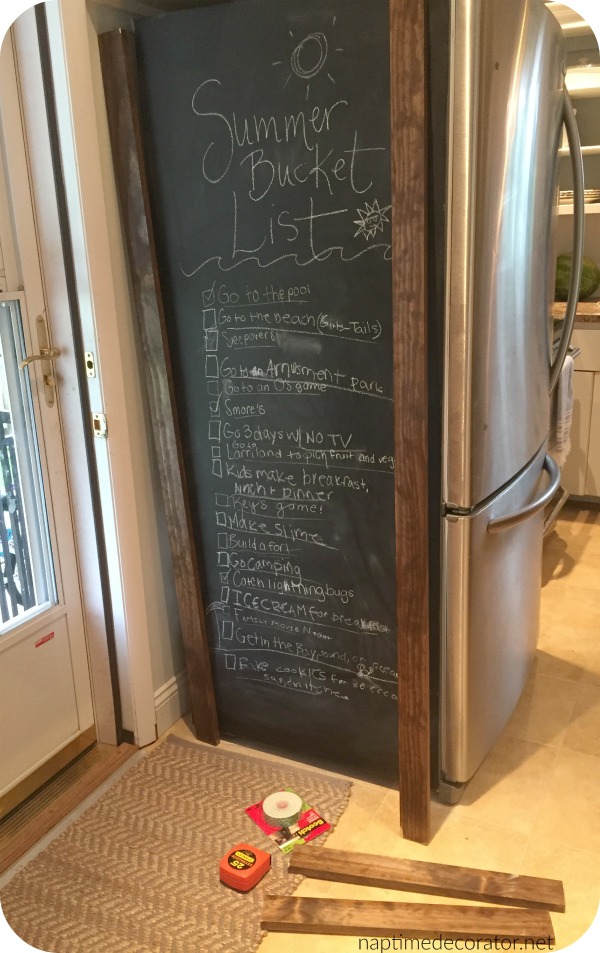
I just followed the directions on the box. I ran out (DOH!) so I needed more than just one big roll. (you can see it in the bottom of the pic.)
Once the long sides were up, I measured the space between the top and bottom pieces, and cut them. Then did the tape again on those pieces.
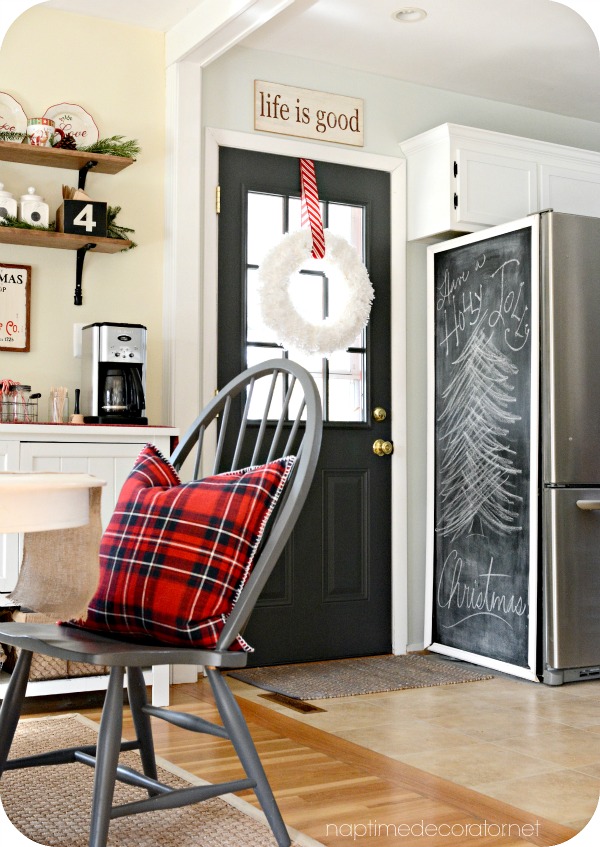
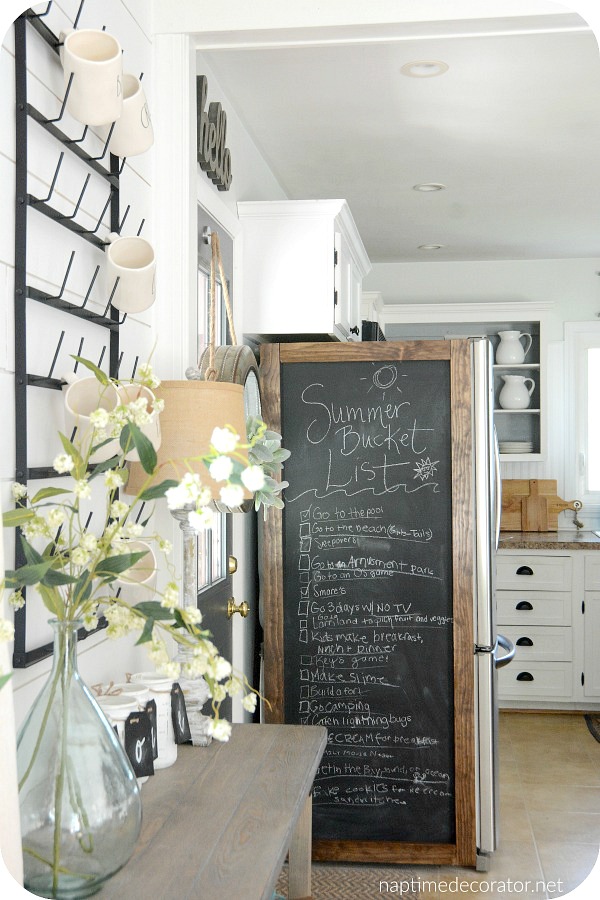
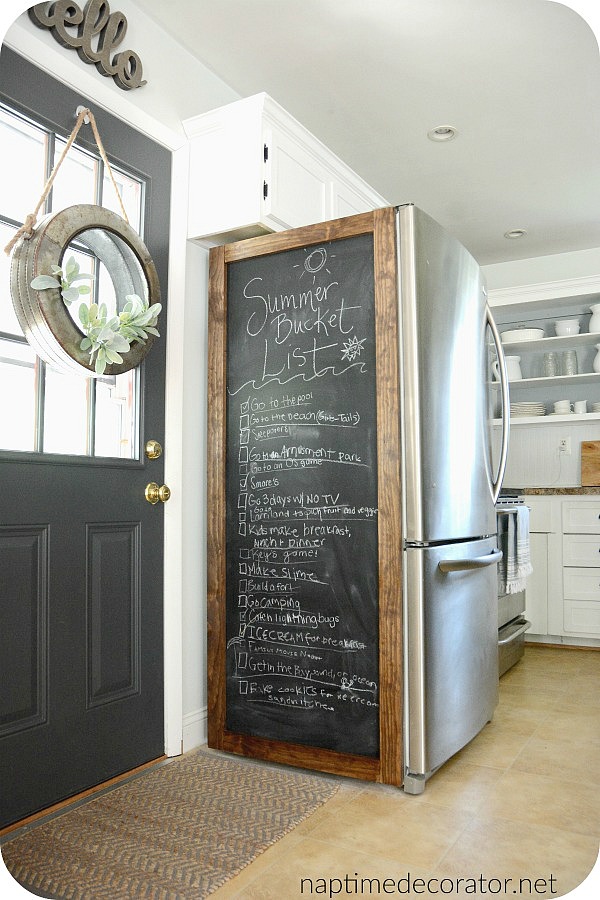
Done!
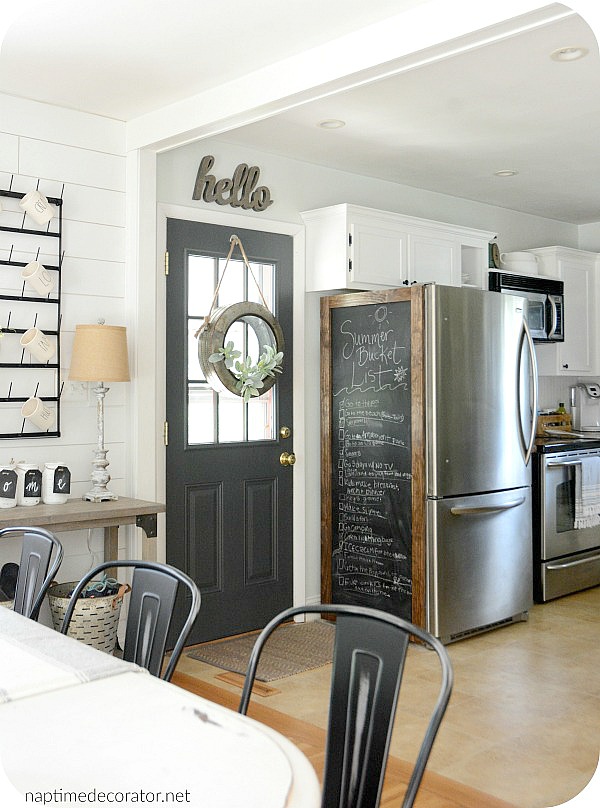
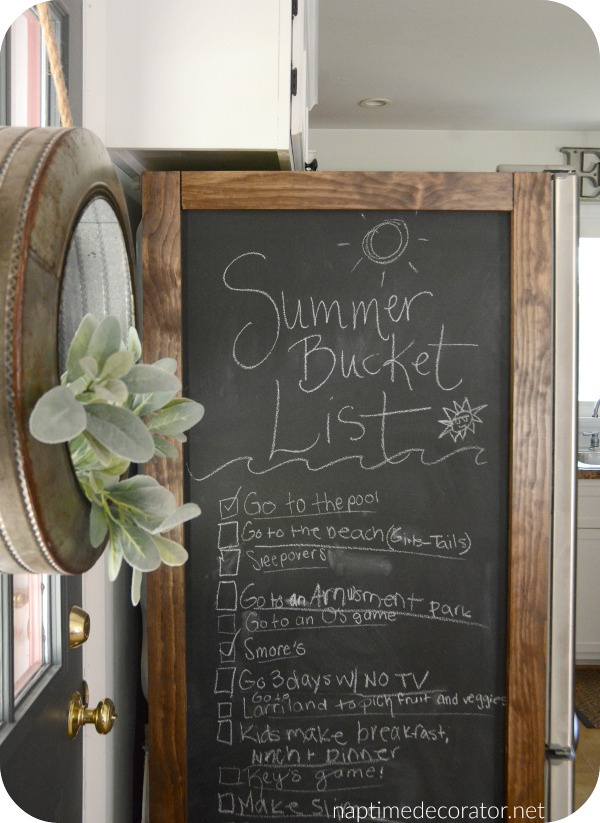

As you can see, the kids wanted to use it for their Summer Bucket List;)
When Summer’s over, I plan on writing a cool quote on here in swirly handwriting, so it’ll almost be like a sign, instead of a fridge!
I told my husband that I bet I just jinxed myself by finally tackling this project – watch, our fridge will go up now and we’ll need a new one! Ha! *insert nervous face emoji*
{Oh, and please act like you don’t see the insane amount of white chalk dust underneath the fridge…I’ve never been known for my dusting;)}
Lesson here, folks – that project you’ve had on the list? Go tackle it! You’ll be so glad you did!

 Hi there! I’m Liz, a former teacher-turned-stay-at-home mom to three kids, with a passion to create a warm and inviting home on a budget. This blog all started when I’d put the babies down for a nap, and squeeze in a project during those precious couple of hours! My hope is that you visit this page and feel inspired to do a little “naptime decorating” of your own. Thank you so much for stopping by!
I love this SO much!! The side of our fridge is SO bumpy, so I don’t think it would work on our fridge. Definitely love it though!!
Thank you, Brandi!
Hi Liz! You inspired me! I have been looking for ideas to deal with the ugly side of my refrigerator for a while. I considered enclosing it in cabinetry (too much work!). Your idea was perfect for my house and I unabashedly stole it :-D. Thank you!!
Awesome, Lori!! So glad I could help!